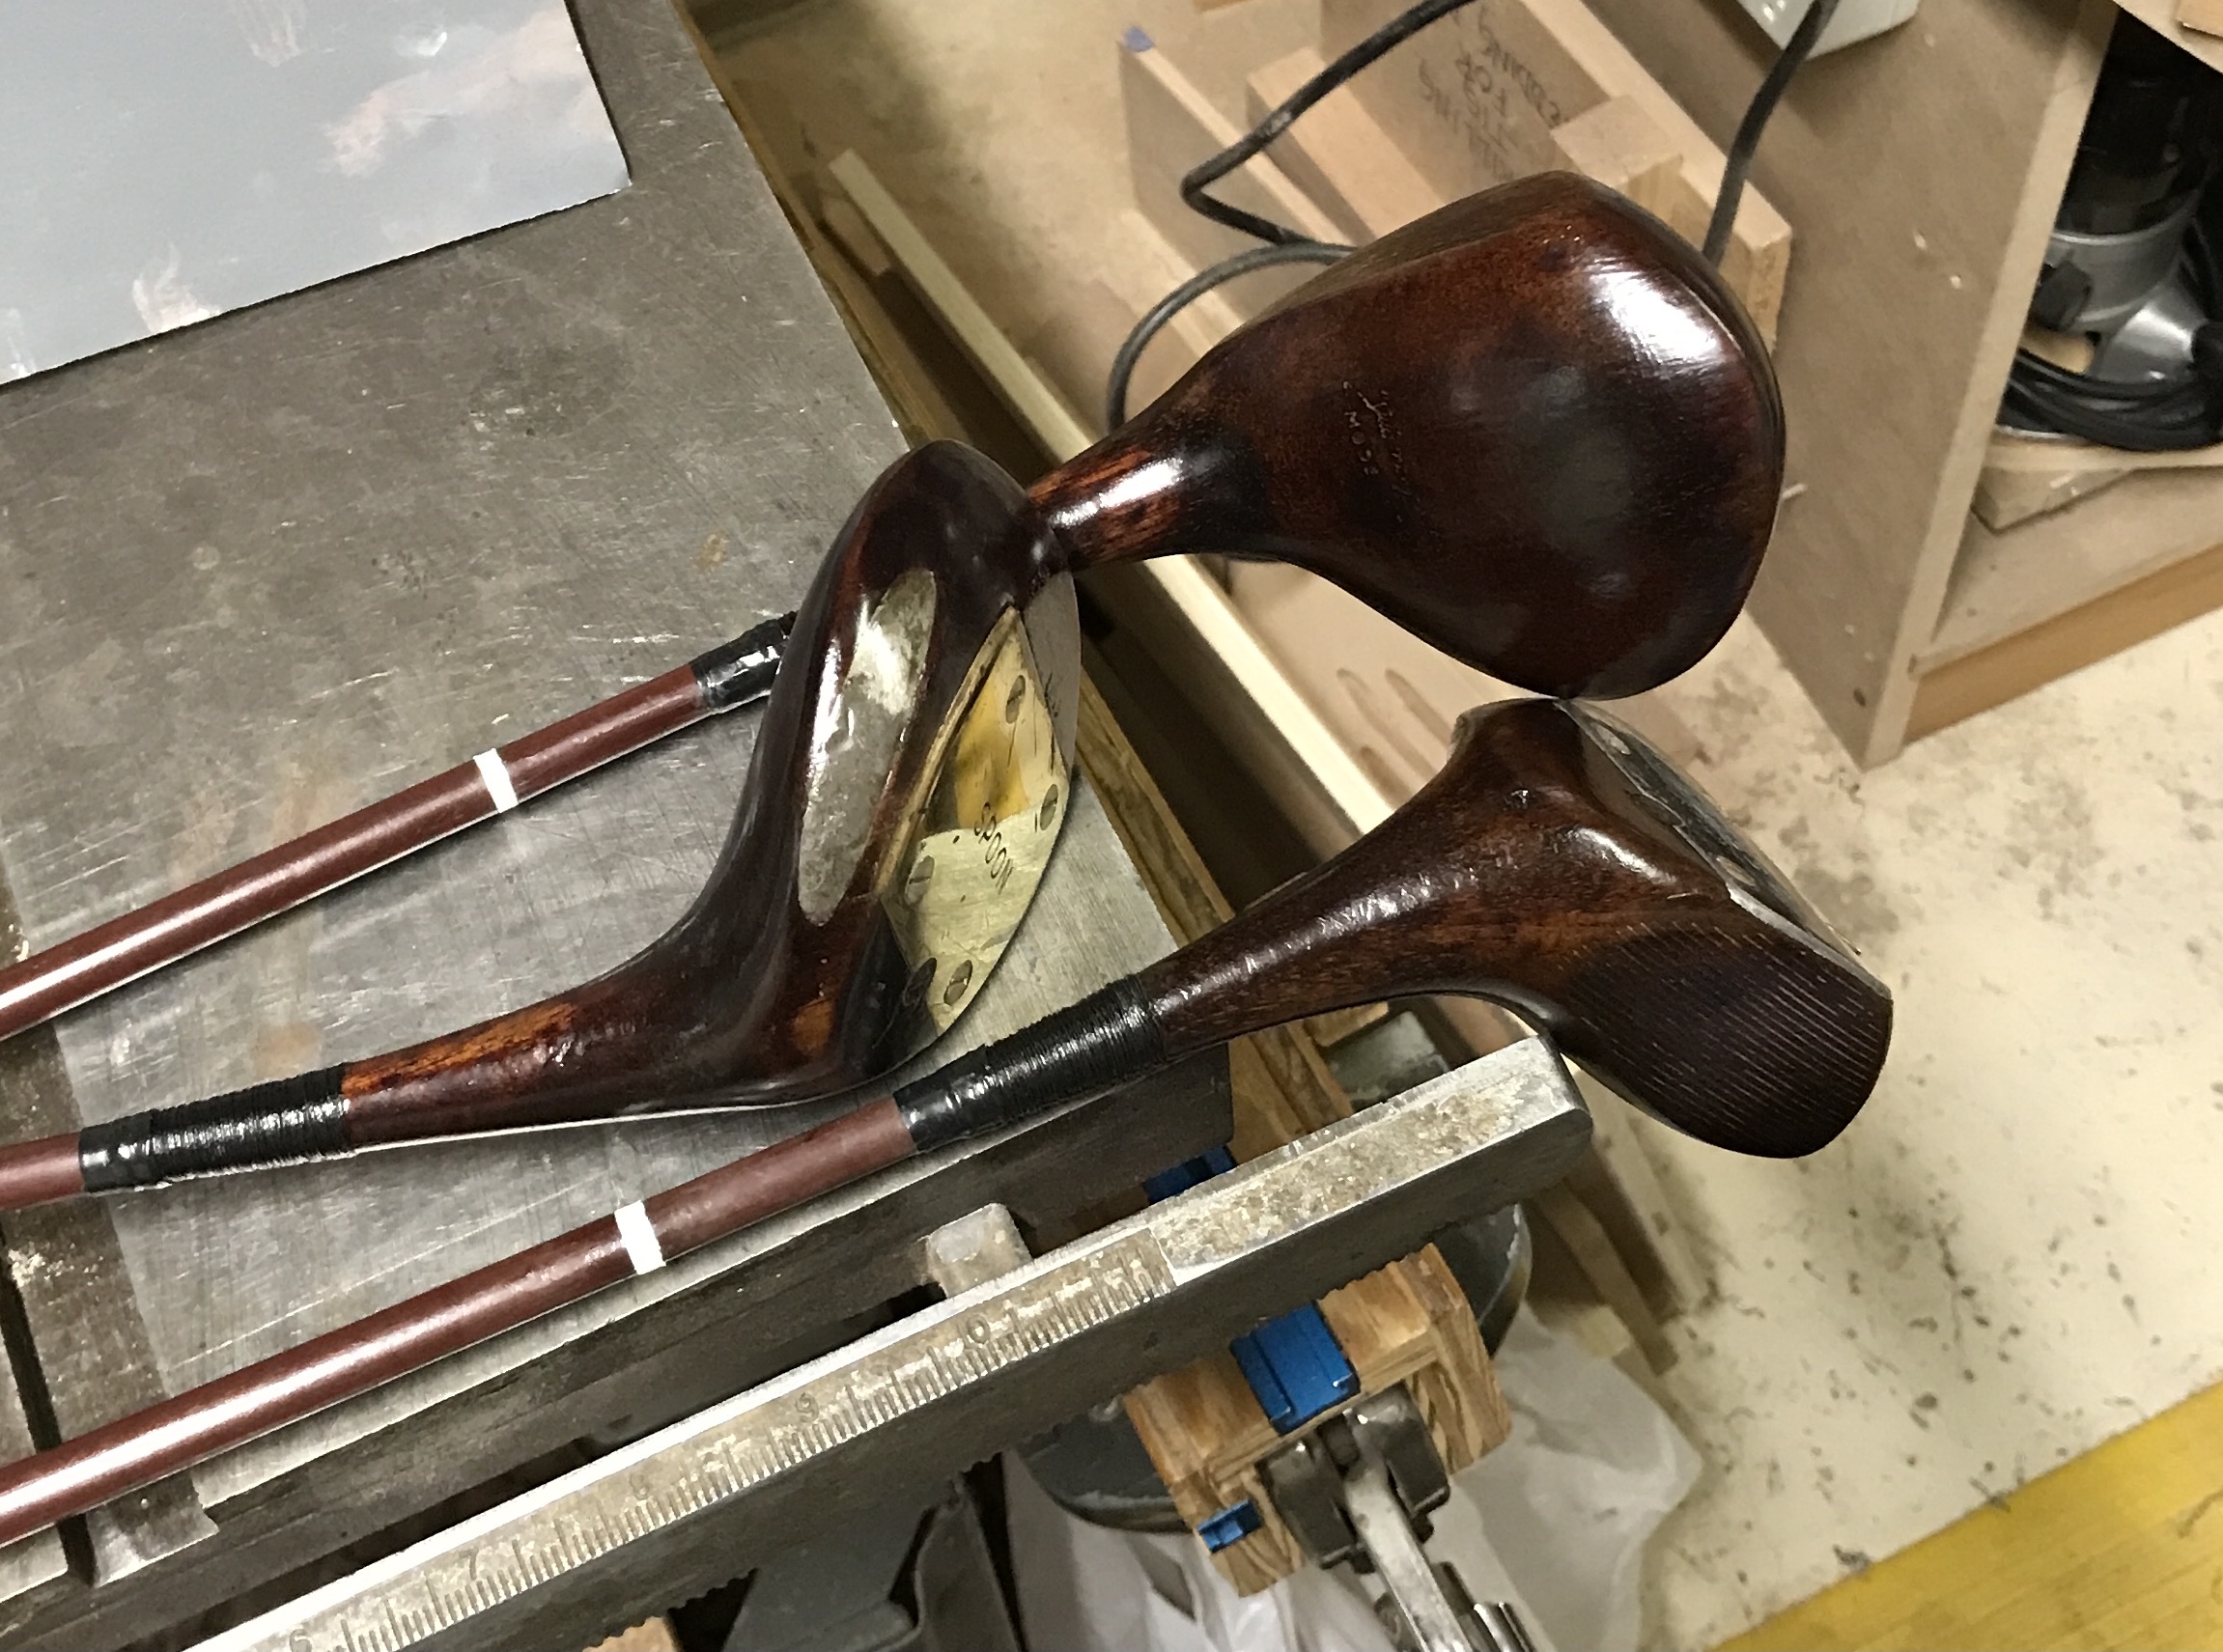
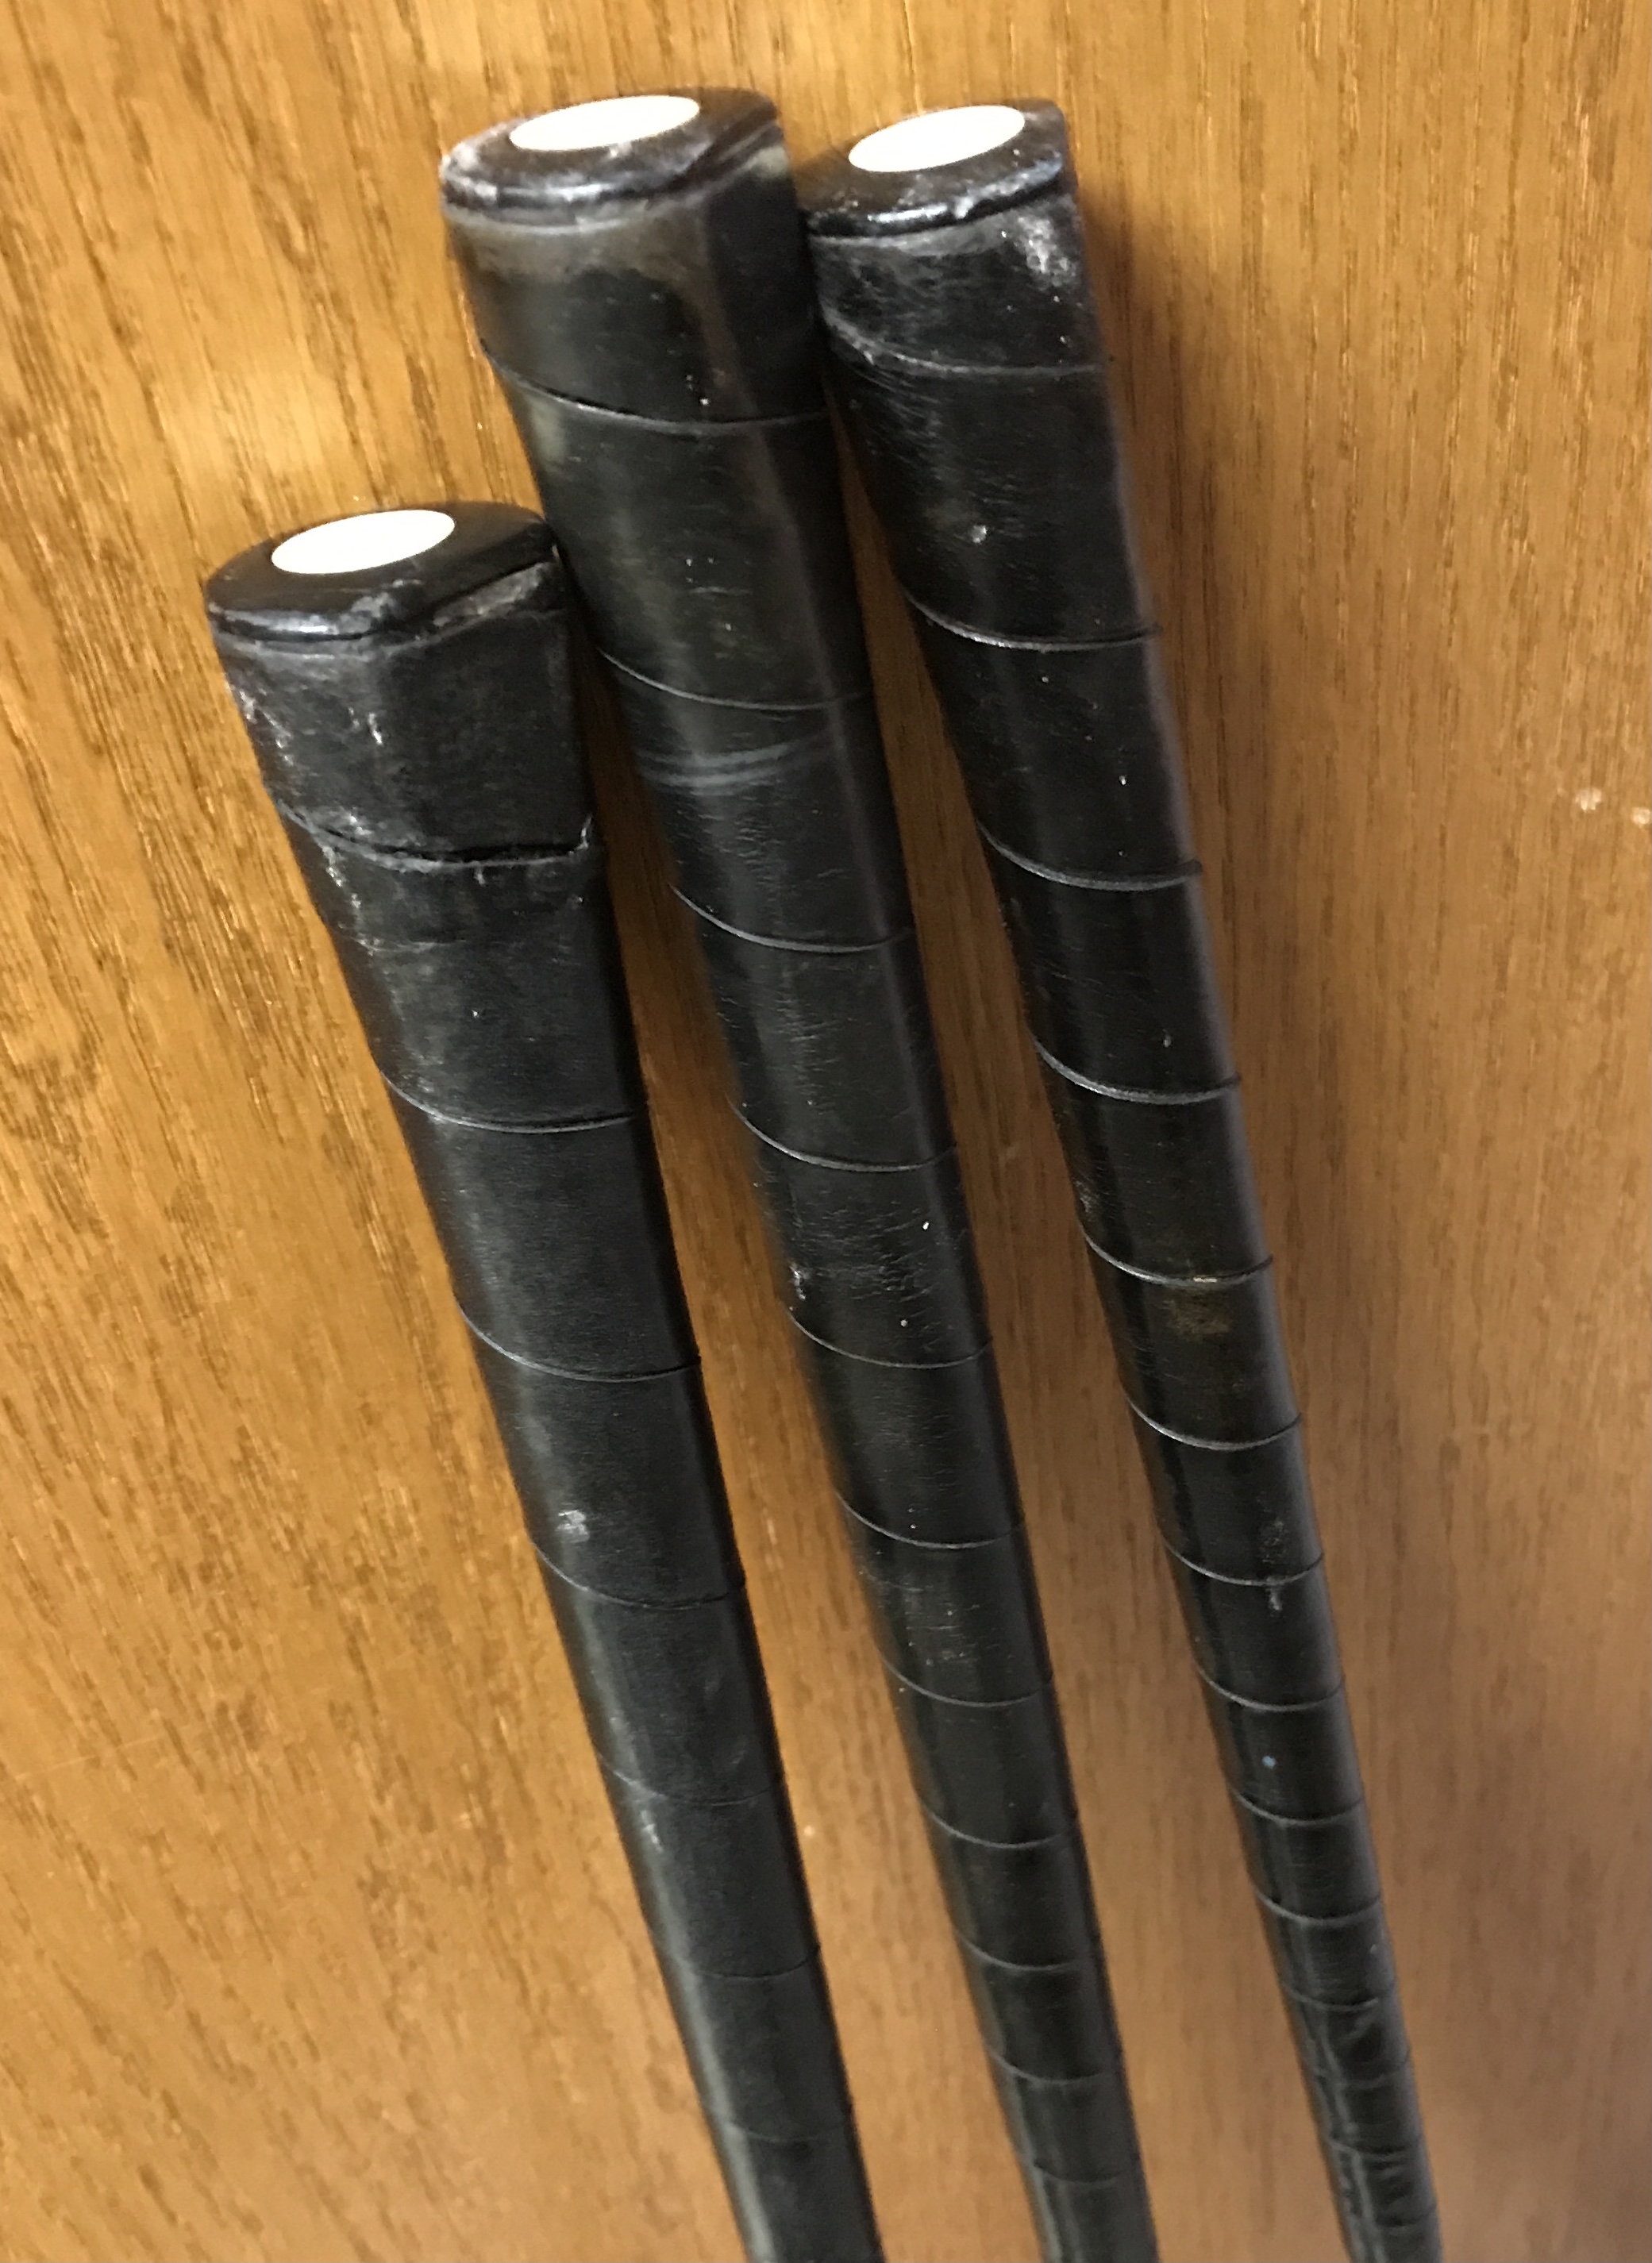
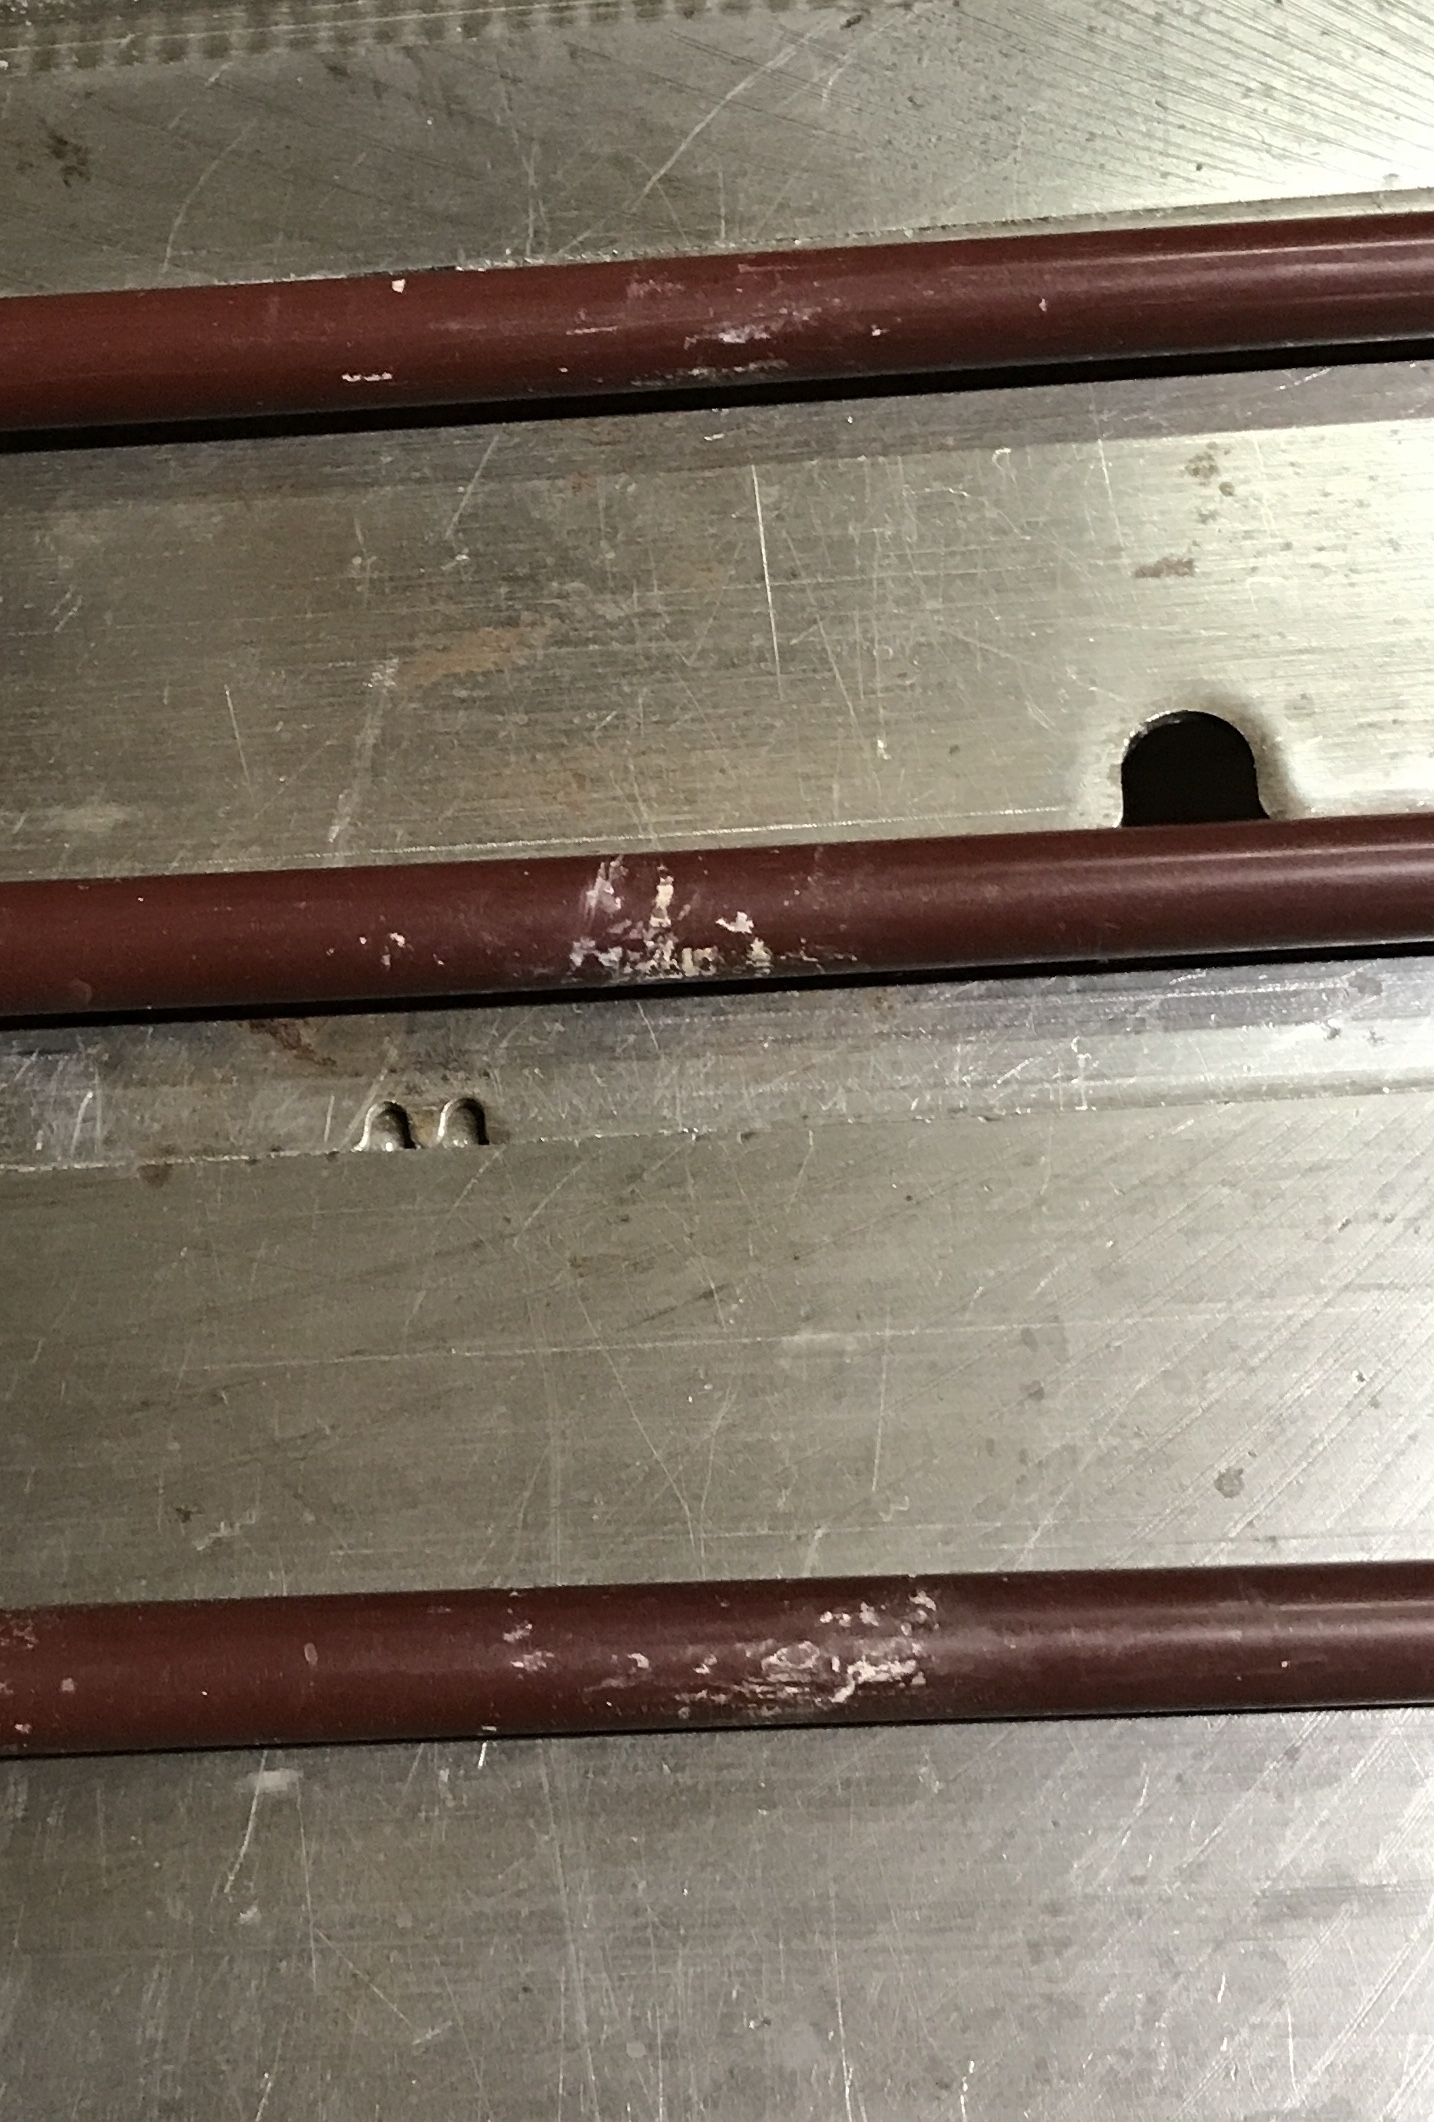
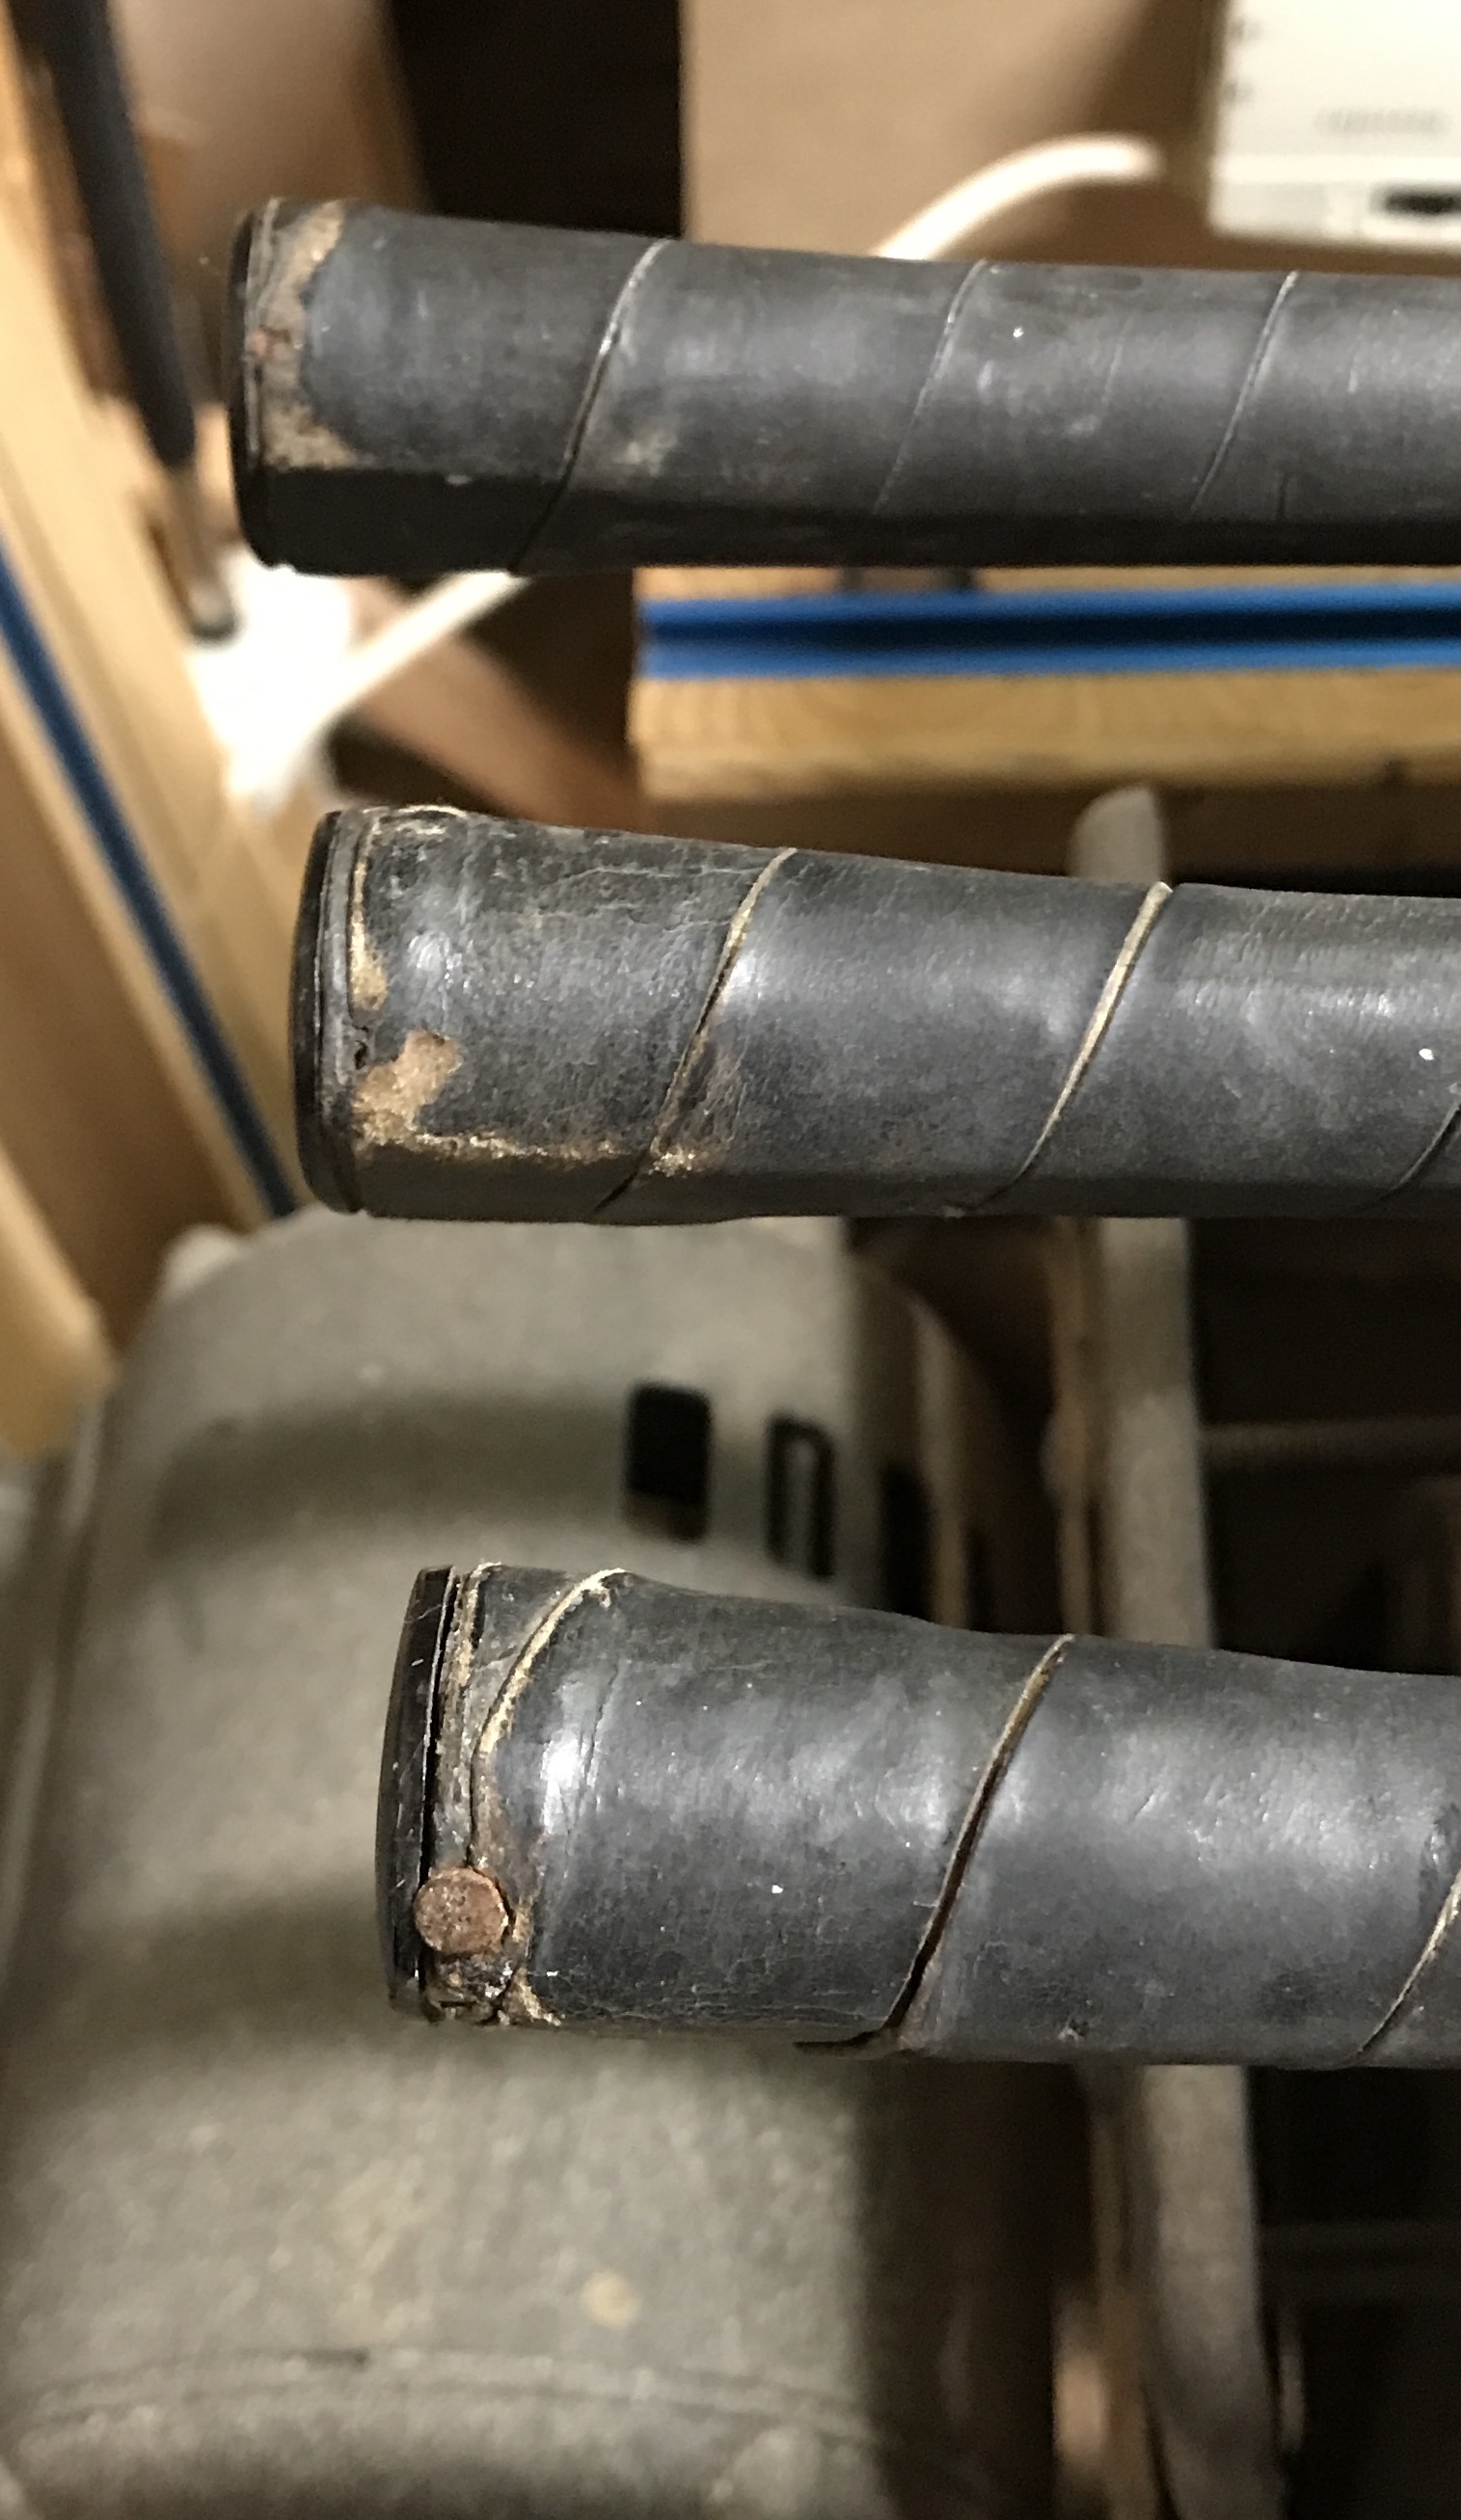
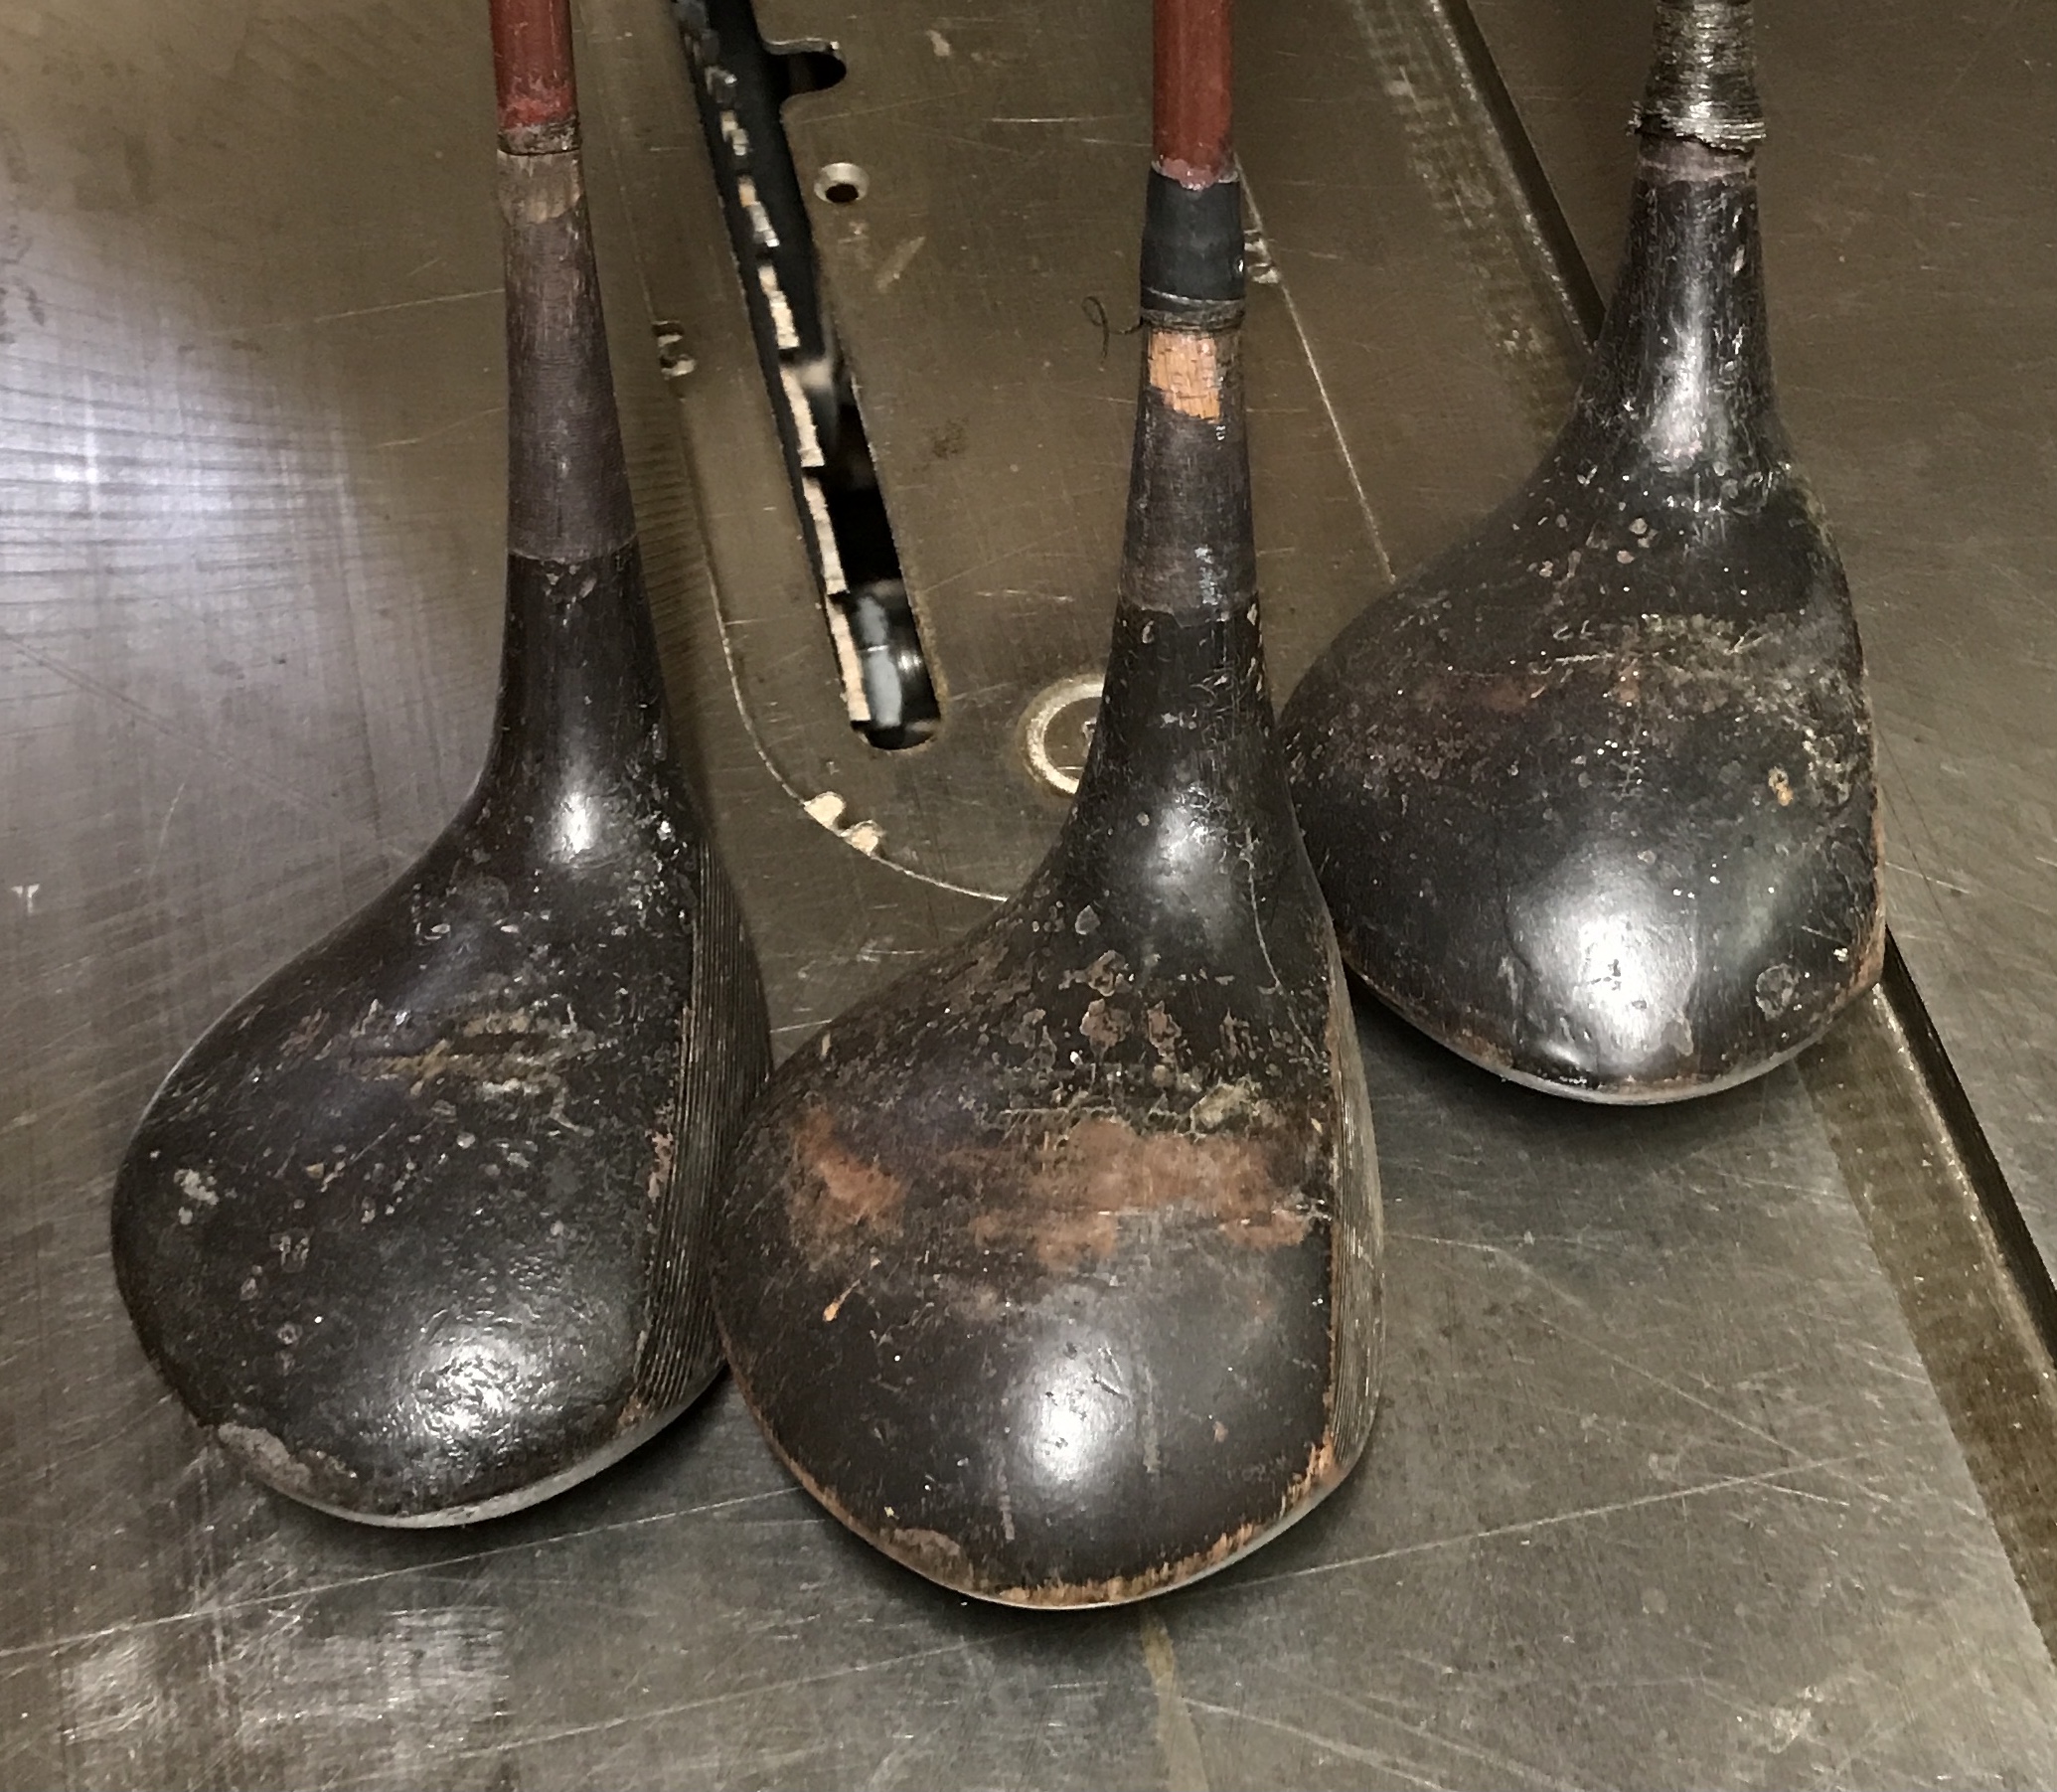
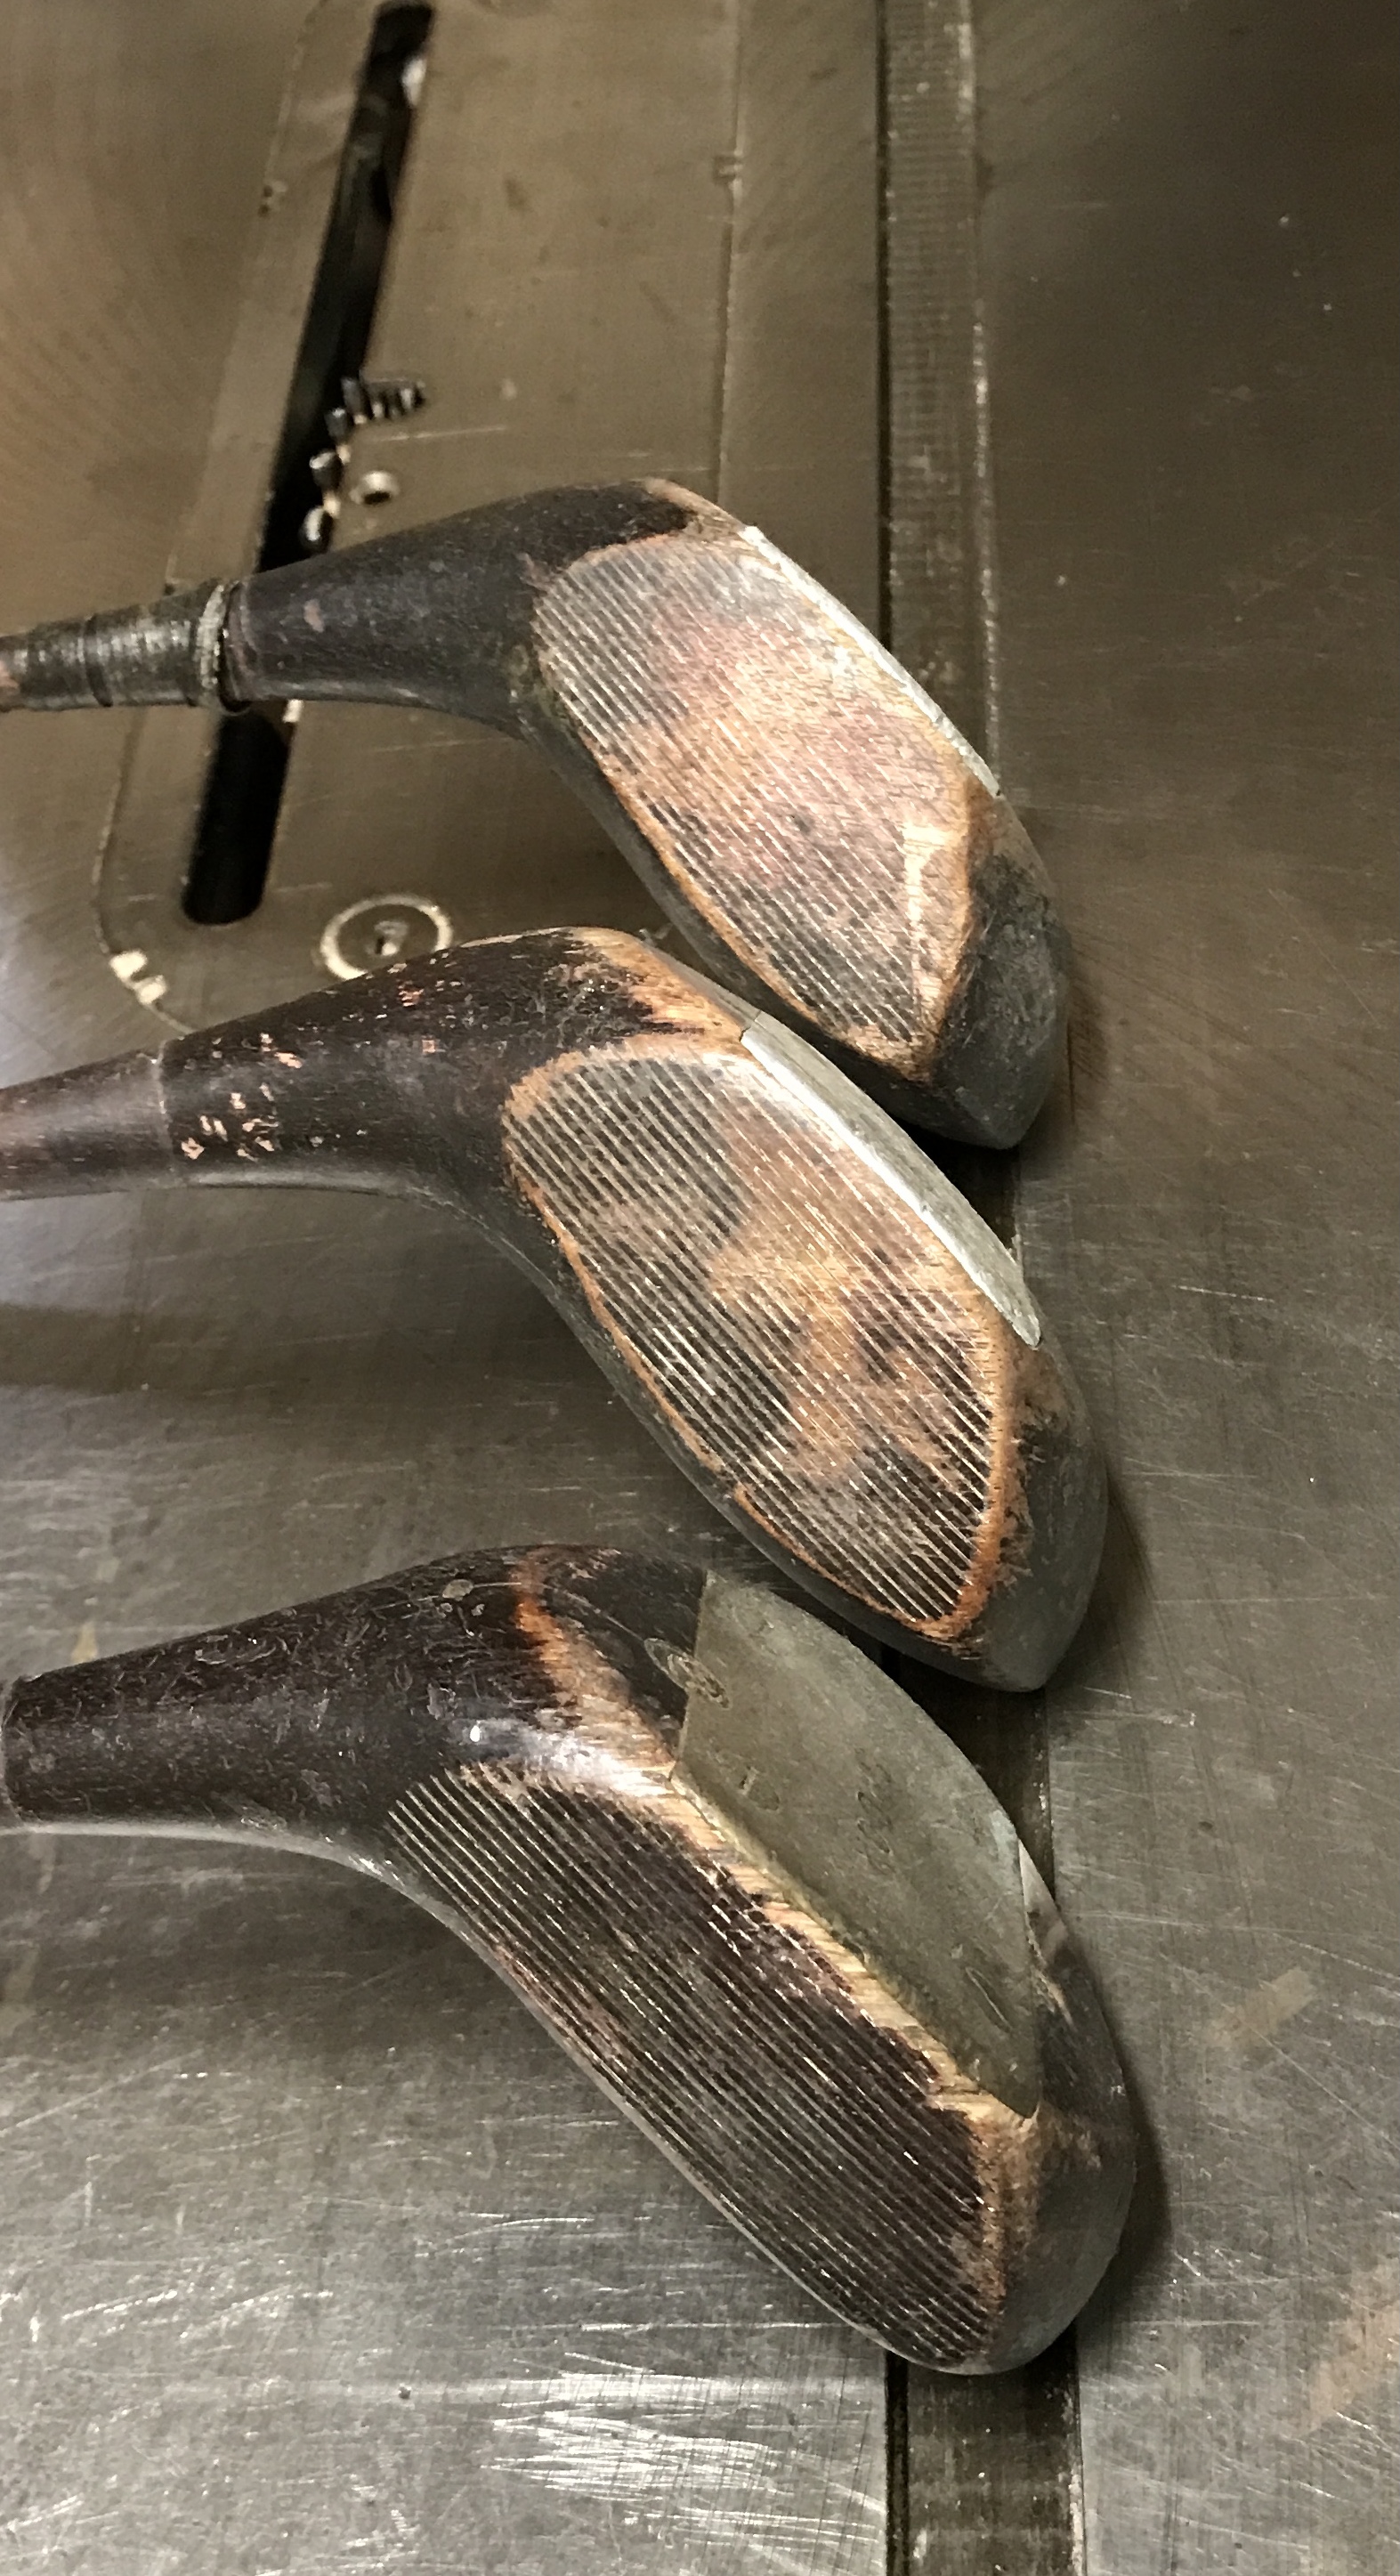
David asked me to restore three drivers that belonged to his recently deceased father-in-law, Bud. (May his memory be a blessing.) They all share some defects in common: worn finish on the heads, scrapes and mars on the plastic shafts, worn metal on the heads. There are many other things needing repair as well. Below are a number of photos of the state of the clubs as received. Judging by the direction of the scrapes on the sole plates, Bud had quite the slice.
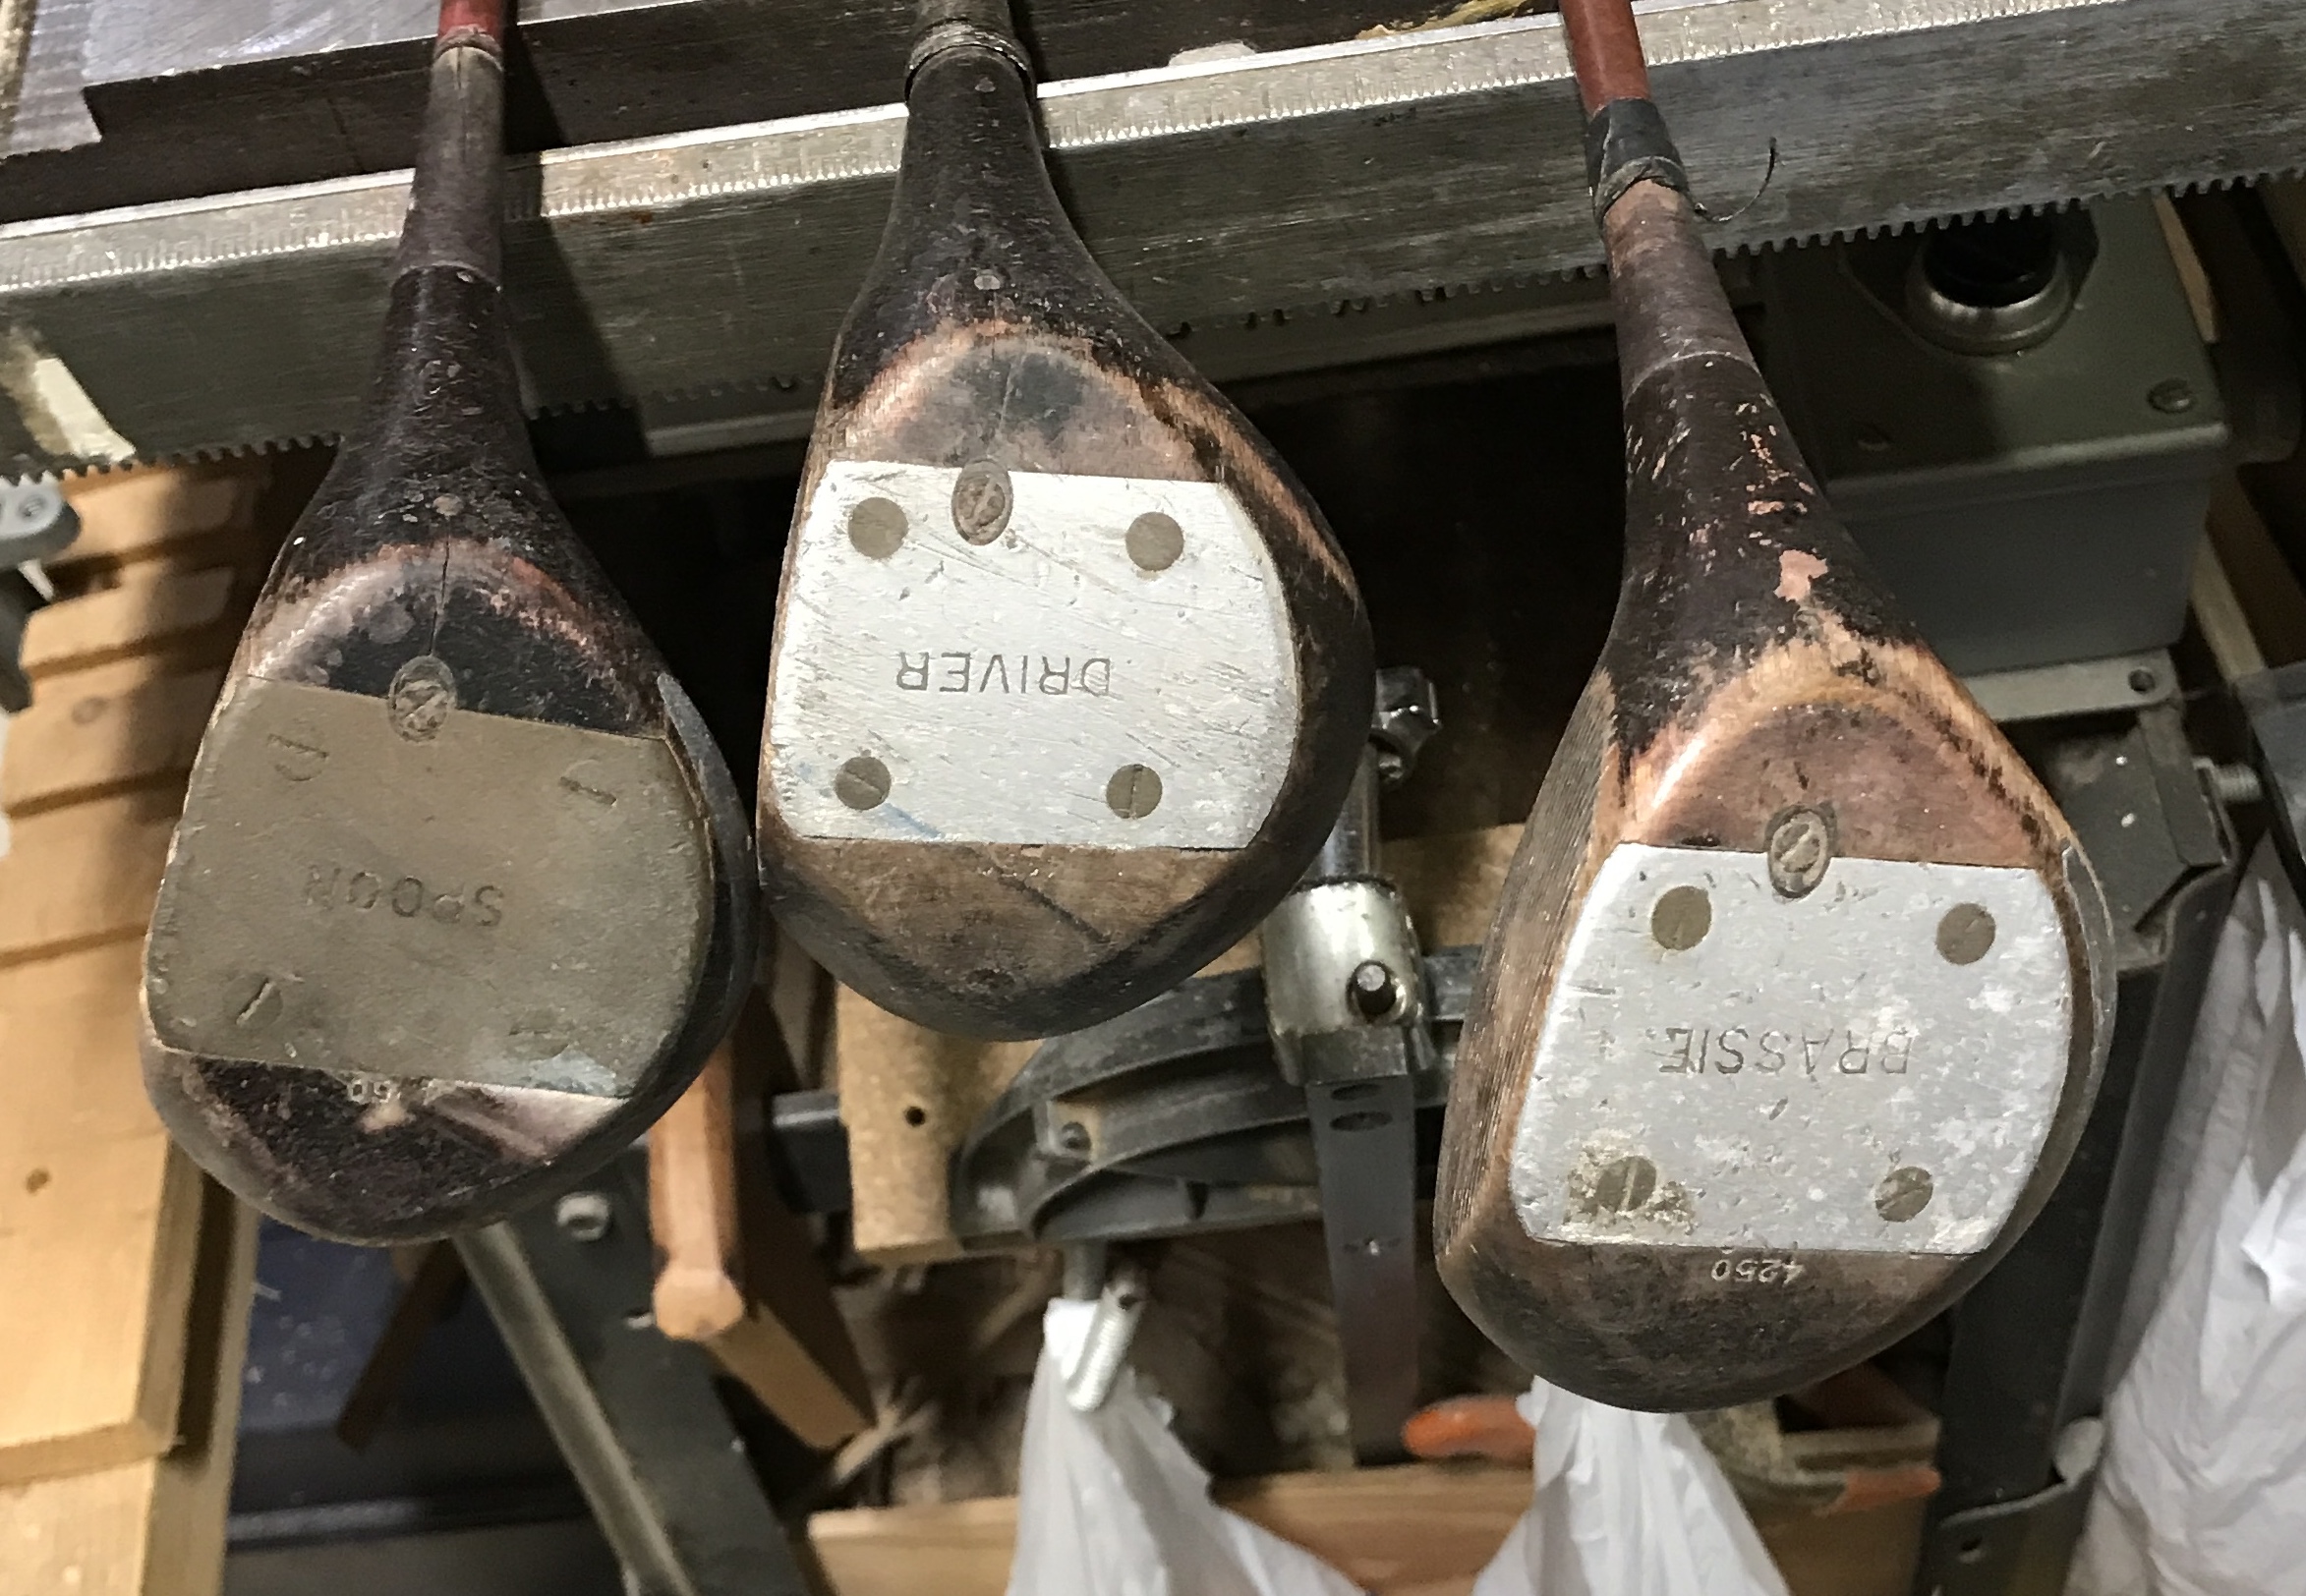

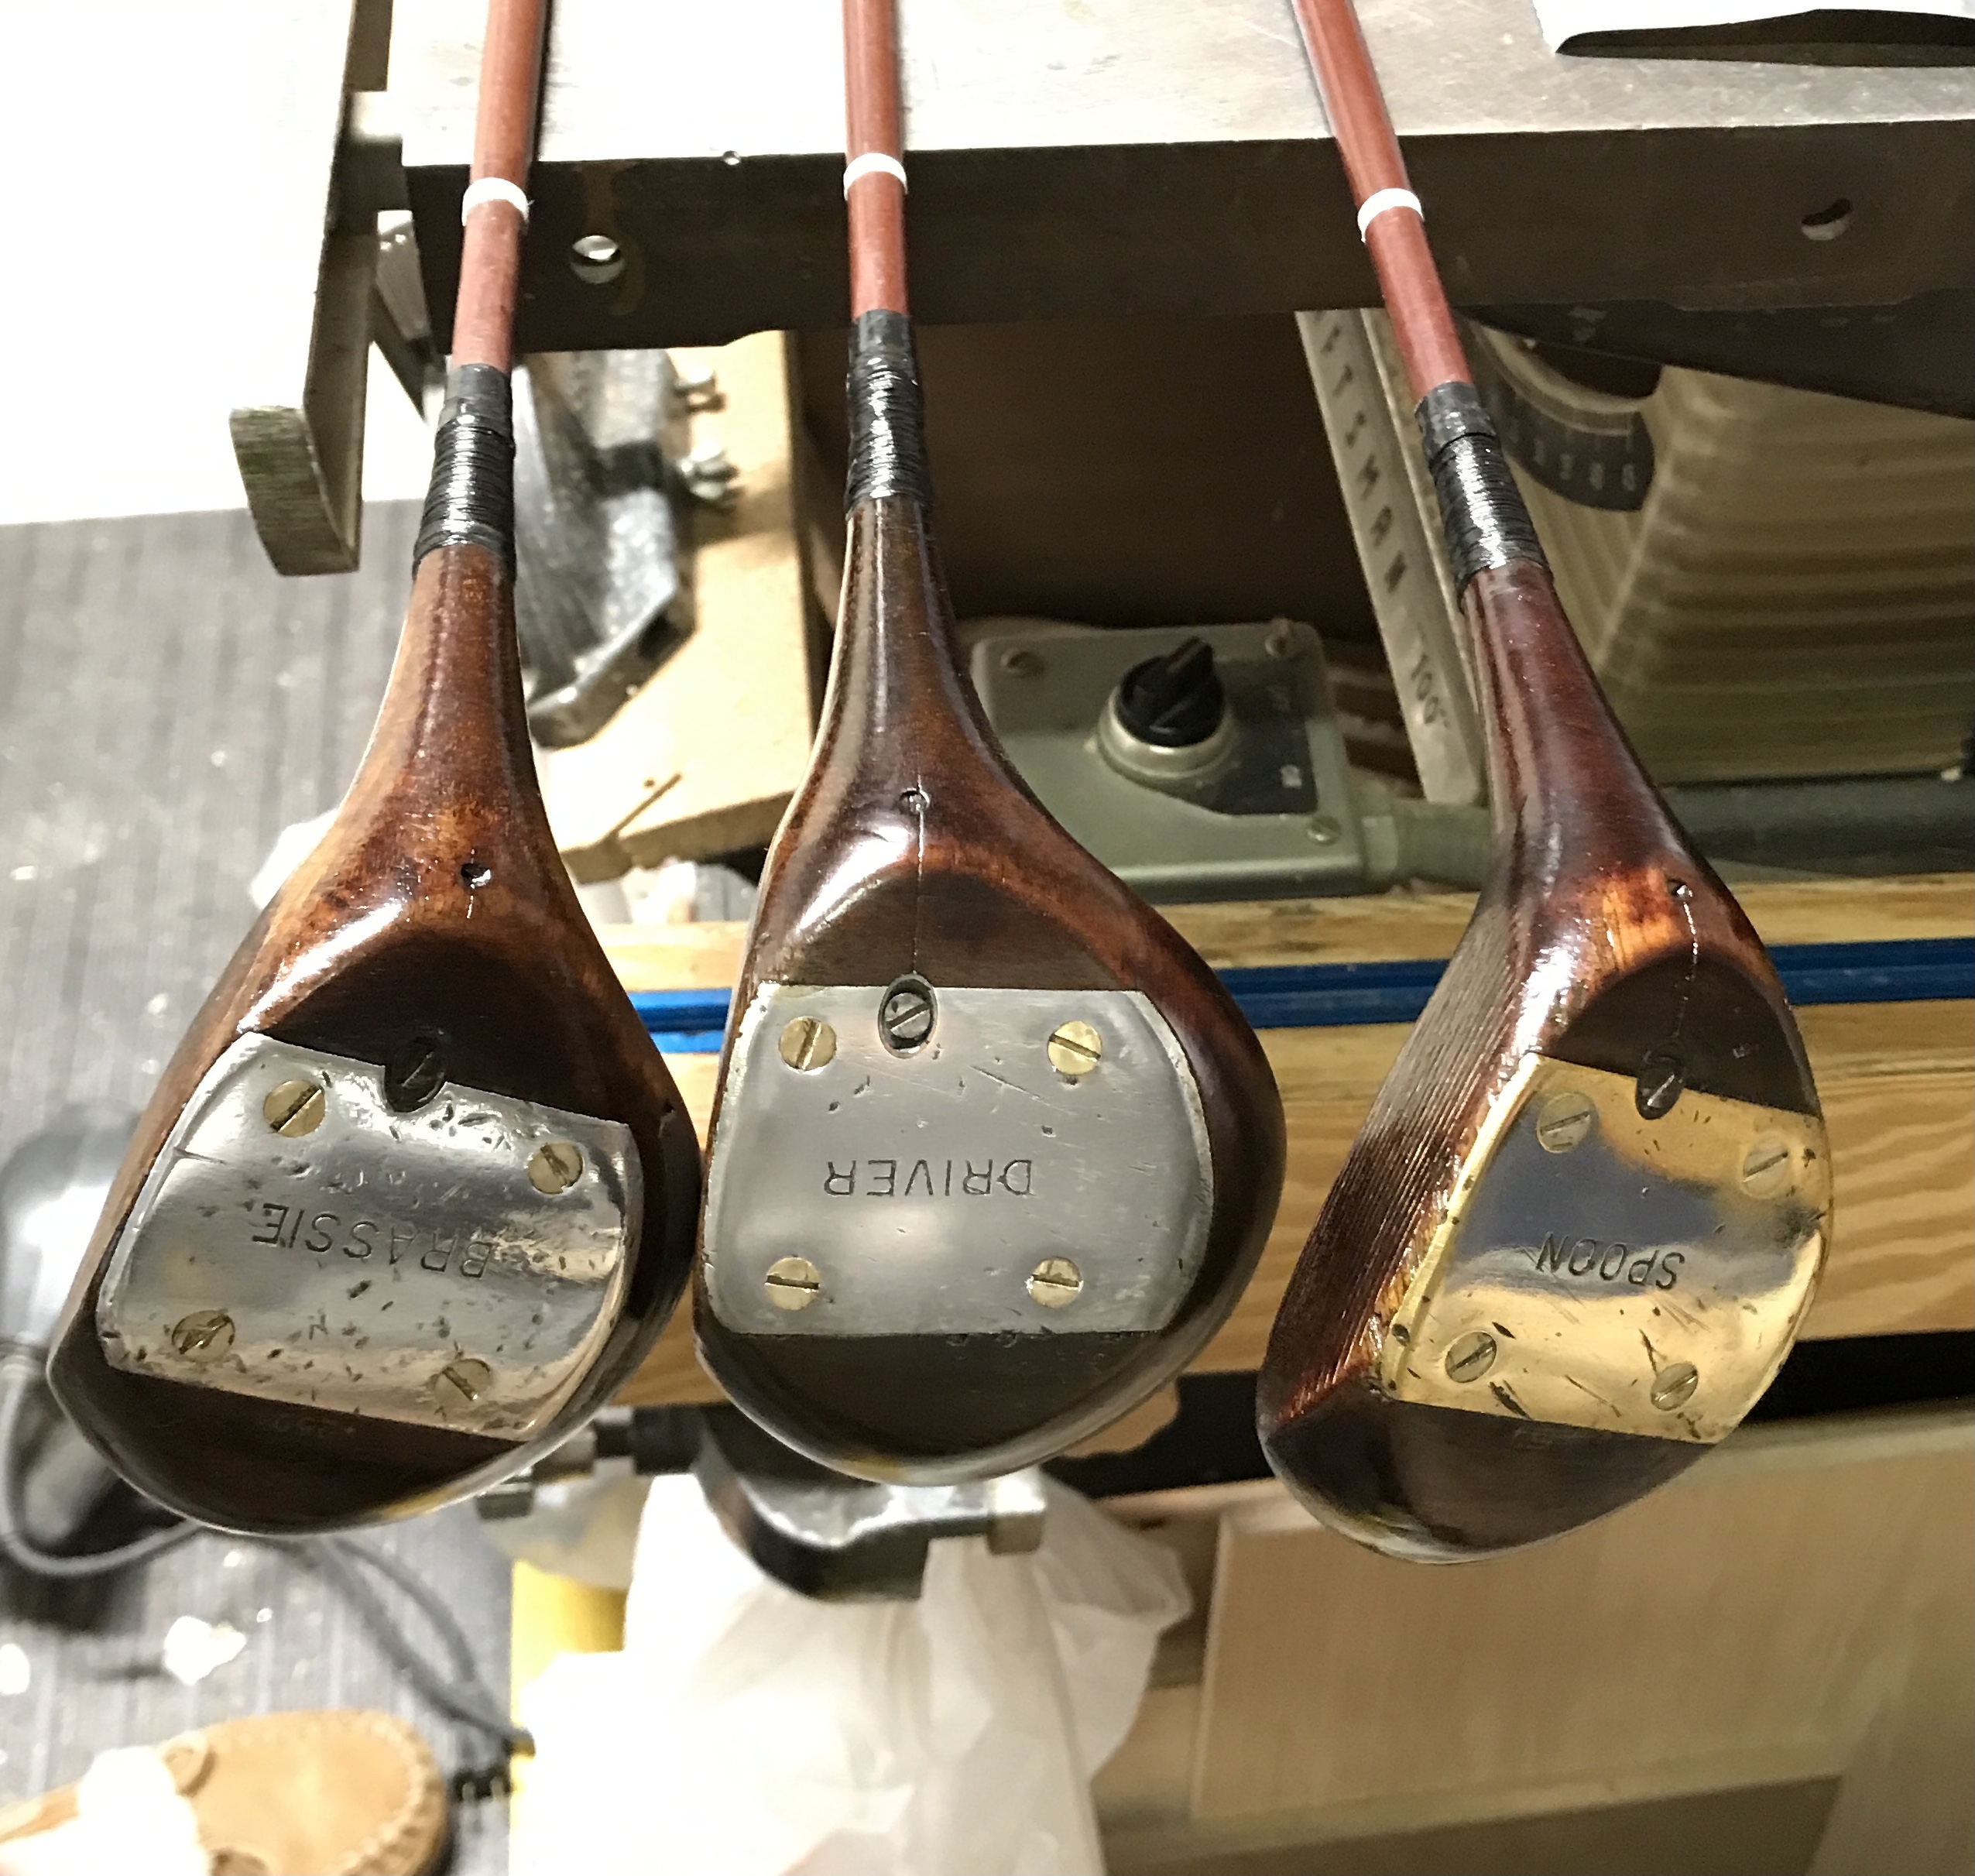
The following table highlights the different aspects of each club needing repair. The club names are taken from the sole plates.
| Repair | Driver | Brassie | Spoon |
|---|---|---|---|
| Sole Plate | Sand & Polish | Sand & Polish | Sand & Polish |
| Head | Sand & Finish | Sand & Finish | Sand & Finish |
| String | Rewrap & Glue | Rewrap & Glue | |
| Plastic Ring | Make new | ||
| Shafts | Polish | Polish | Polish |
| Handles | Rewrap | Rewrap |
Before beginning I will seek out some videos on YouTube to gain some insights. That was fruitless. There were only a handful of club restoration videos. All focused on rust removal from irons. I guess I am on my own.
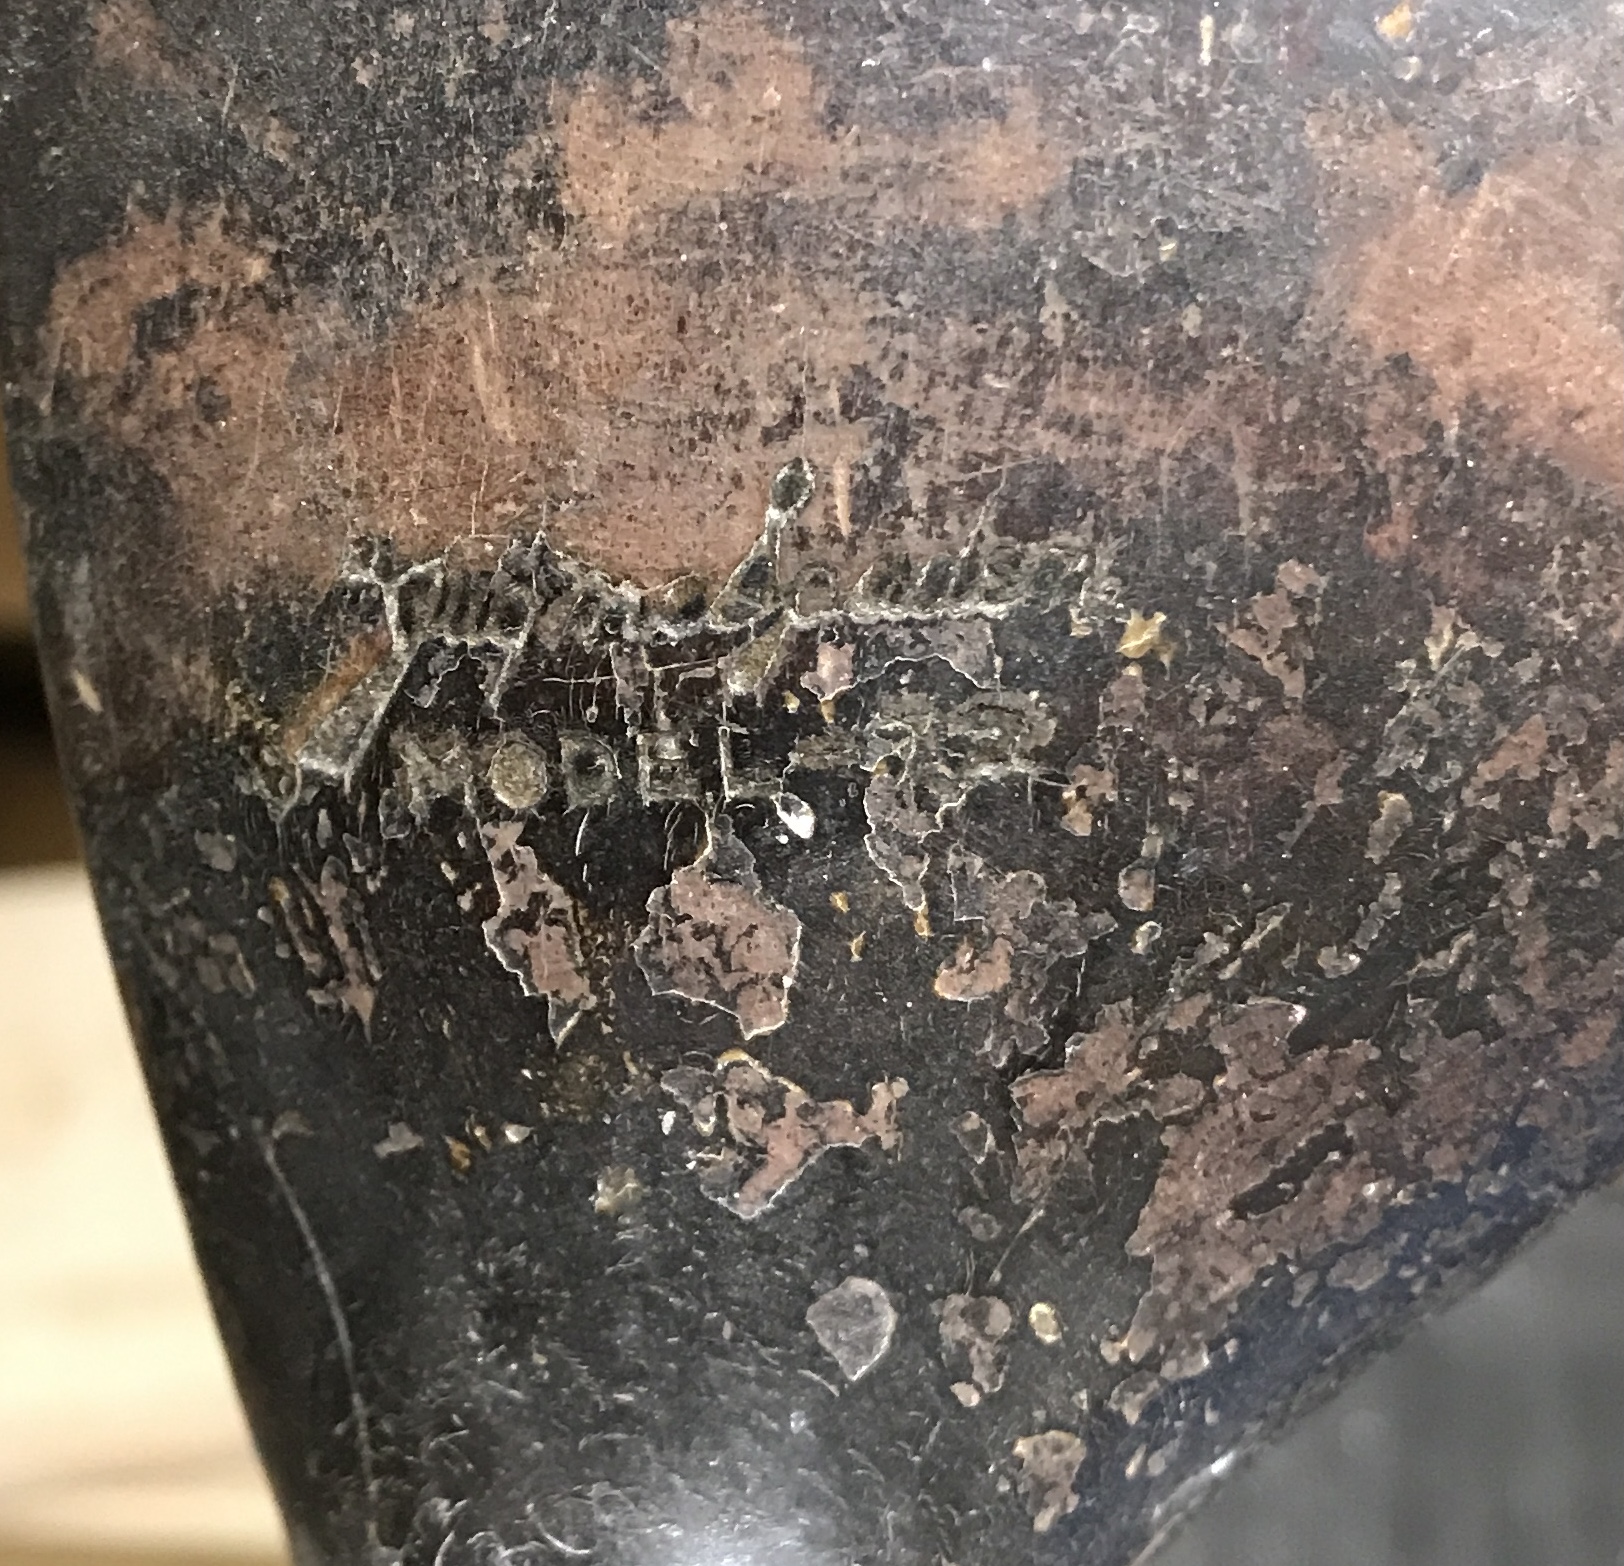
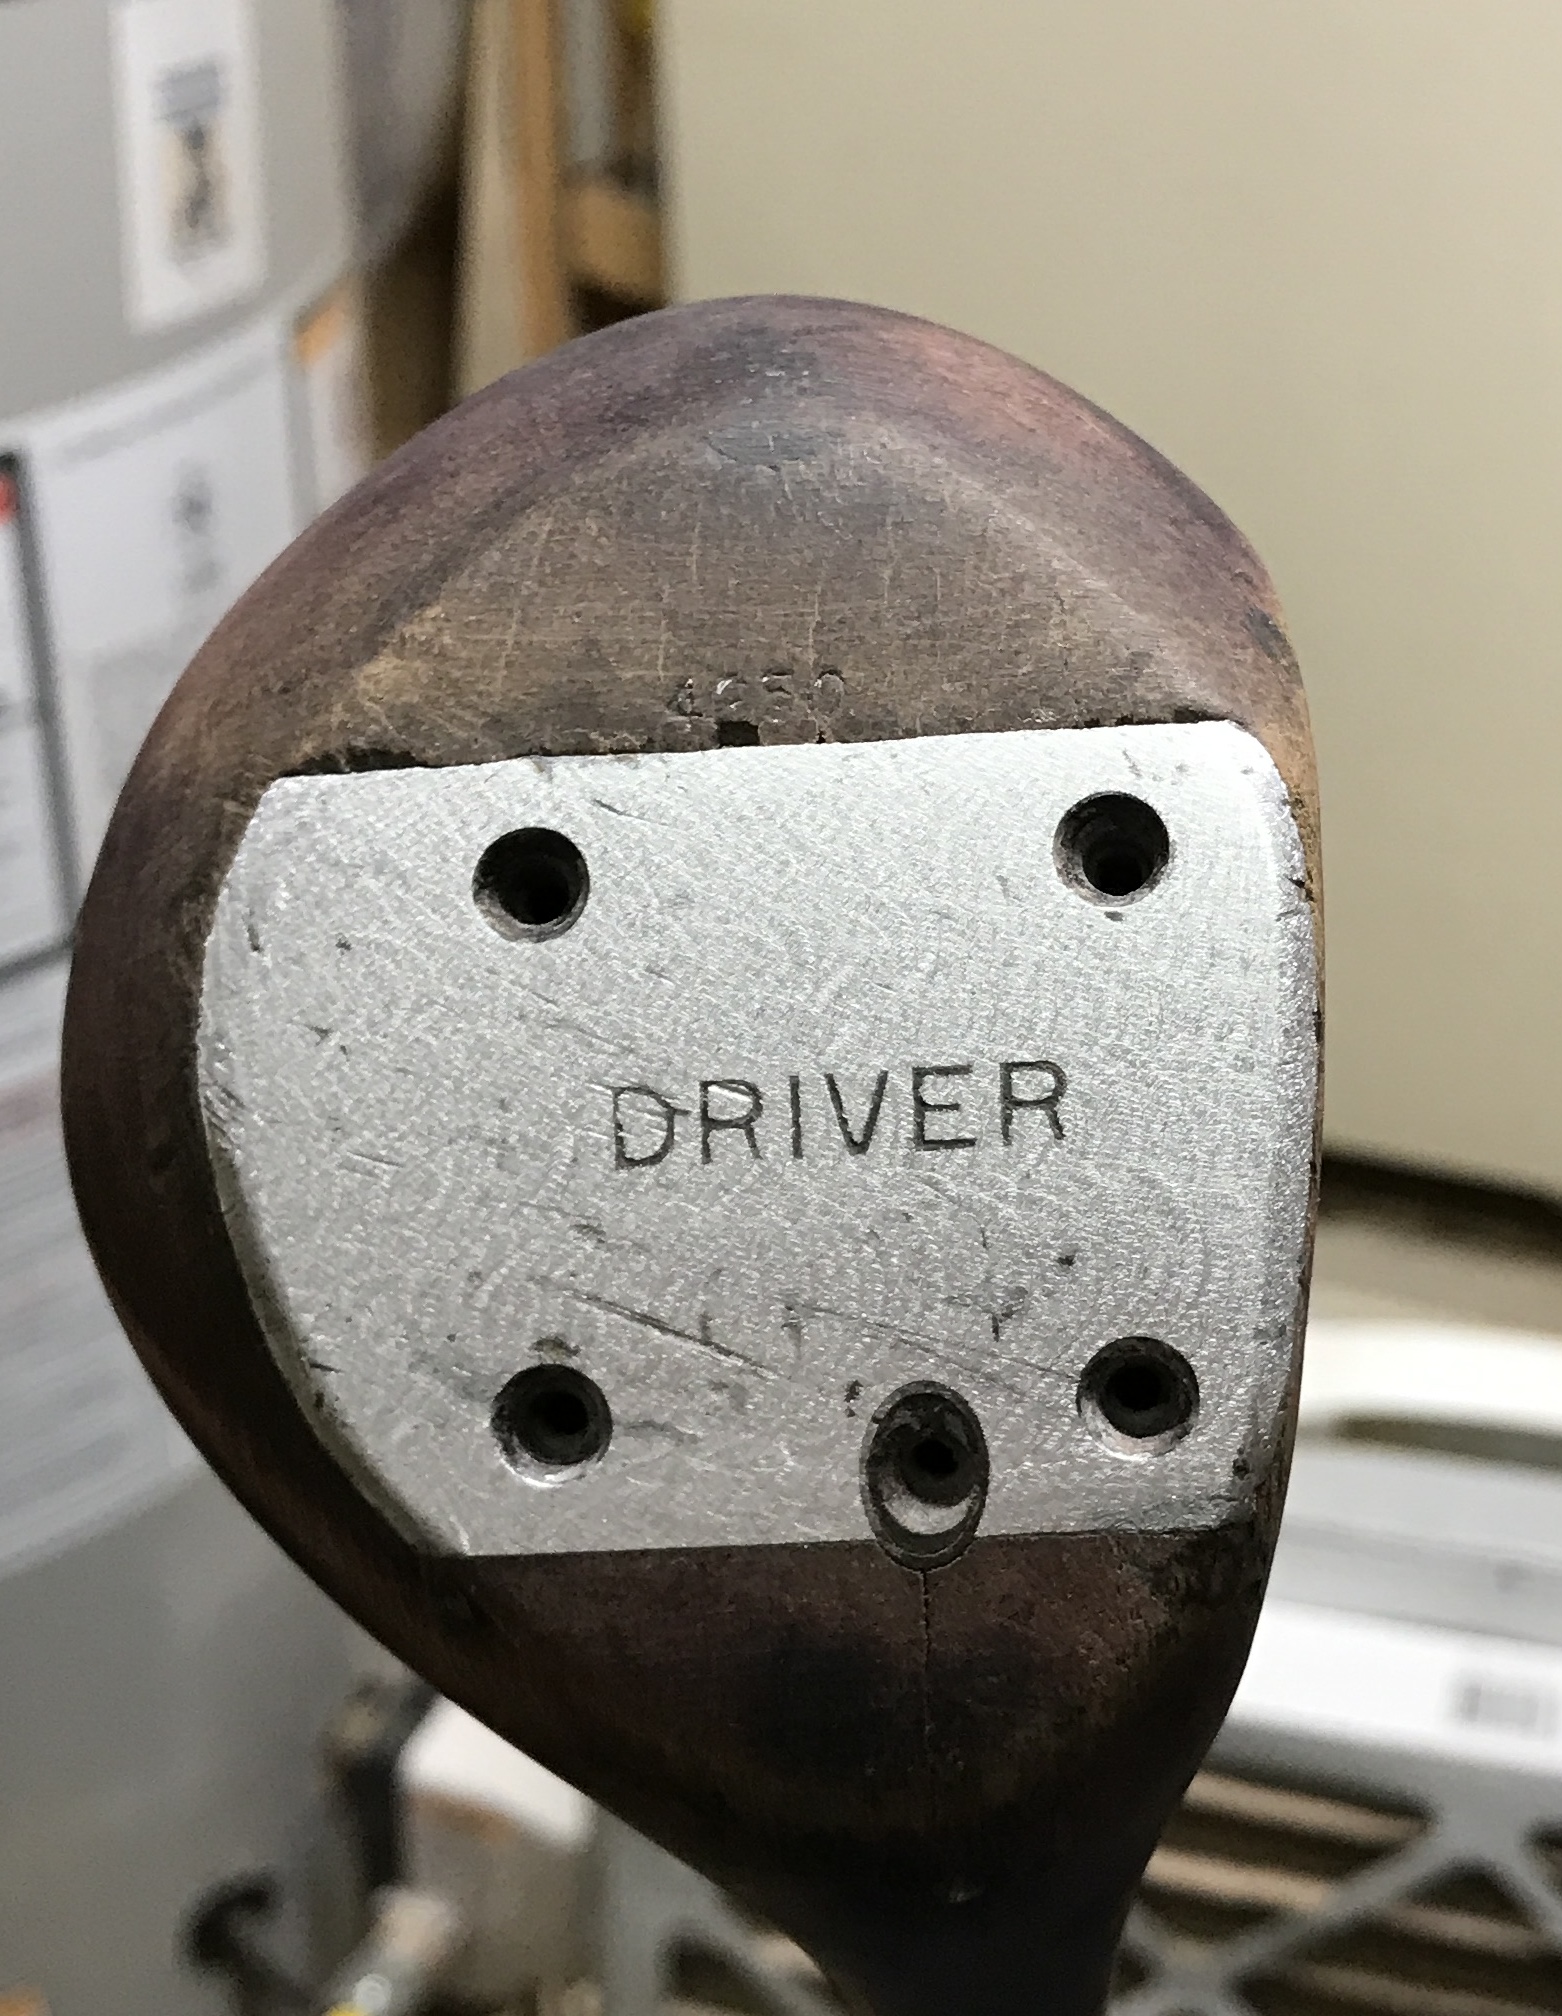
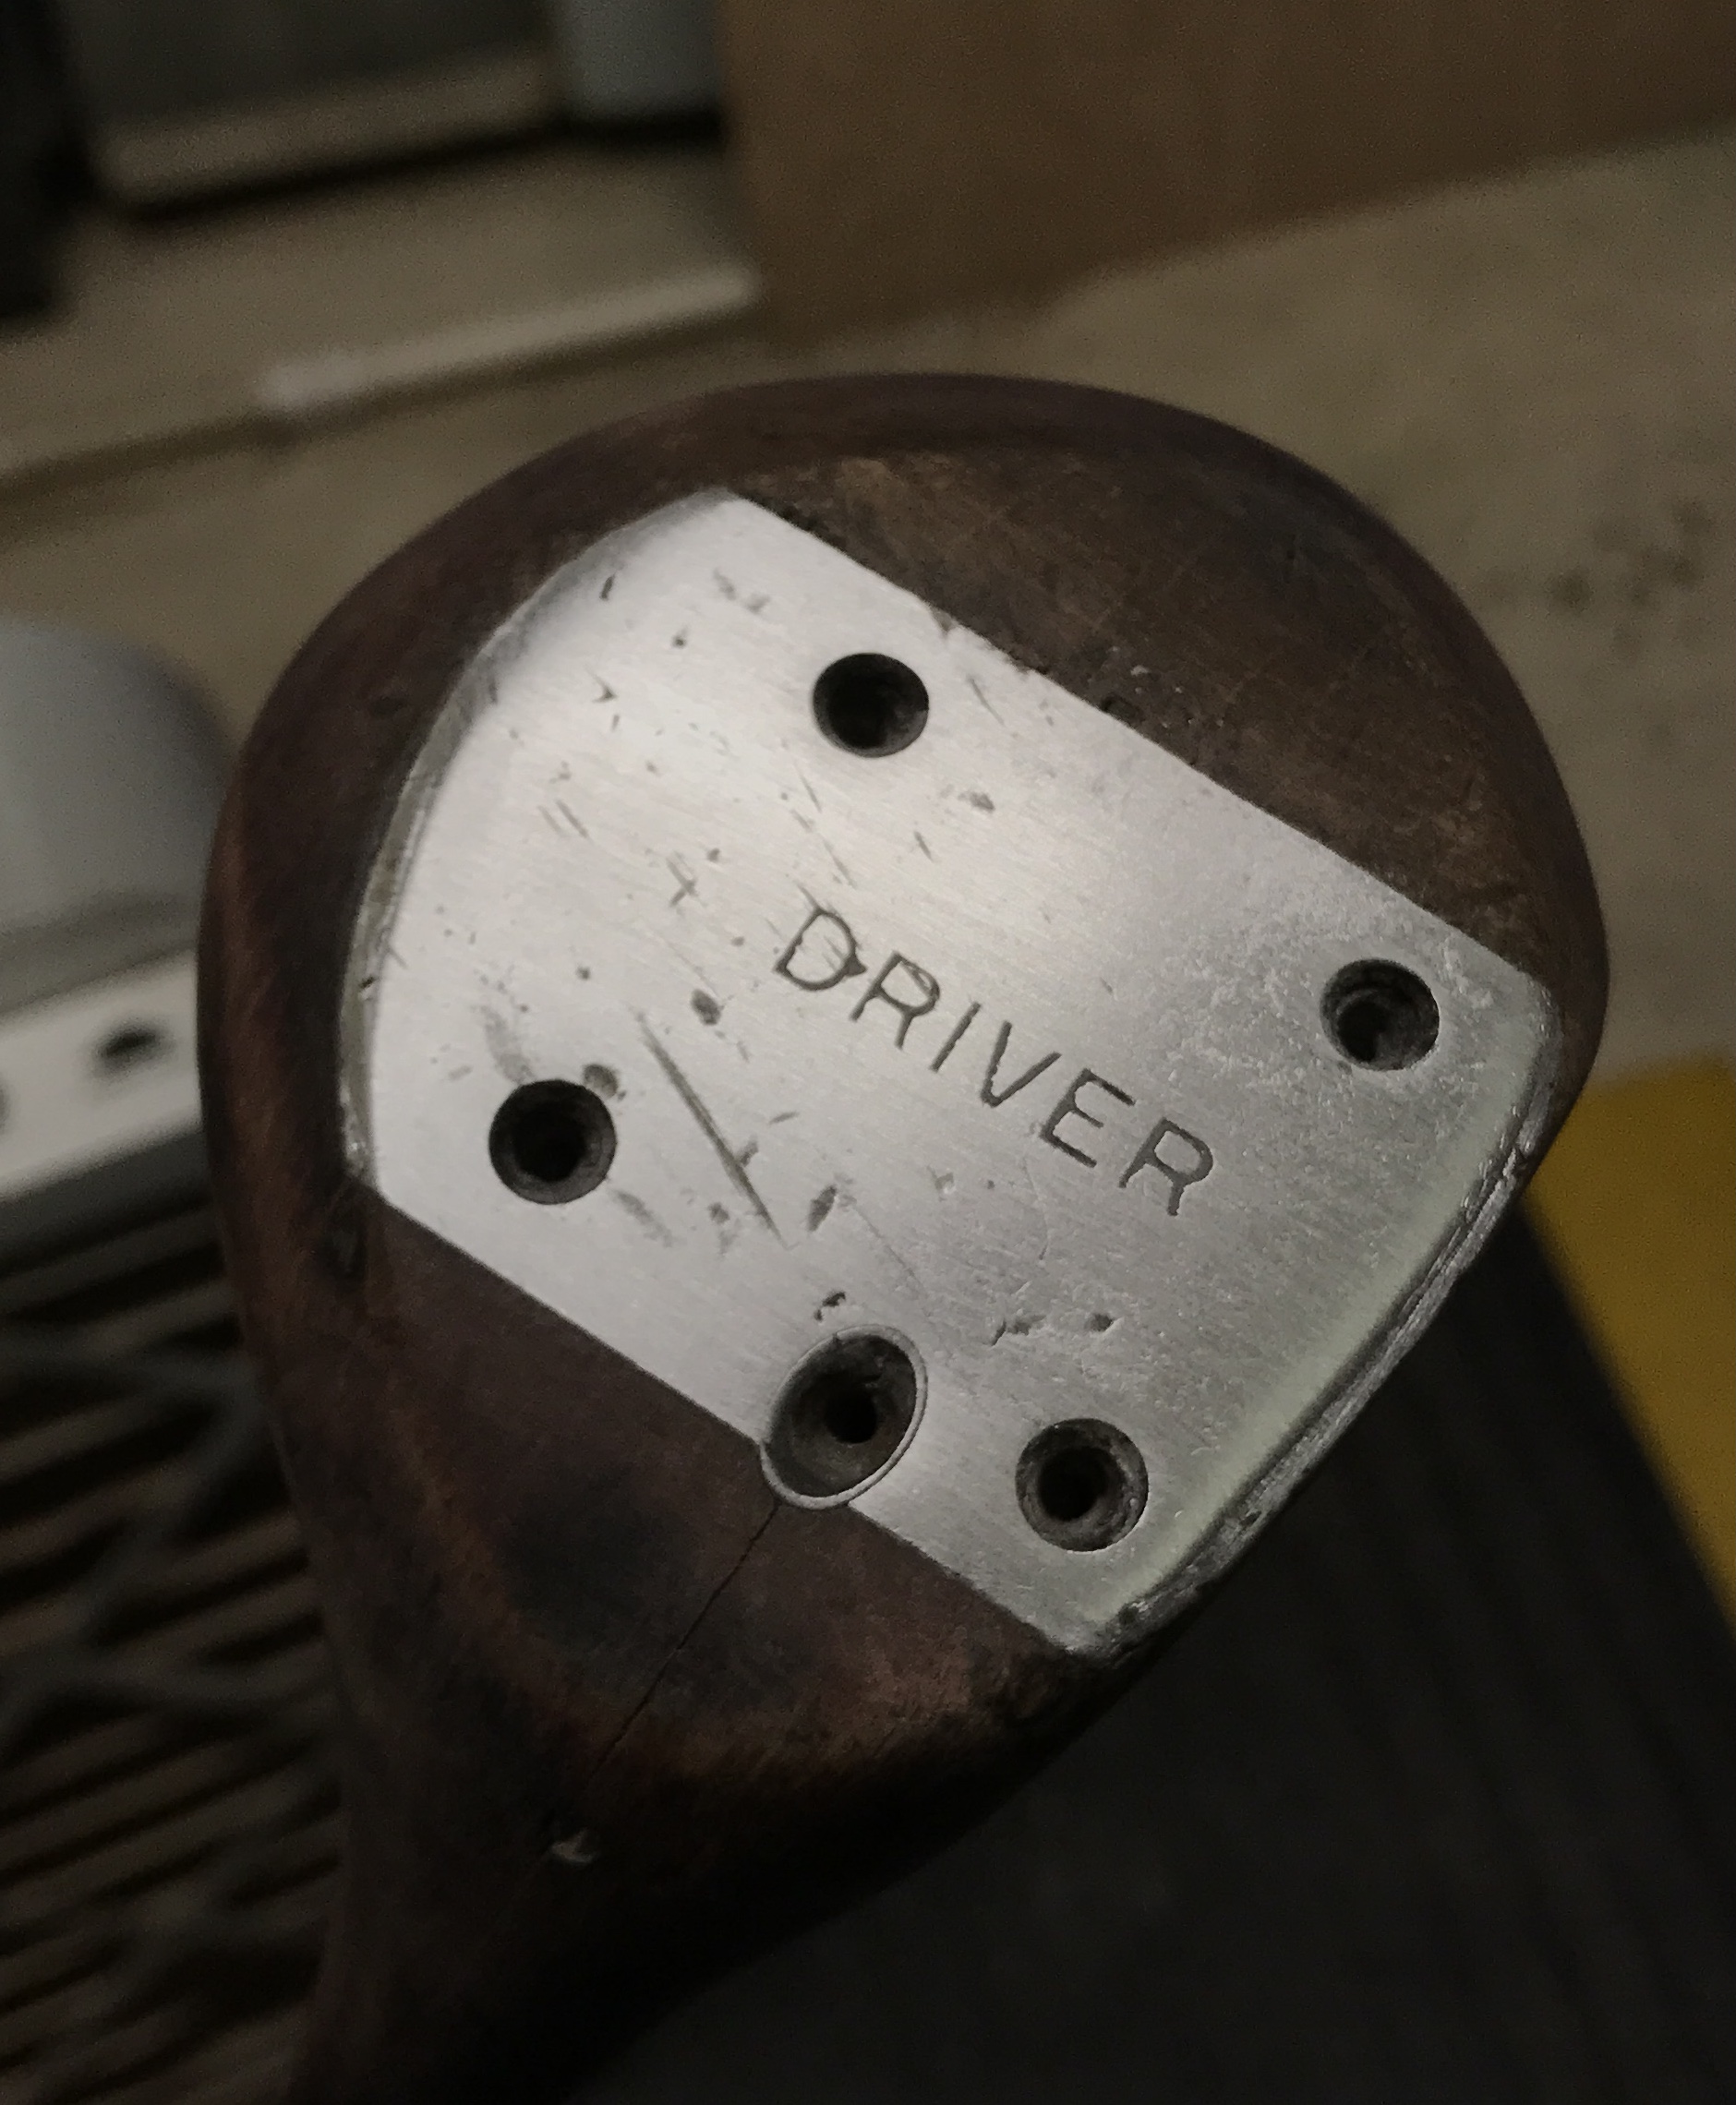
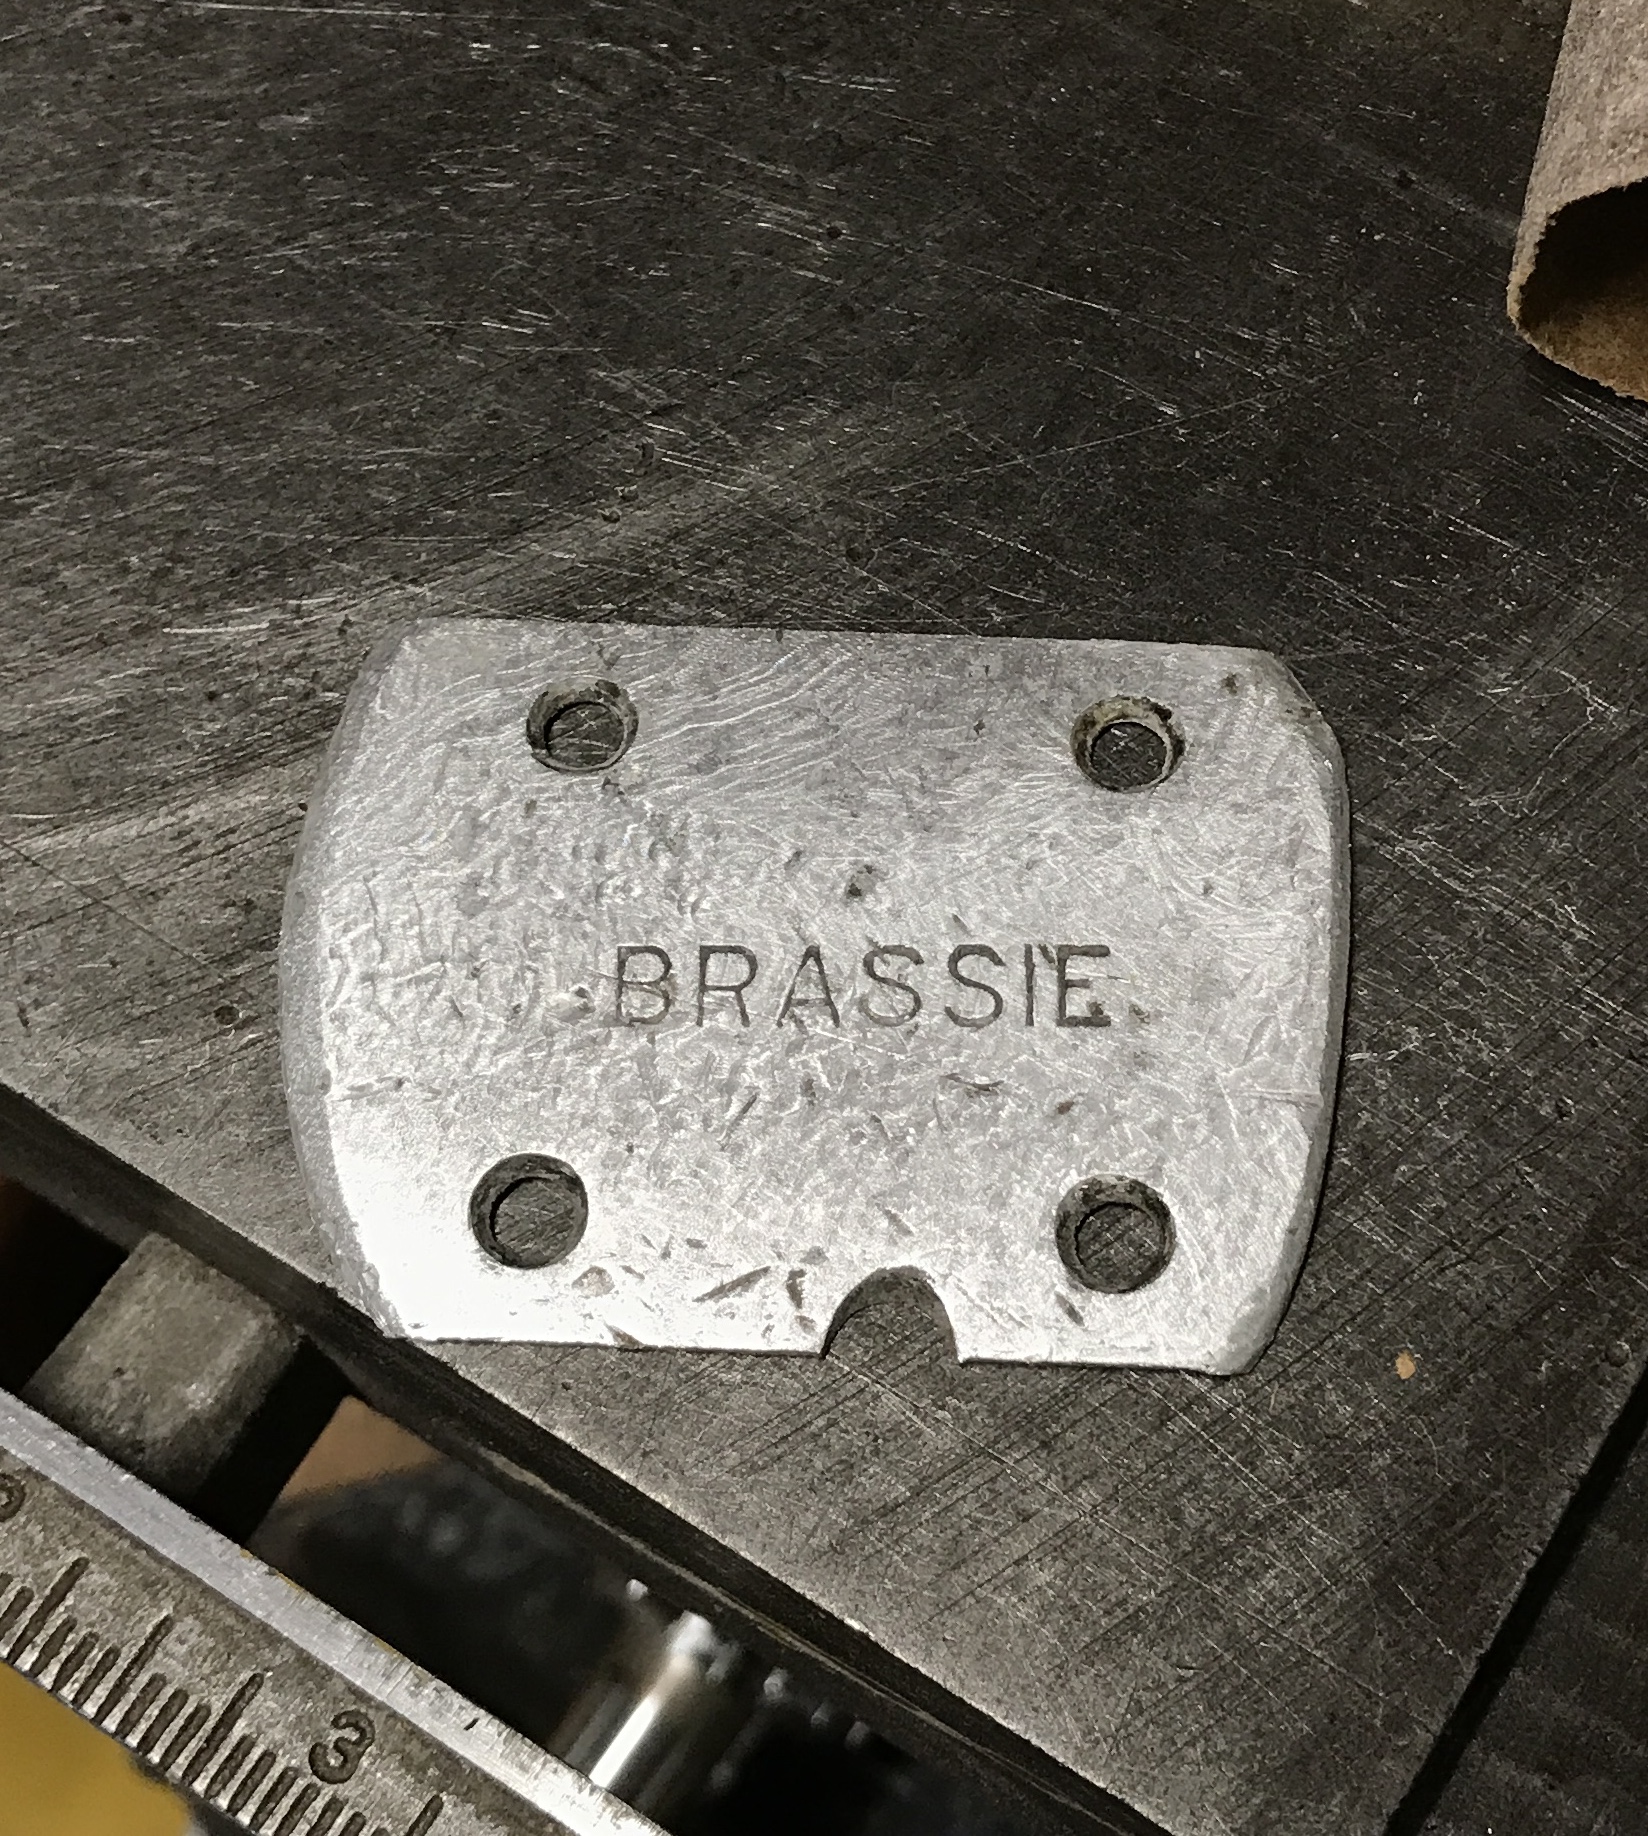
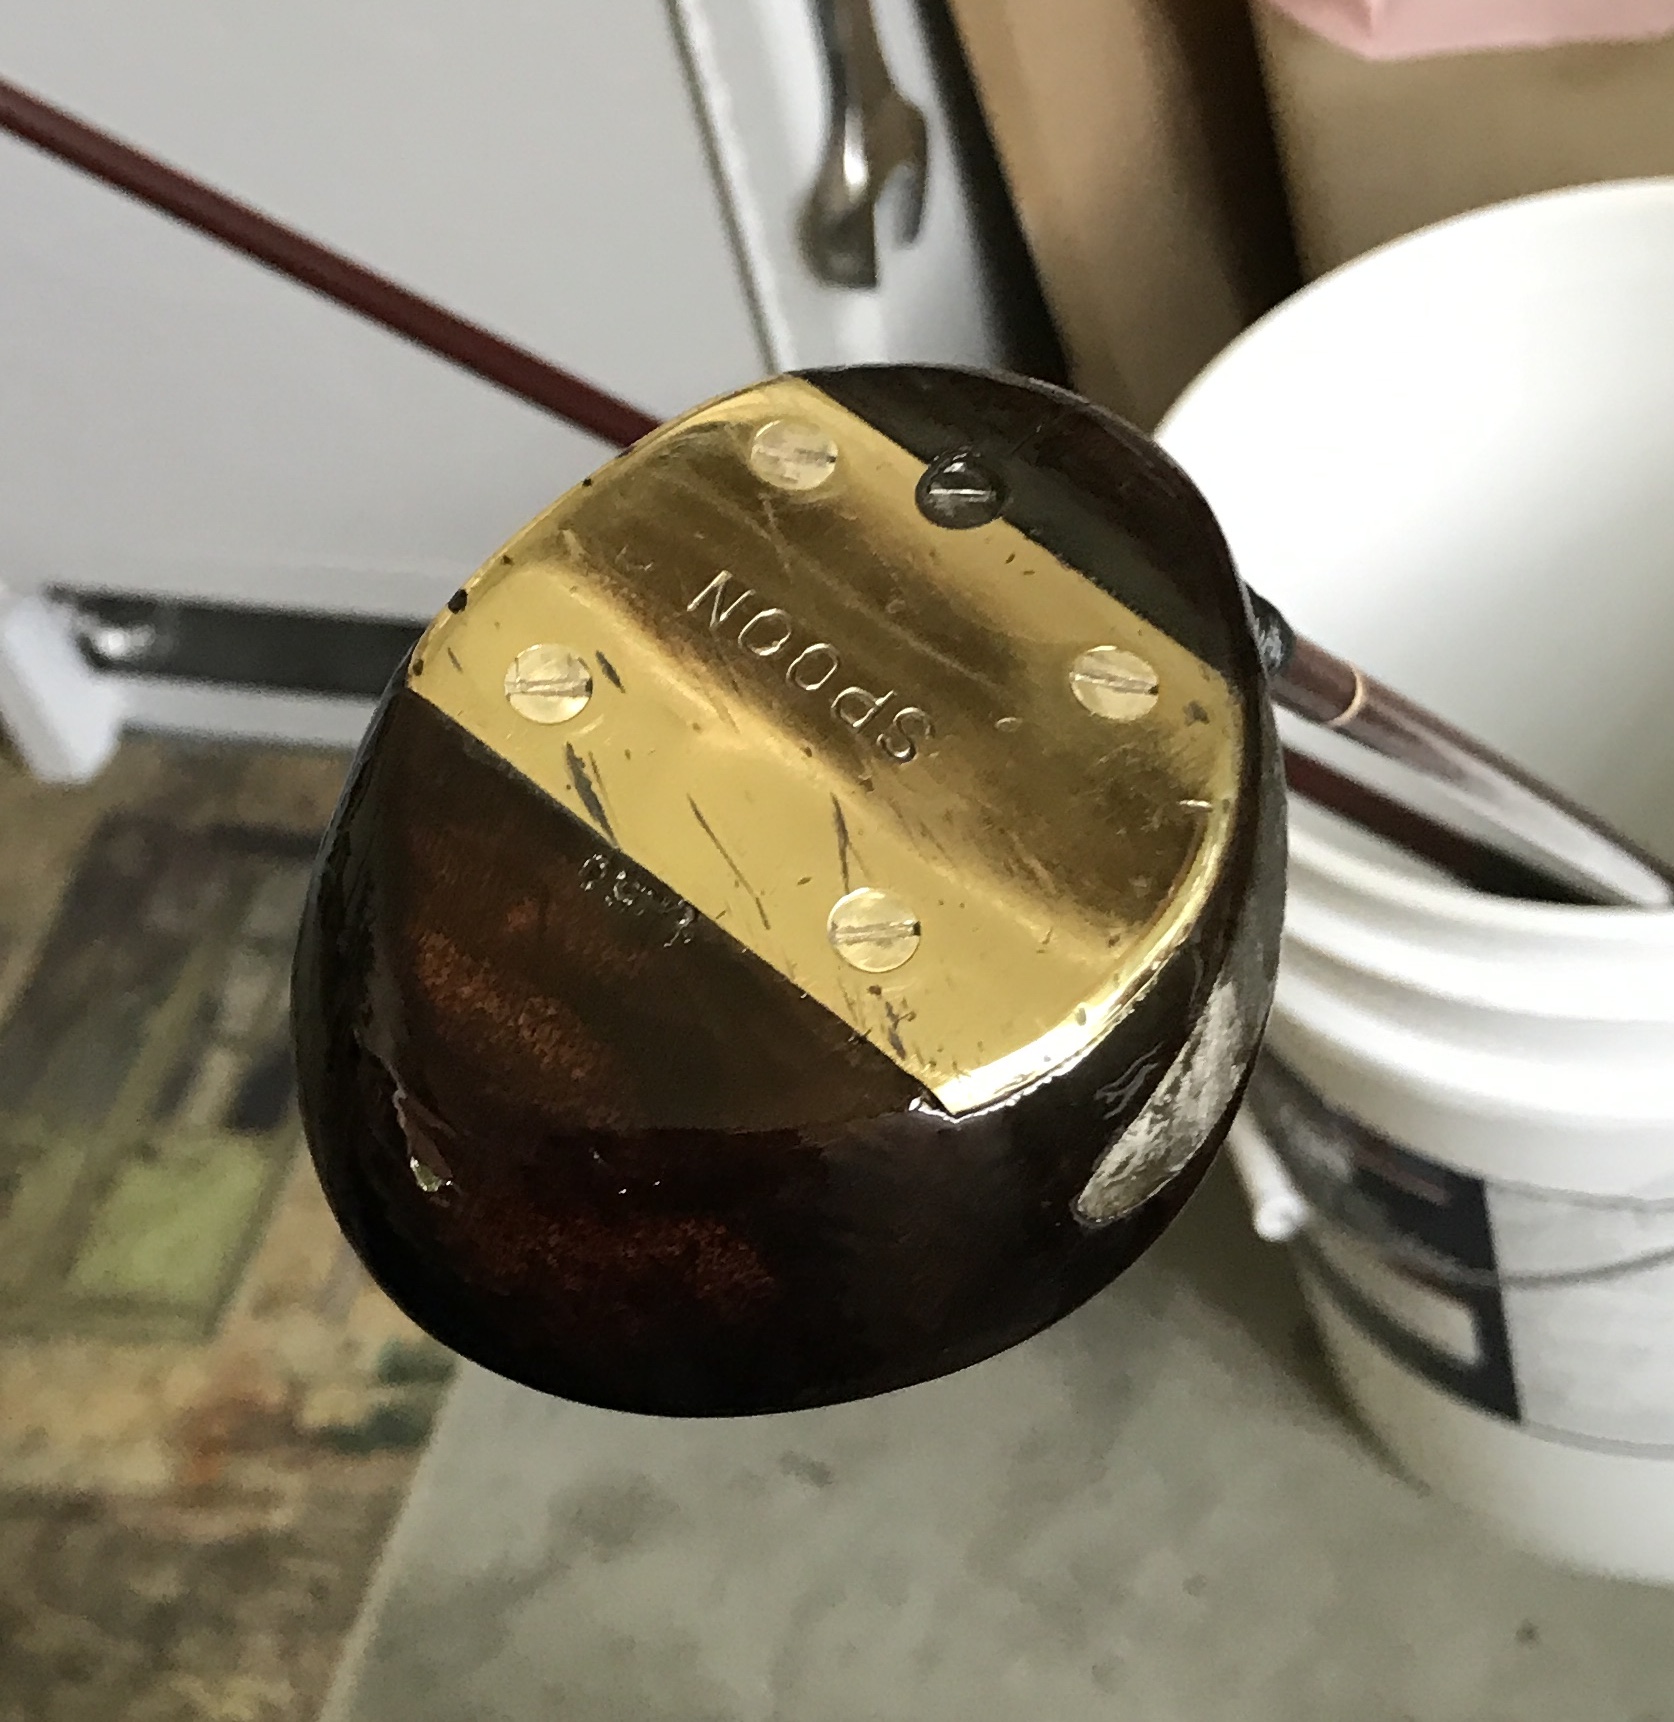
While working on the clubs I noticed some words engraved on the tops of the heads. After comparing the three clubs, the second word became apparent, McSpaden. This was looked up on the net. "Jugs" McSpaden was a famous golfer in the thirties and forties. His name is engraved on all three clubs with "Model 72" underneath. I also learned some things about the club names. Brassie was originally a wooden club with a brass sole plate for use in rough terrain. It later encompassed all drivers, which included Brassie driver and Brassie spoon. The spoon was equivalent to a #3-5 wood, the brassie to a #2 wood.
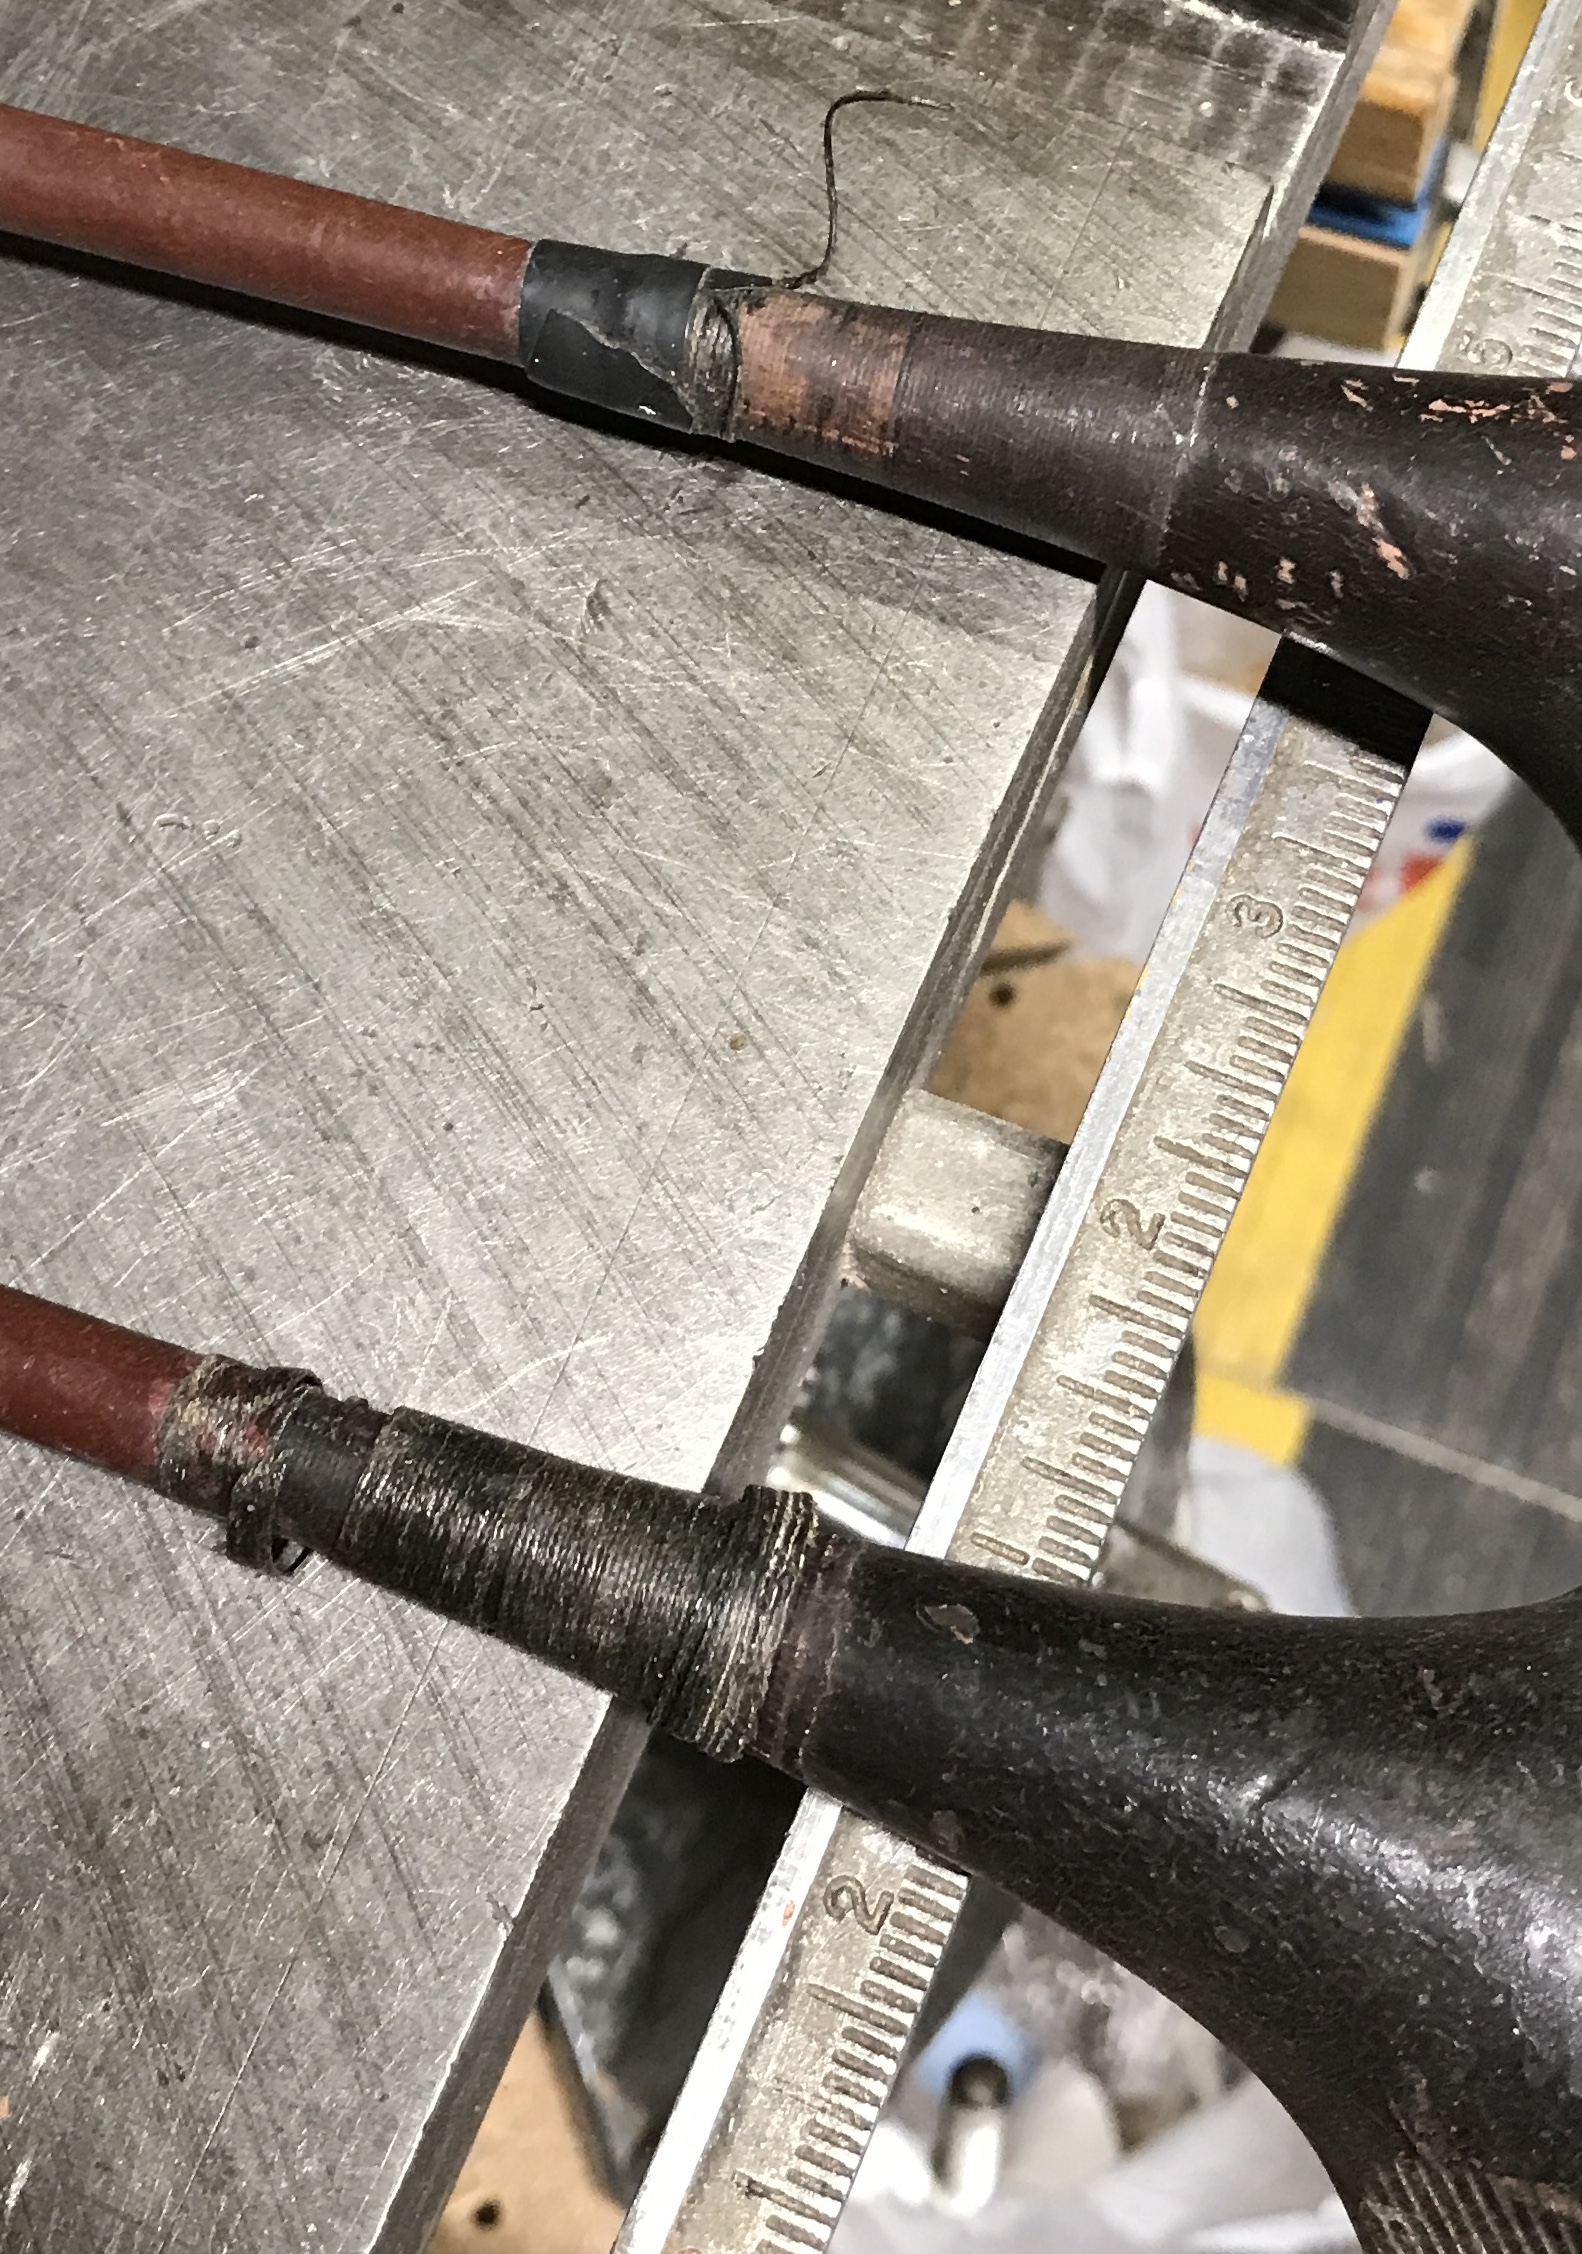
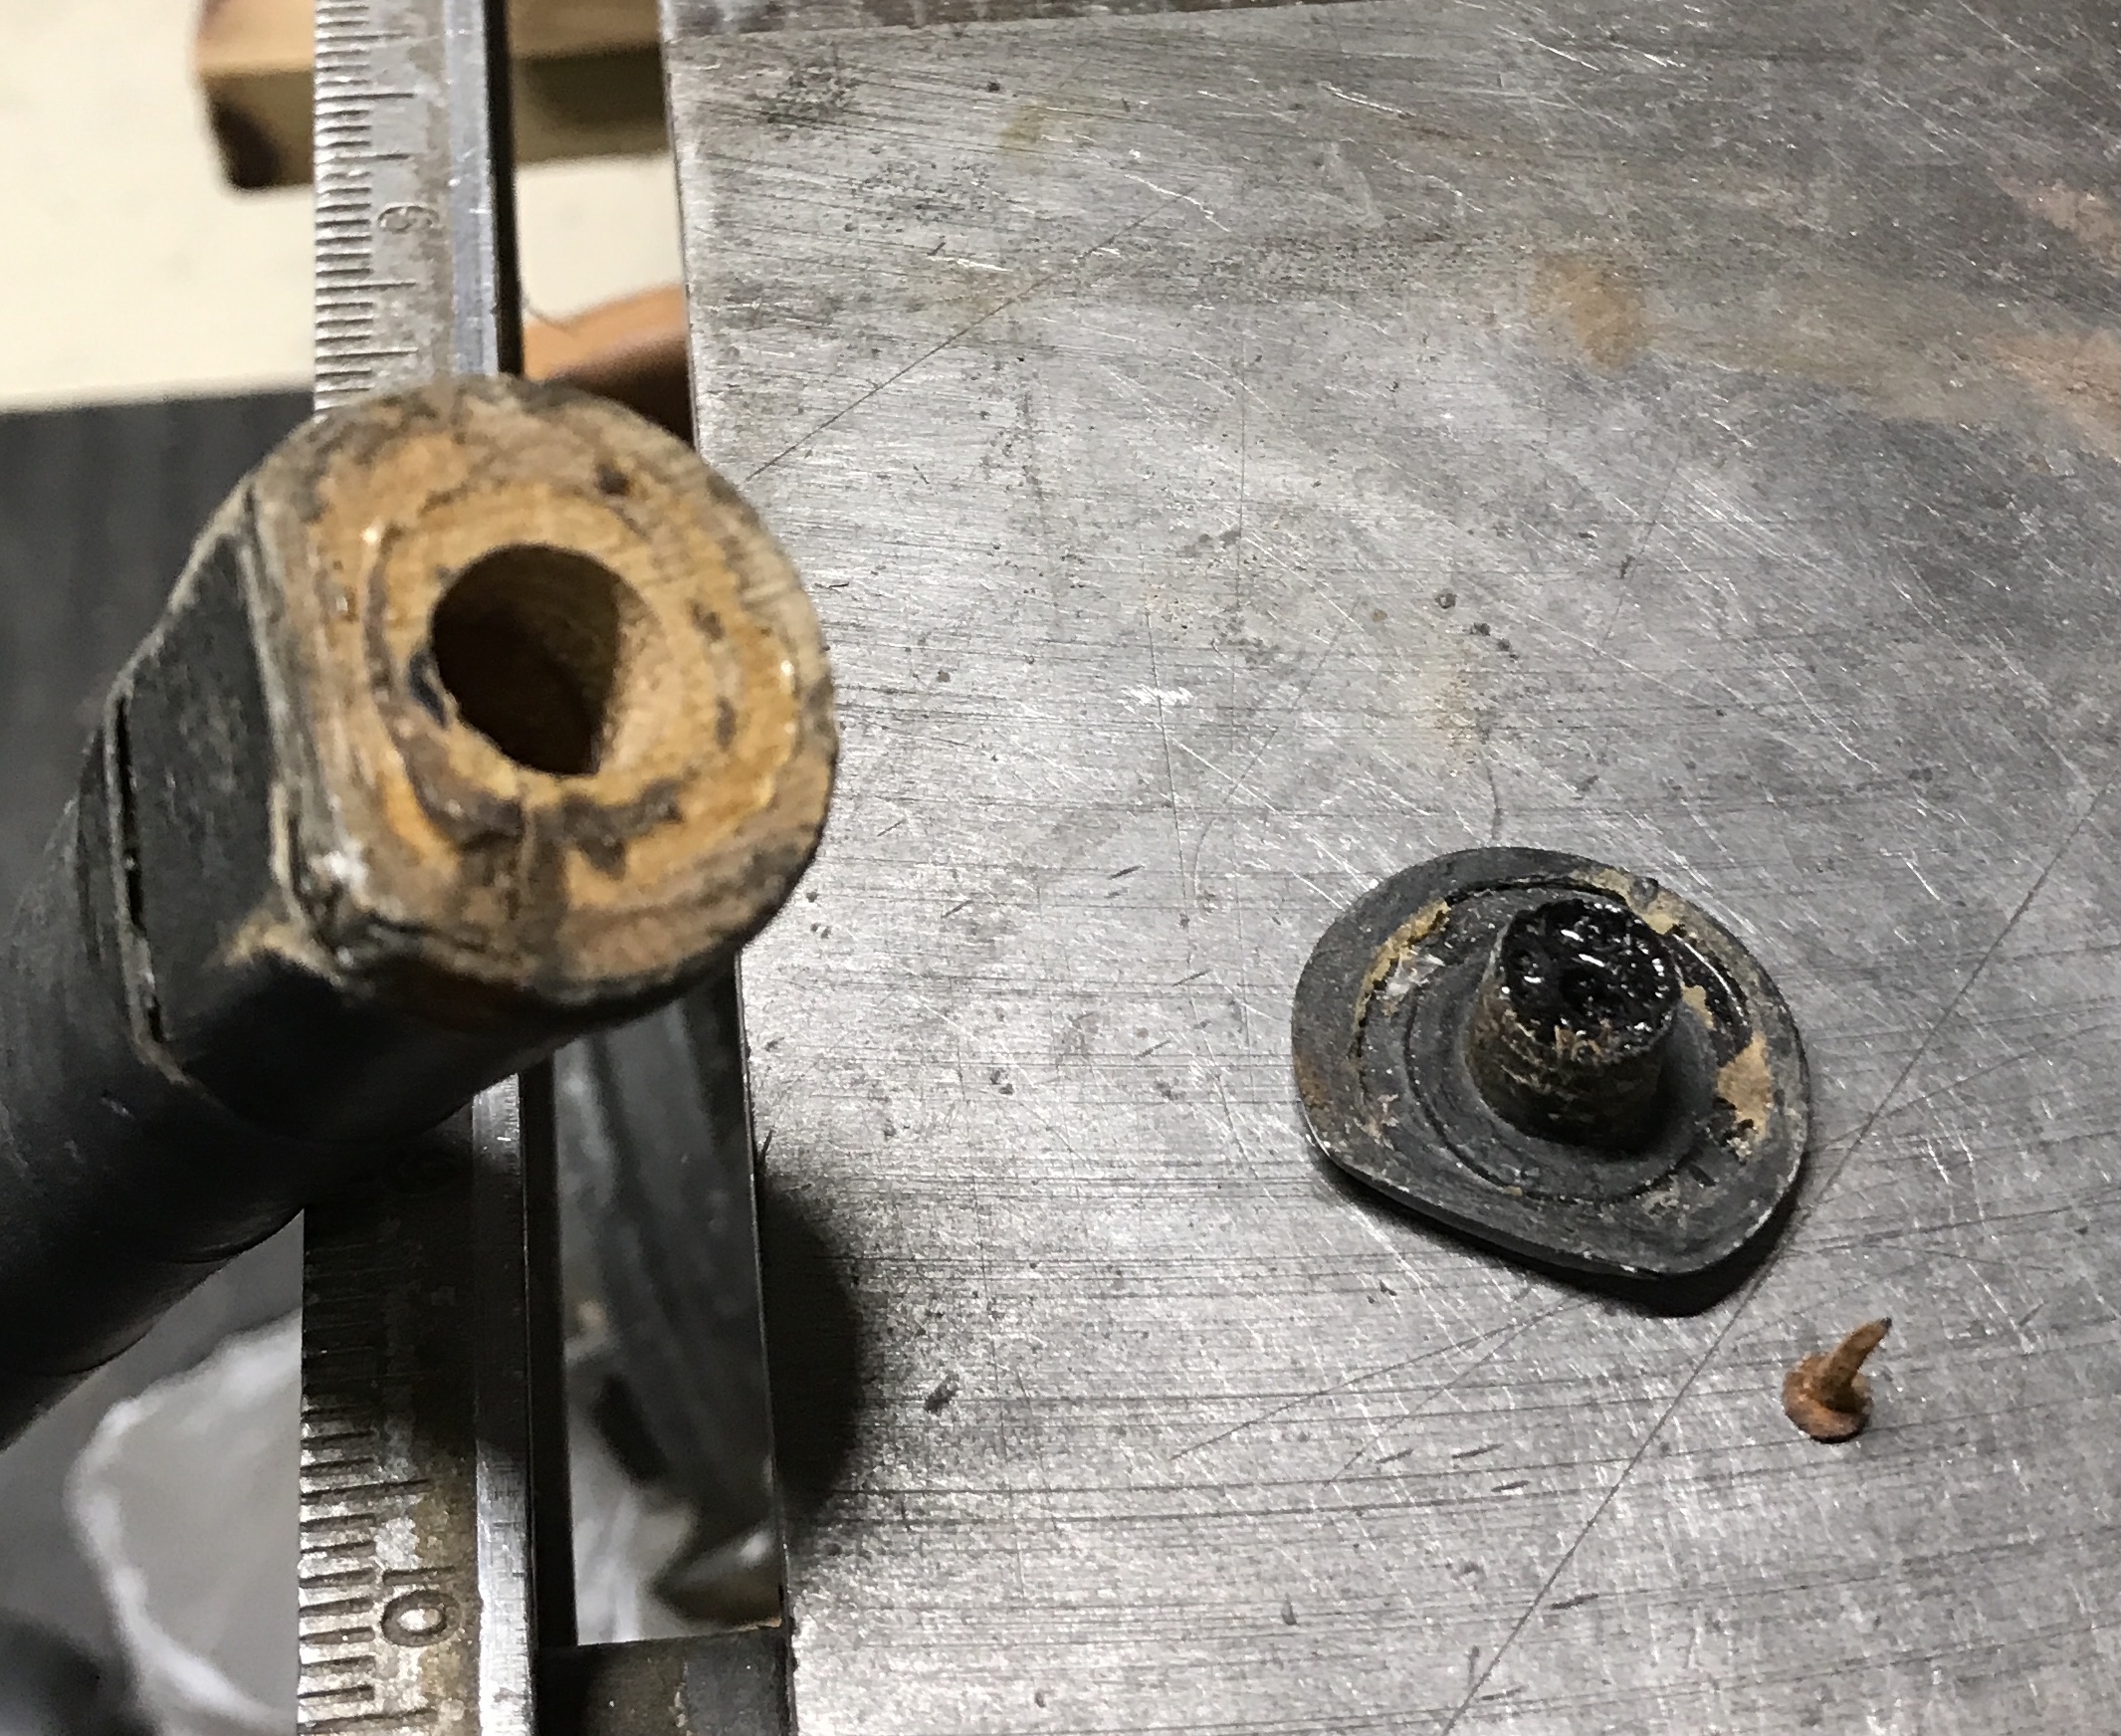
Each club has four brass screws holding the sole plate in place. There is also a curious looking fifth screw near the edge of each (seen in the first two photos above). The four brass screws were removed. The plate would not come off. It is held by the fifth screw. Removing this screw did not release the plate. It looks as if a plug of wood is driven into the head affixing the plate in place. This plug has a screw driven through it. There is also a small screw entering at right angles from the back of the head, that might further hold this plug in place. The plates will need to be finished while attached.
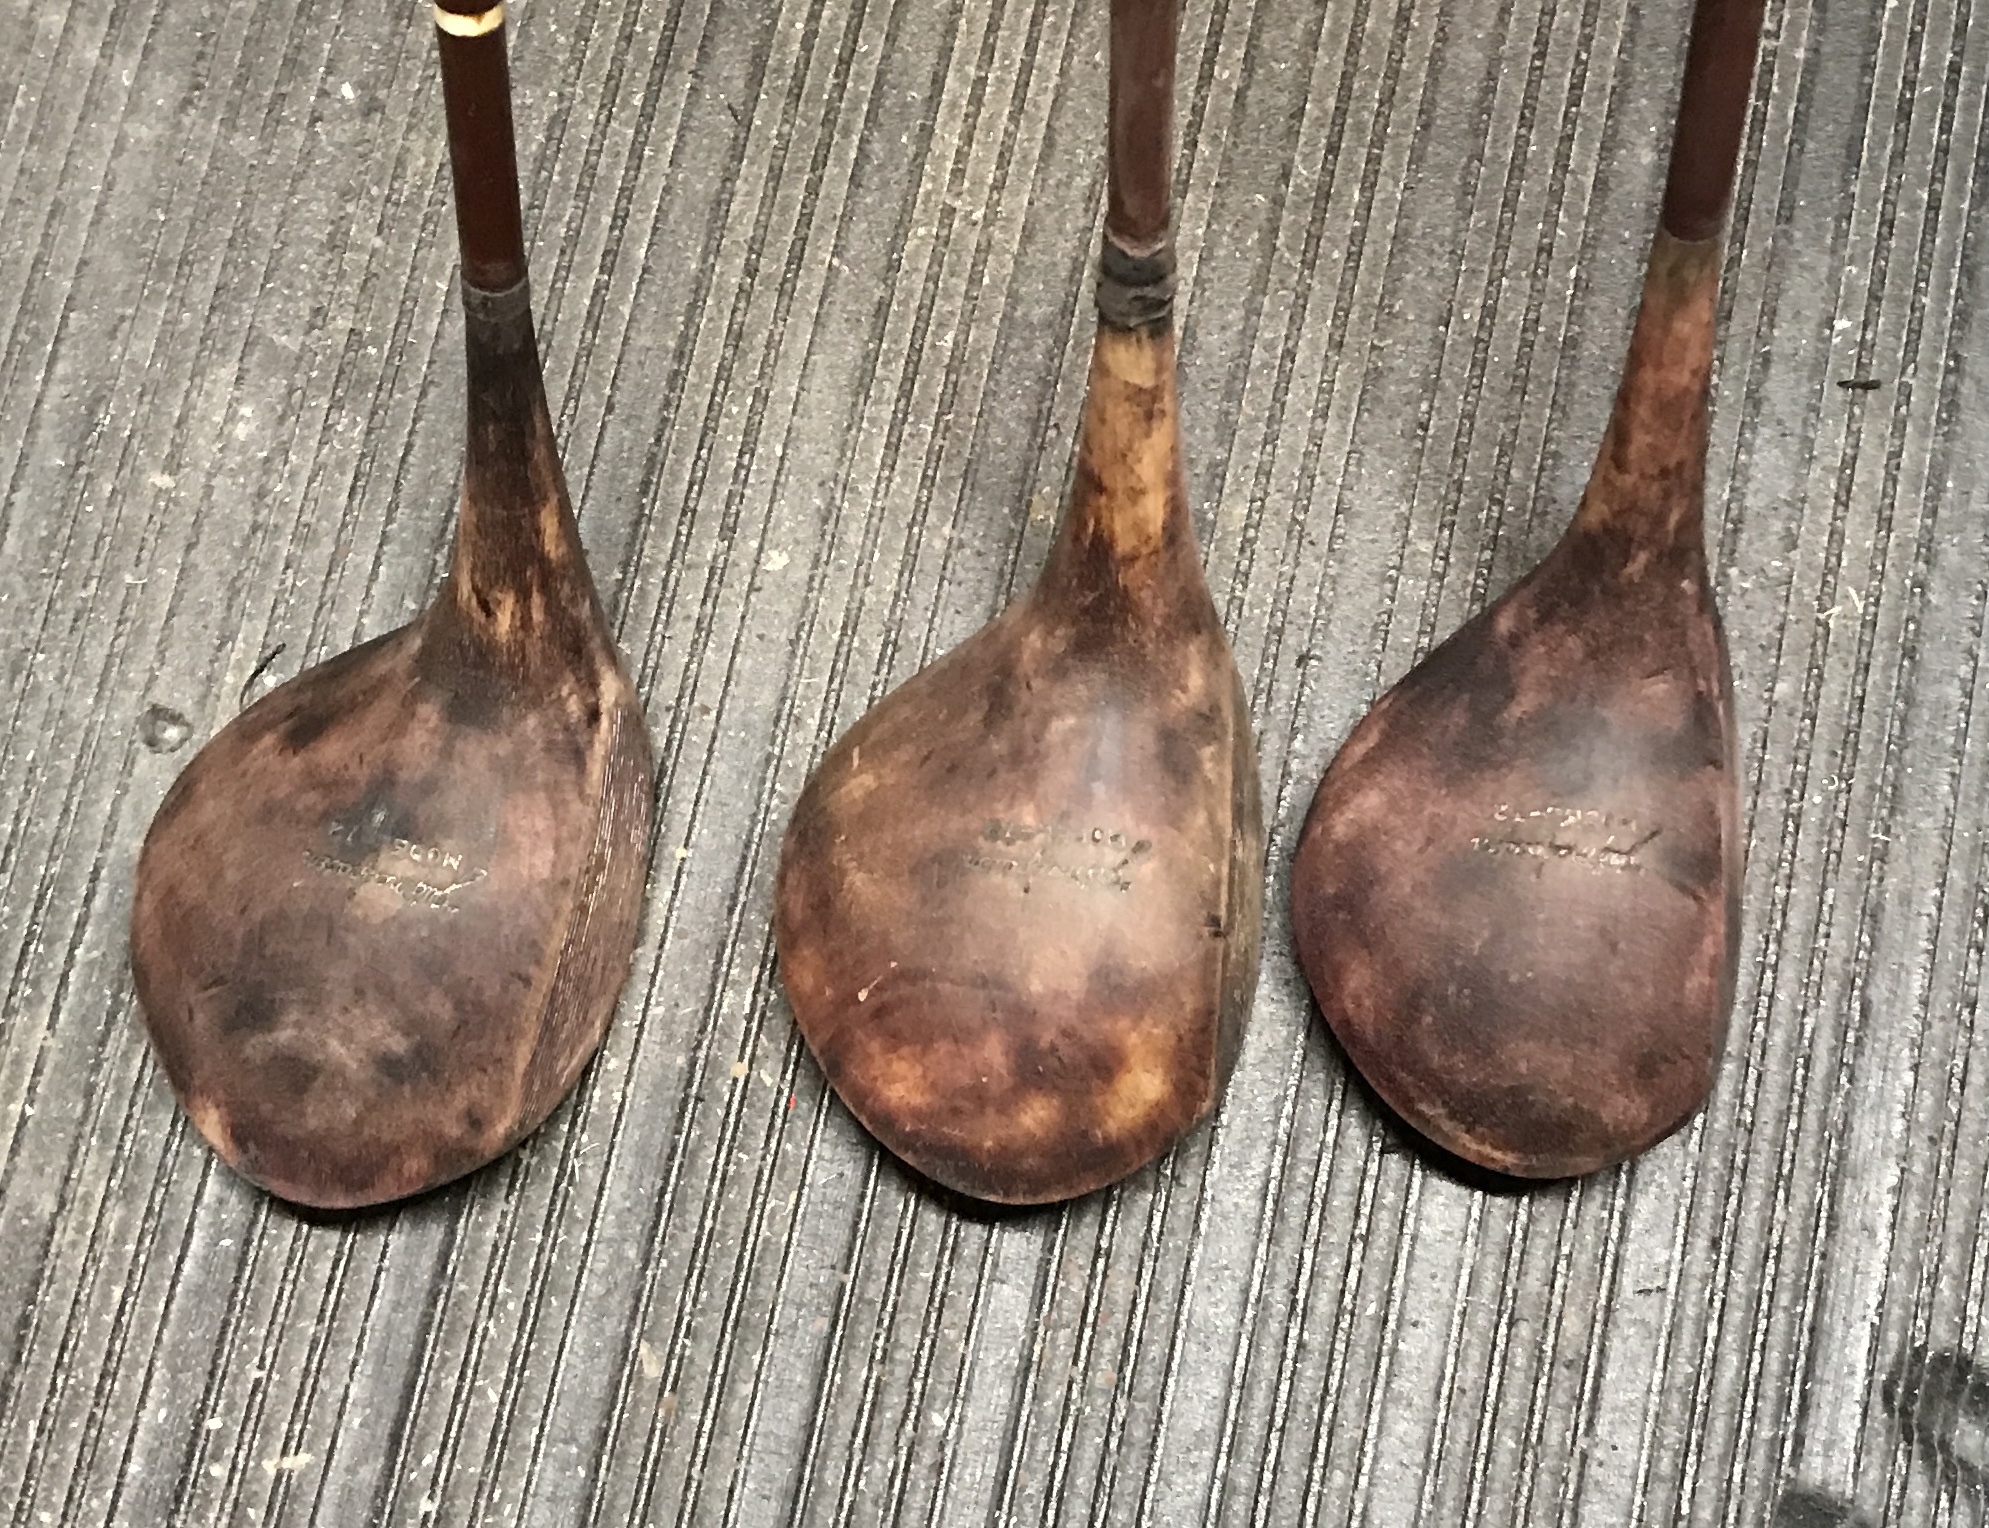
The metal and wood was sanded first with 80 grit on the orbital sander and then by hand with 120 and 220 grit paper. One sole plate came off. It is made of aluminum. It revealed an odd metal washer around the fifth screw that serves to anchor the plate. The first two photos show the club head after sanding with 80 grit. The third shows the metal after sanding up to 220. The fourth shows the separated aluminum plate. The fifth shows the three club heads after sanding to 220. I doubt David would be happy with the leopard skin look.

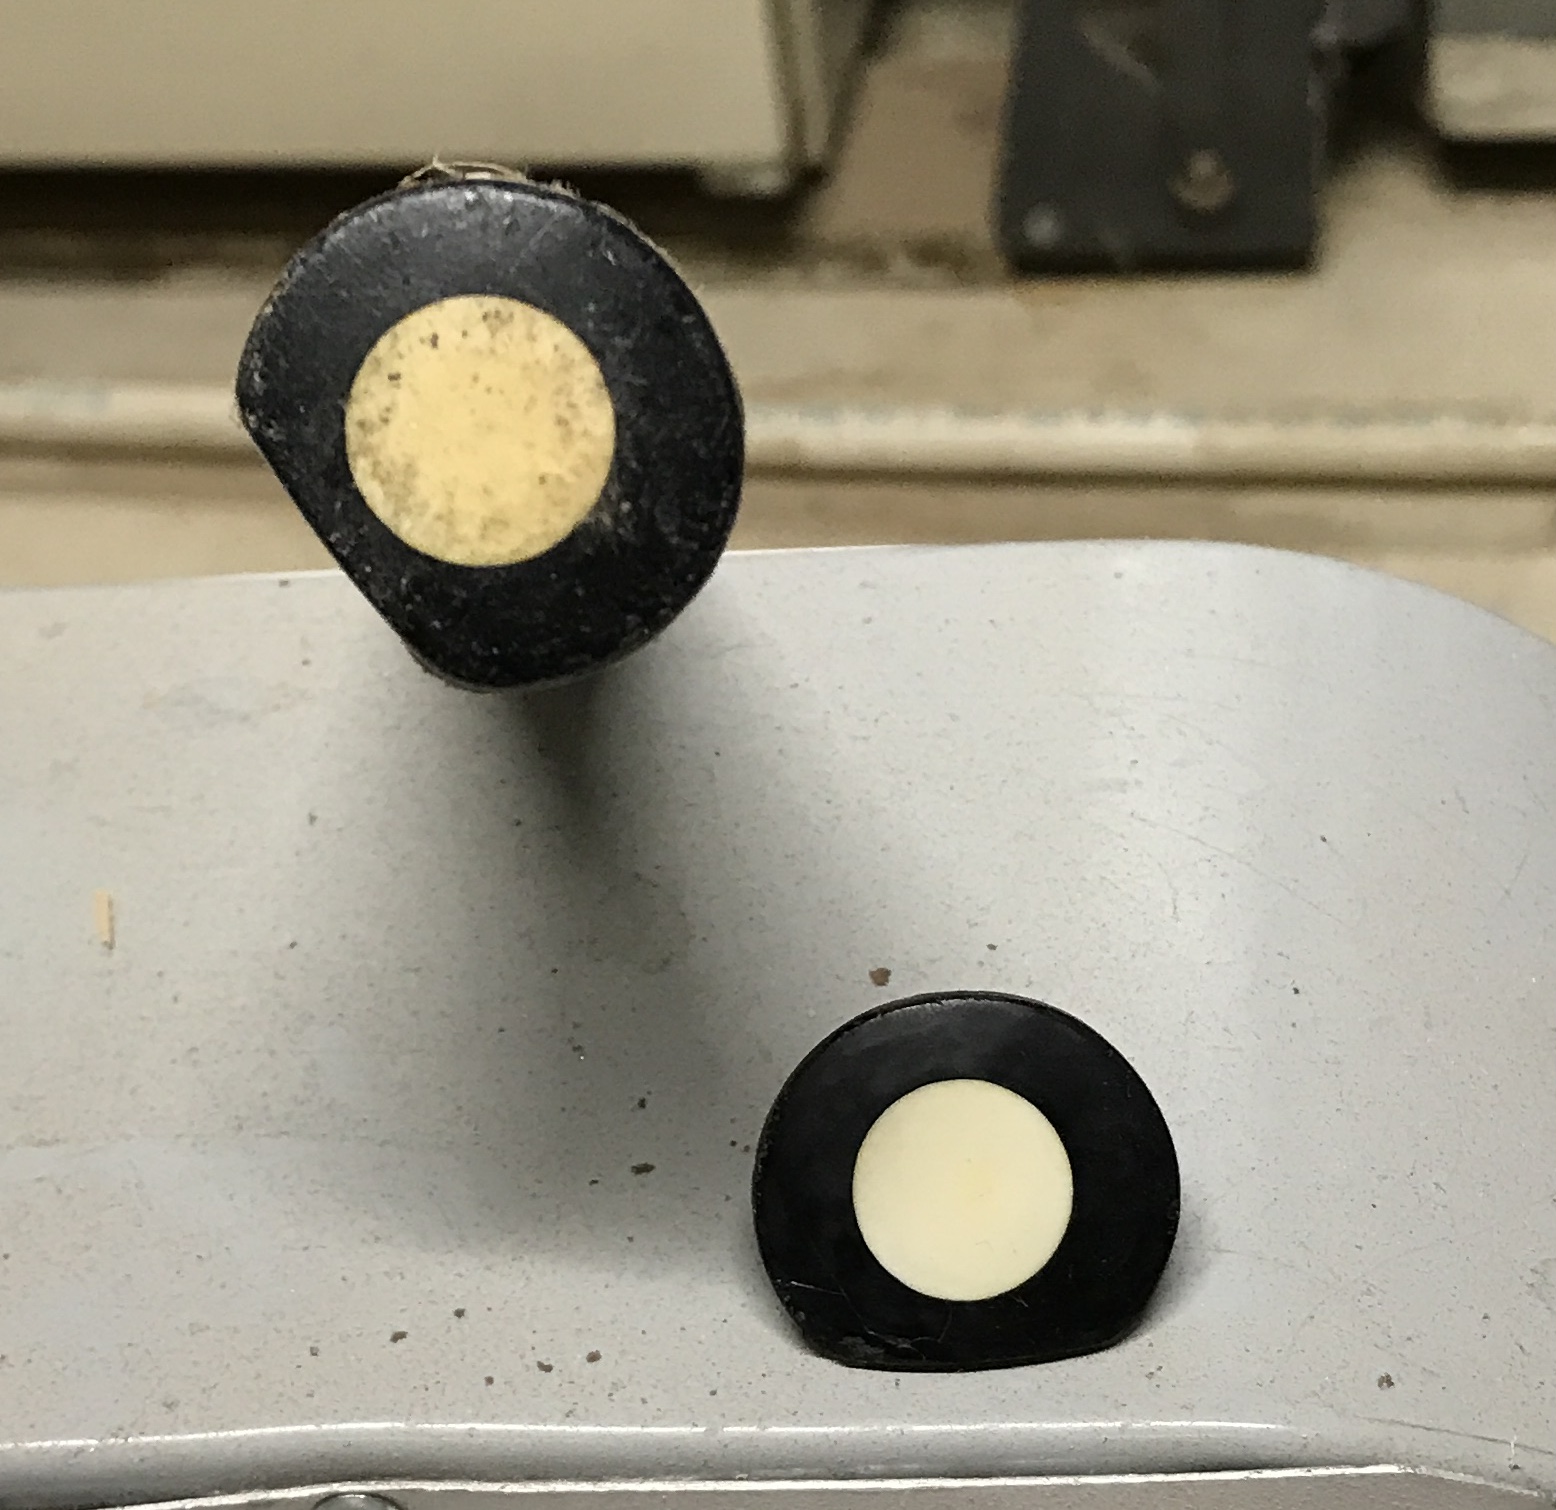
A coat of oil based walnut stain was applied to one club. There was not a lot of stain uptake. The club is still quite blotchy. Don't know if it is the stain or not. While the stain dries (5 hrs) I worked on a few other things. One of the endcaps and nail were loose, so these were removed. The endcaps are plastic. I sanded them with 1000 and 2000 grit paper. This was followed by 'polishing' the endcaps on my jeans. The center off-white circle came out looking very nice. The black does not look quite as good as it was more beat up to begin with.
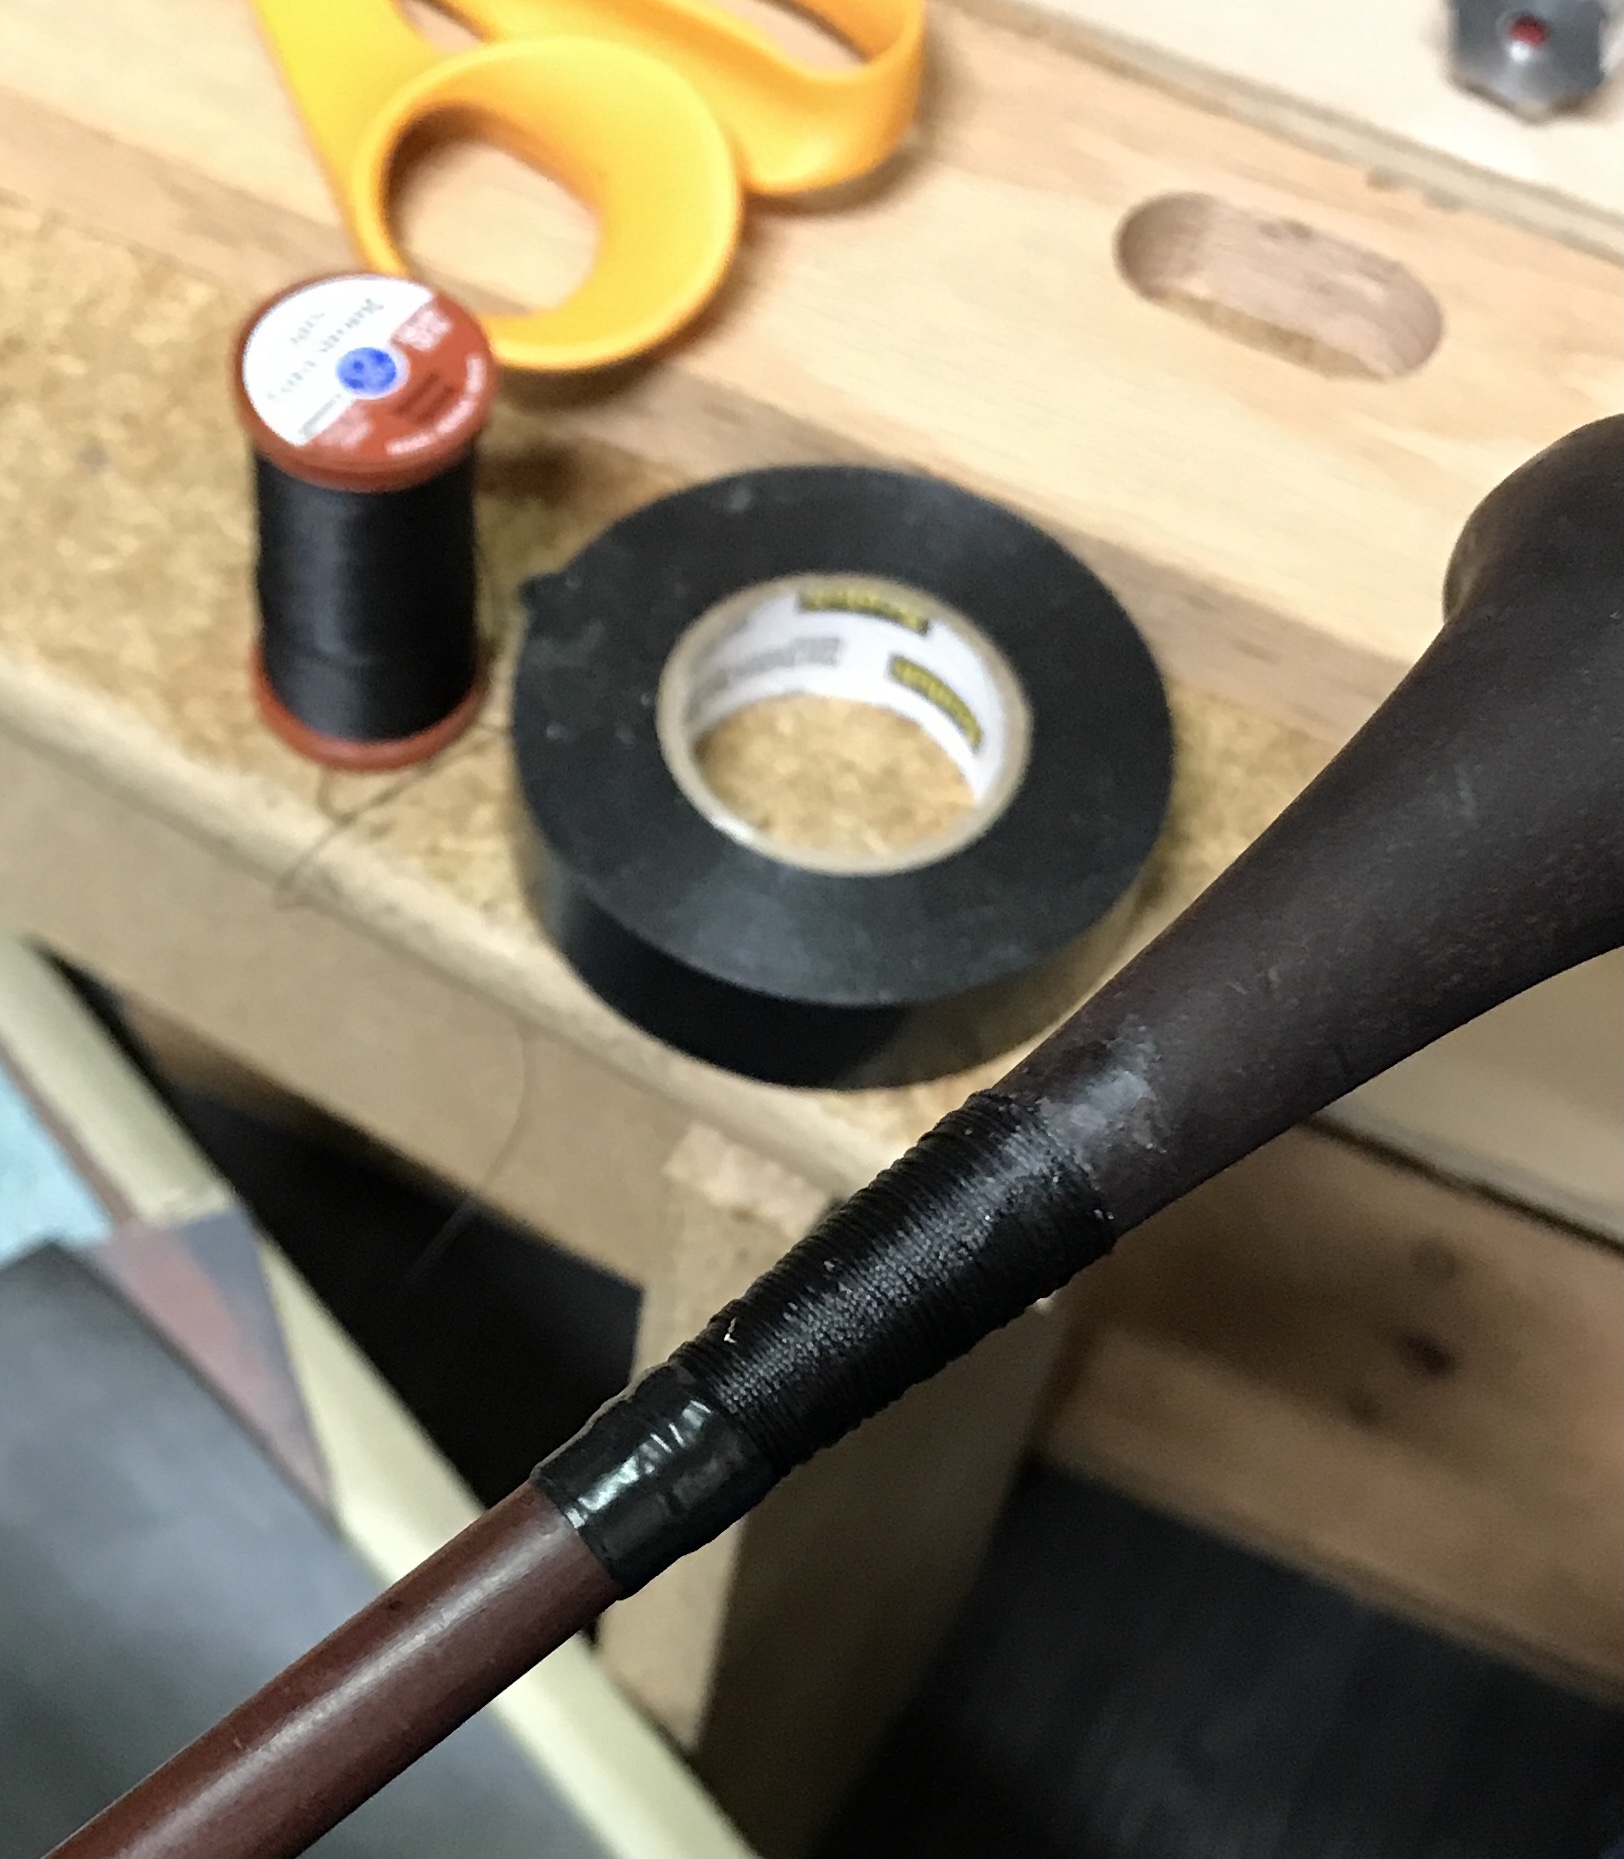
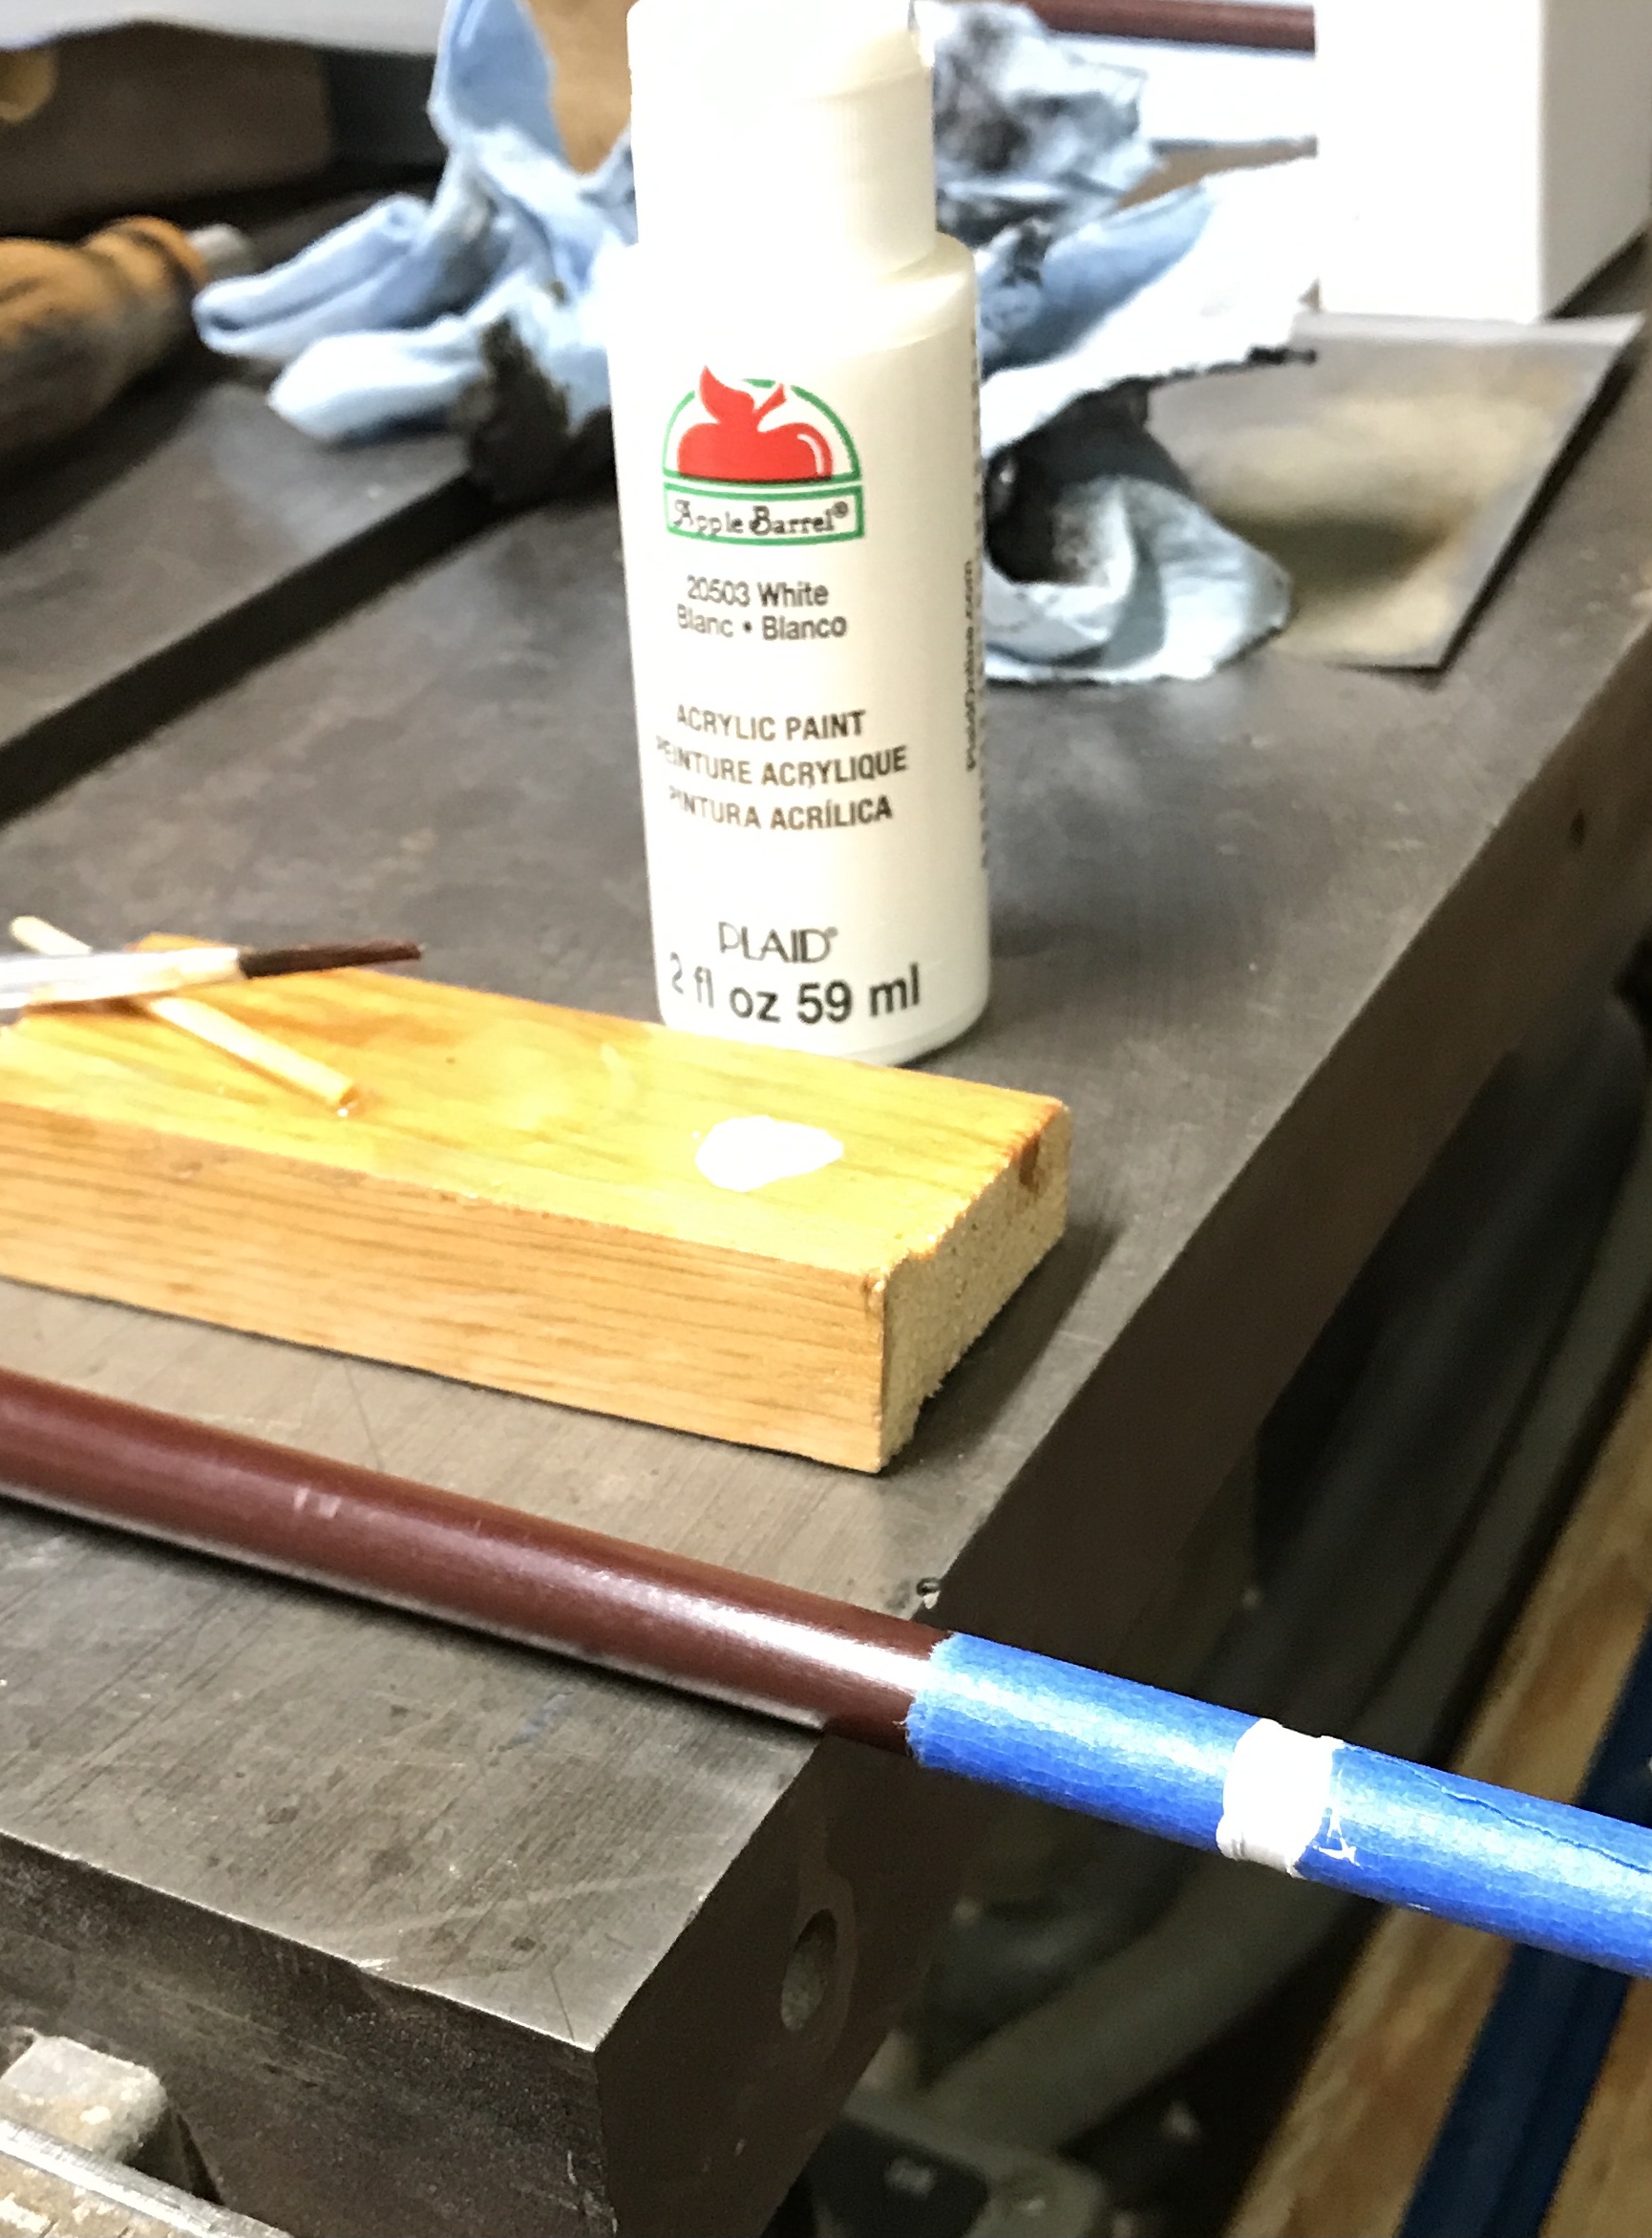
Shoe polish seemed like the ideal way to clean up the leather wrapped handles. One handle had some loose leather. This was repaired by carefully putting some epoxy between the leather and the handle. The polished cap was also epoxied into place. Painter's tape was used to hold the leather in place. The fiberglass shafts were sanded with 2000 grit sand paper. Two grips (the ones without glue) were coated with shoe polish. One grip had significant gaps between the courses of leather. These gaps were filled with shoe polish. After drying the two grips were polished with a shoe polishing cloth. The photo below shows the difference between the polished, shoe polish applied, and unpolished leather grips.
Used the GF water based brown stain on the other two clubs. They look much more evenly stained. The first club was sanded with 220 grit paper after it sat for five hours. The water based stain was applied. A second coat will be necessary, but it is already more evenly stained. The second coat was applied. Now they all look good. After the epoxy on the leather of one grip had dried overnight the tape was removed and this grip was treated with the shoe polish.
Two things were accomplished this morning. First the sole plates were polished, each using a different buffing wheel and color. The dozen brass screws were sanded with 400 and 1000 grit. The aluminum "Brassie" plate was installed and the screws returned to the other two clubs.
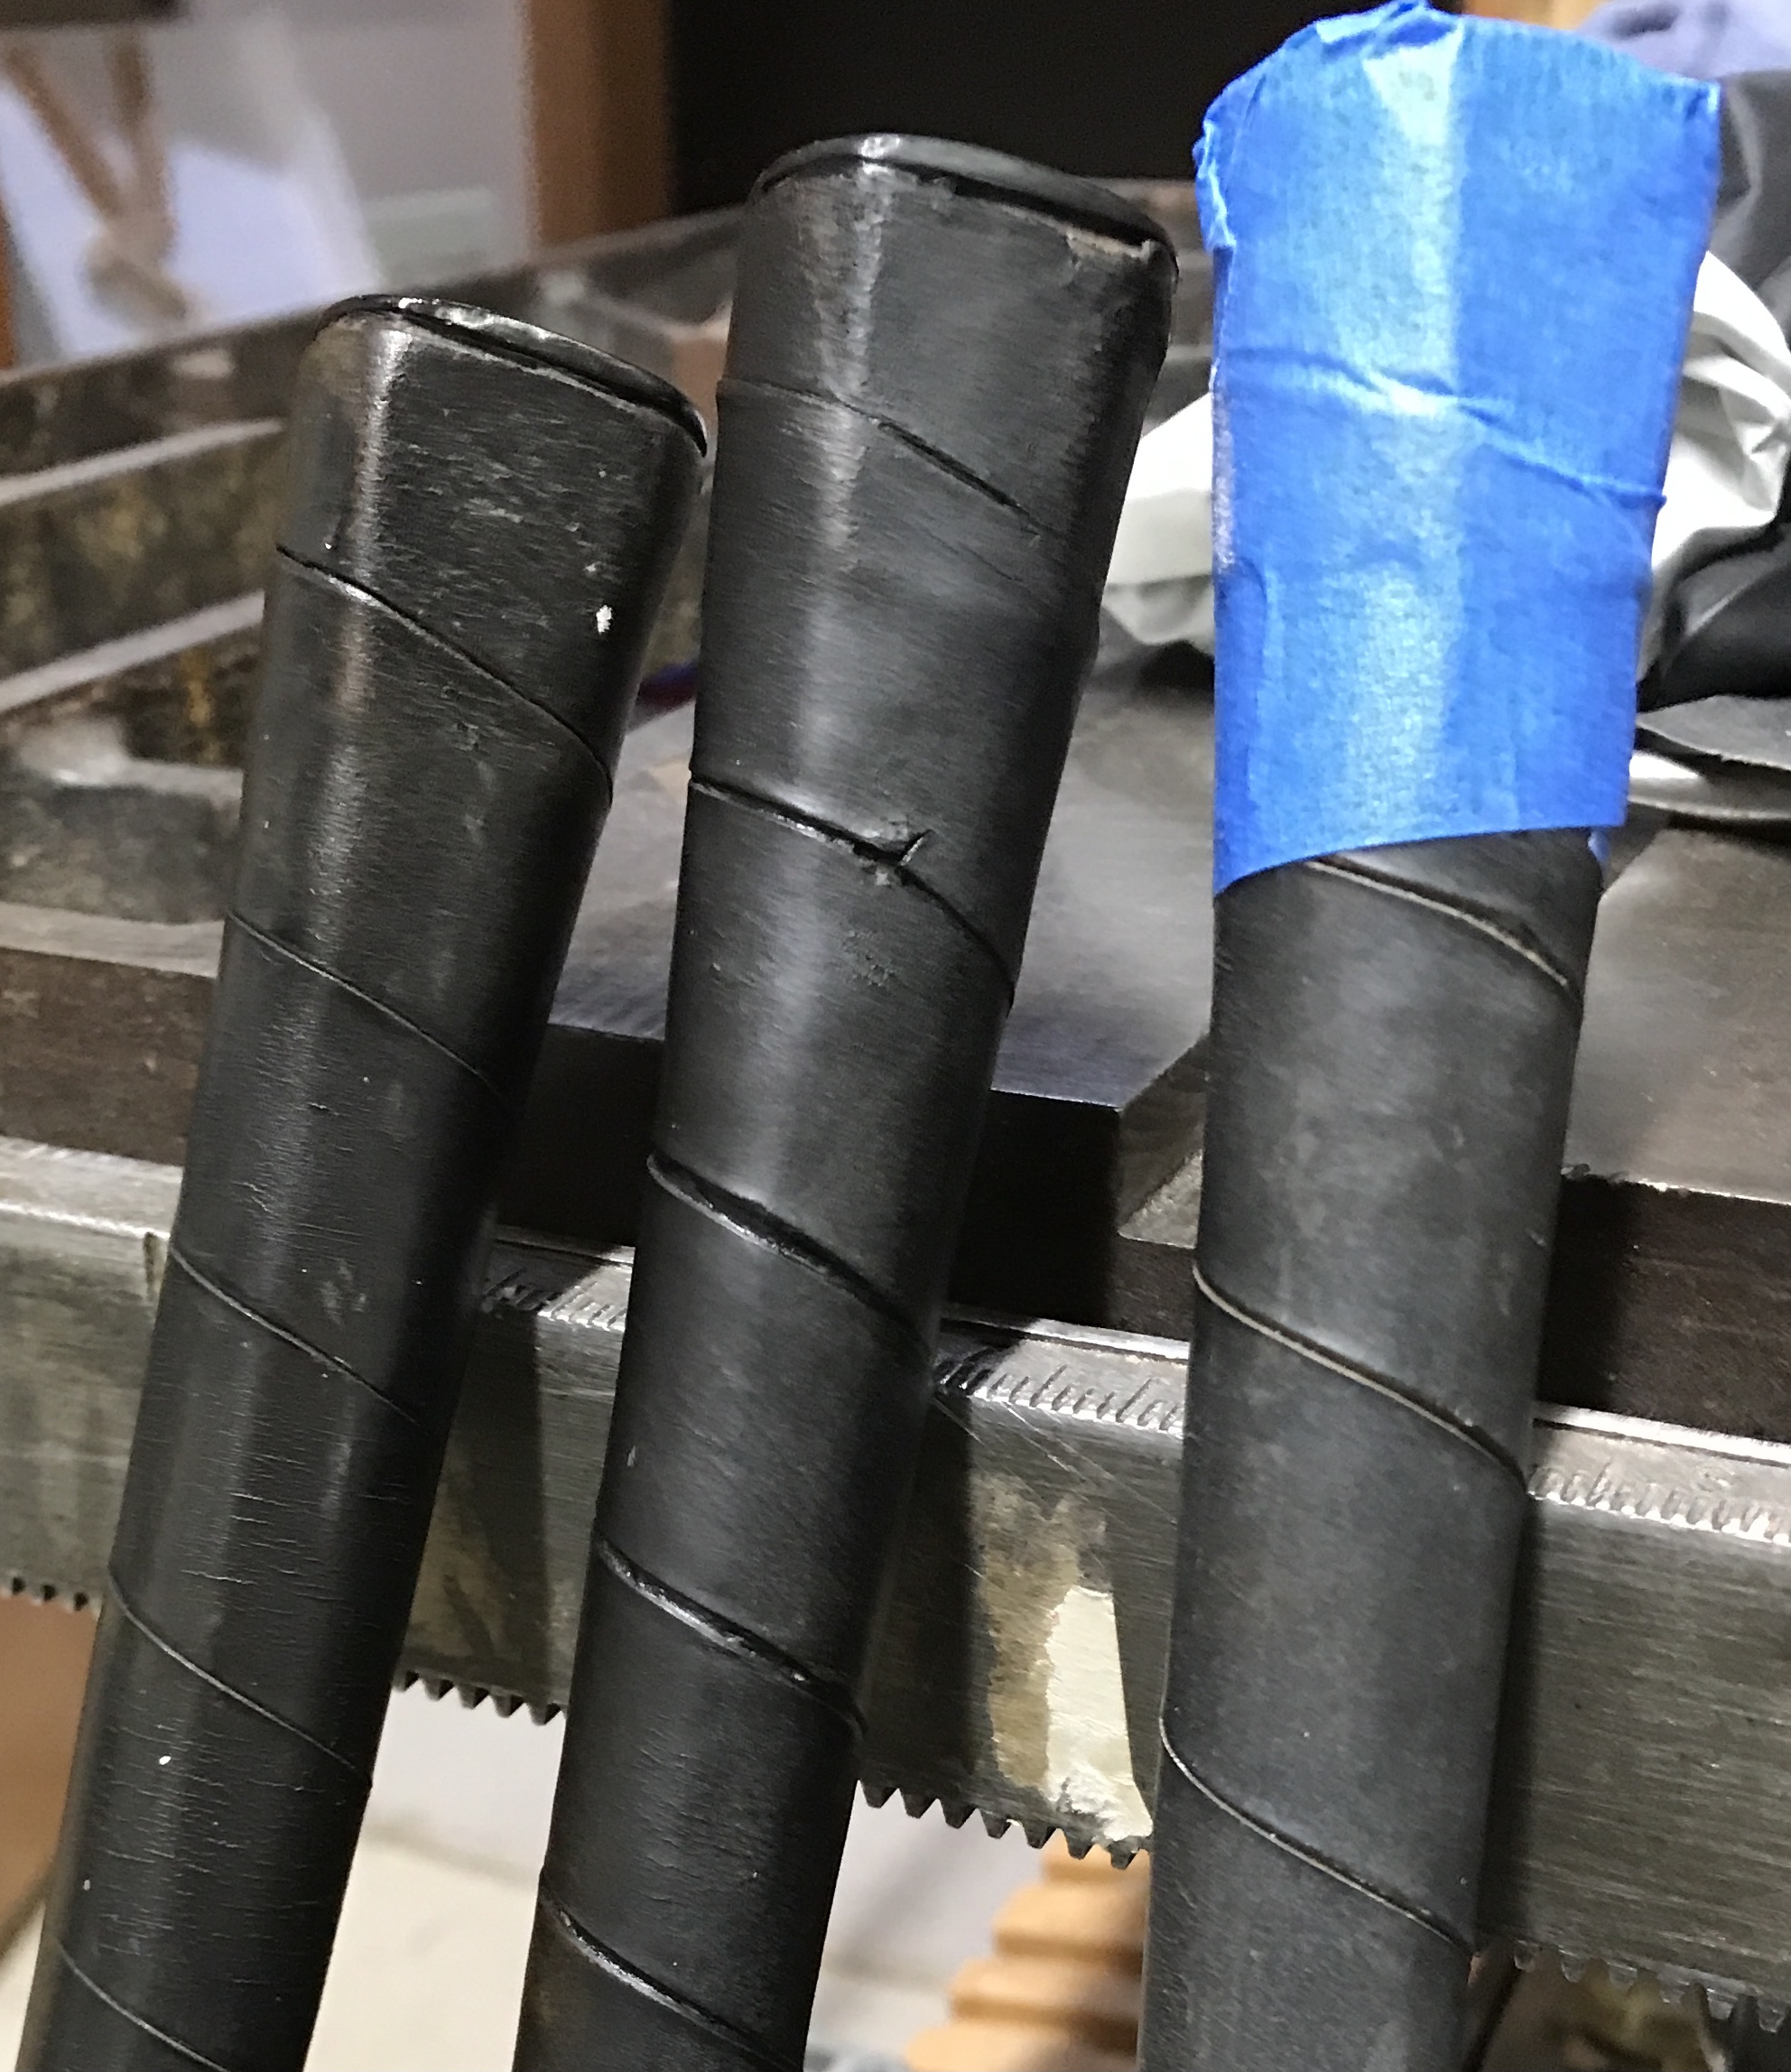
The second accomplishment was "stringing" the clubs with the black string purchased for the chime. A bit of glue stick glue was applied along the back of the club. An inch of string was placed vertically in this stripe of glue. The string was then wound around the club down to and over the shaft. It was difficult to keep the string perfectly aligned, so a bit more glue was applied and the string was wound back up the shaft and club head. A final dab of glue held the end of the string in place.
Yesterday I began varnishing the door using the Helmsman spar varnish. A second coat was applied this morning. This varnish was chosen for the club heads as it was already out. The varnish was painted on the club heads including the string. The photo below shows the first coat on the club head. The picture also shows off the shiny brass sole plate.
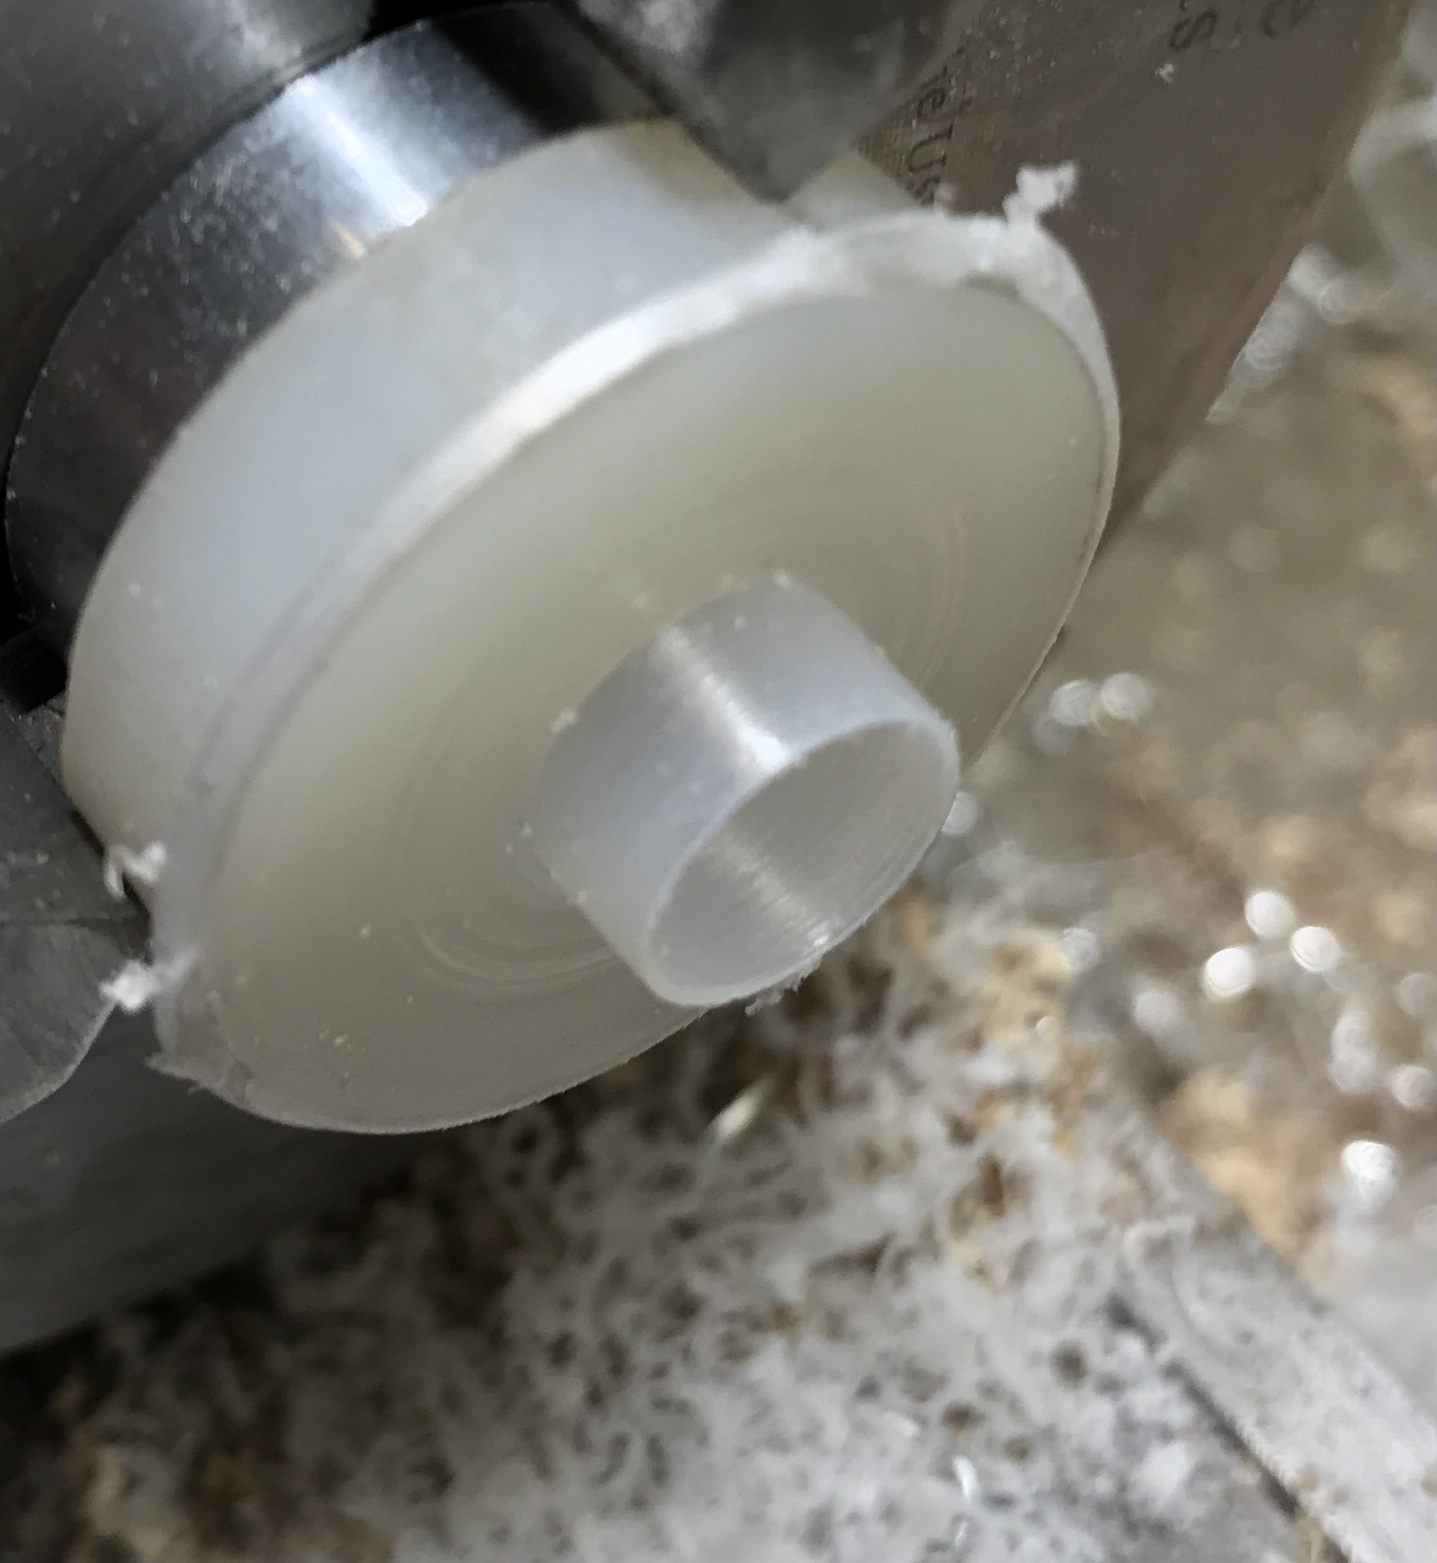
The only thing I have not yet figured out how to repair is the white plastic ring missing on one club. I will look for some plastic and see if it can be cut to shape and affixed in the groove. The groove is 0.330" in diameter and 0.140" wide. The shaft diameter next to the groove is 0.360". One challenge is the split in the ring where it is cut for installation. If the ID is made slightly larger this cut will close up when installed. Maybe if it is cut with a knive the gap will be minimal.
A scrap of plastic was found. 0.18" was reduced to 0.364". The plastic was drilled with a "Q" drill, 0.361". The thin cylinder was parted off leaving a substantial rim of excess plastic. This was partially removed with an Xacto knife. It was then sanded to 0.135". The knife was used to cut through the cylinder. Epoxy was applied to the groove in the shaft. The open cylinder was pressed into place. The gap is visible. An attempt was made to clamp it shut, but I was unable to get the string tight enough to close the gap. This thin the plastic is translucent, not the least bit white.
The second coat of polyurethane was applied five hours after the first. The next day I decided to paint the three plastic shaft inserts. Painters tape surrounded the insert and white tempera paint was applied. Two coats will be needed, one hour apart. I also noticed a urethane drip down the shaft. This will need to be dealt with.
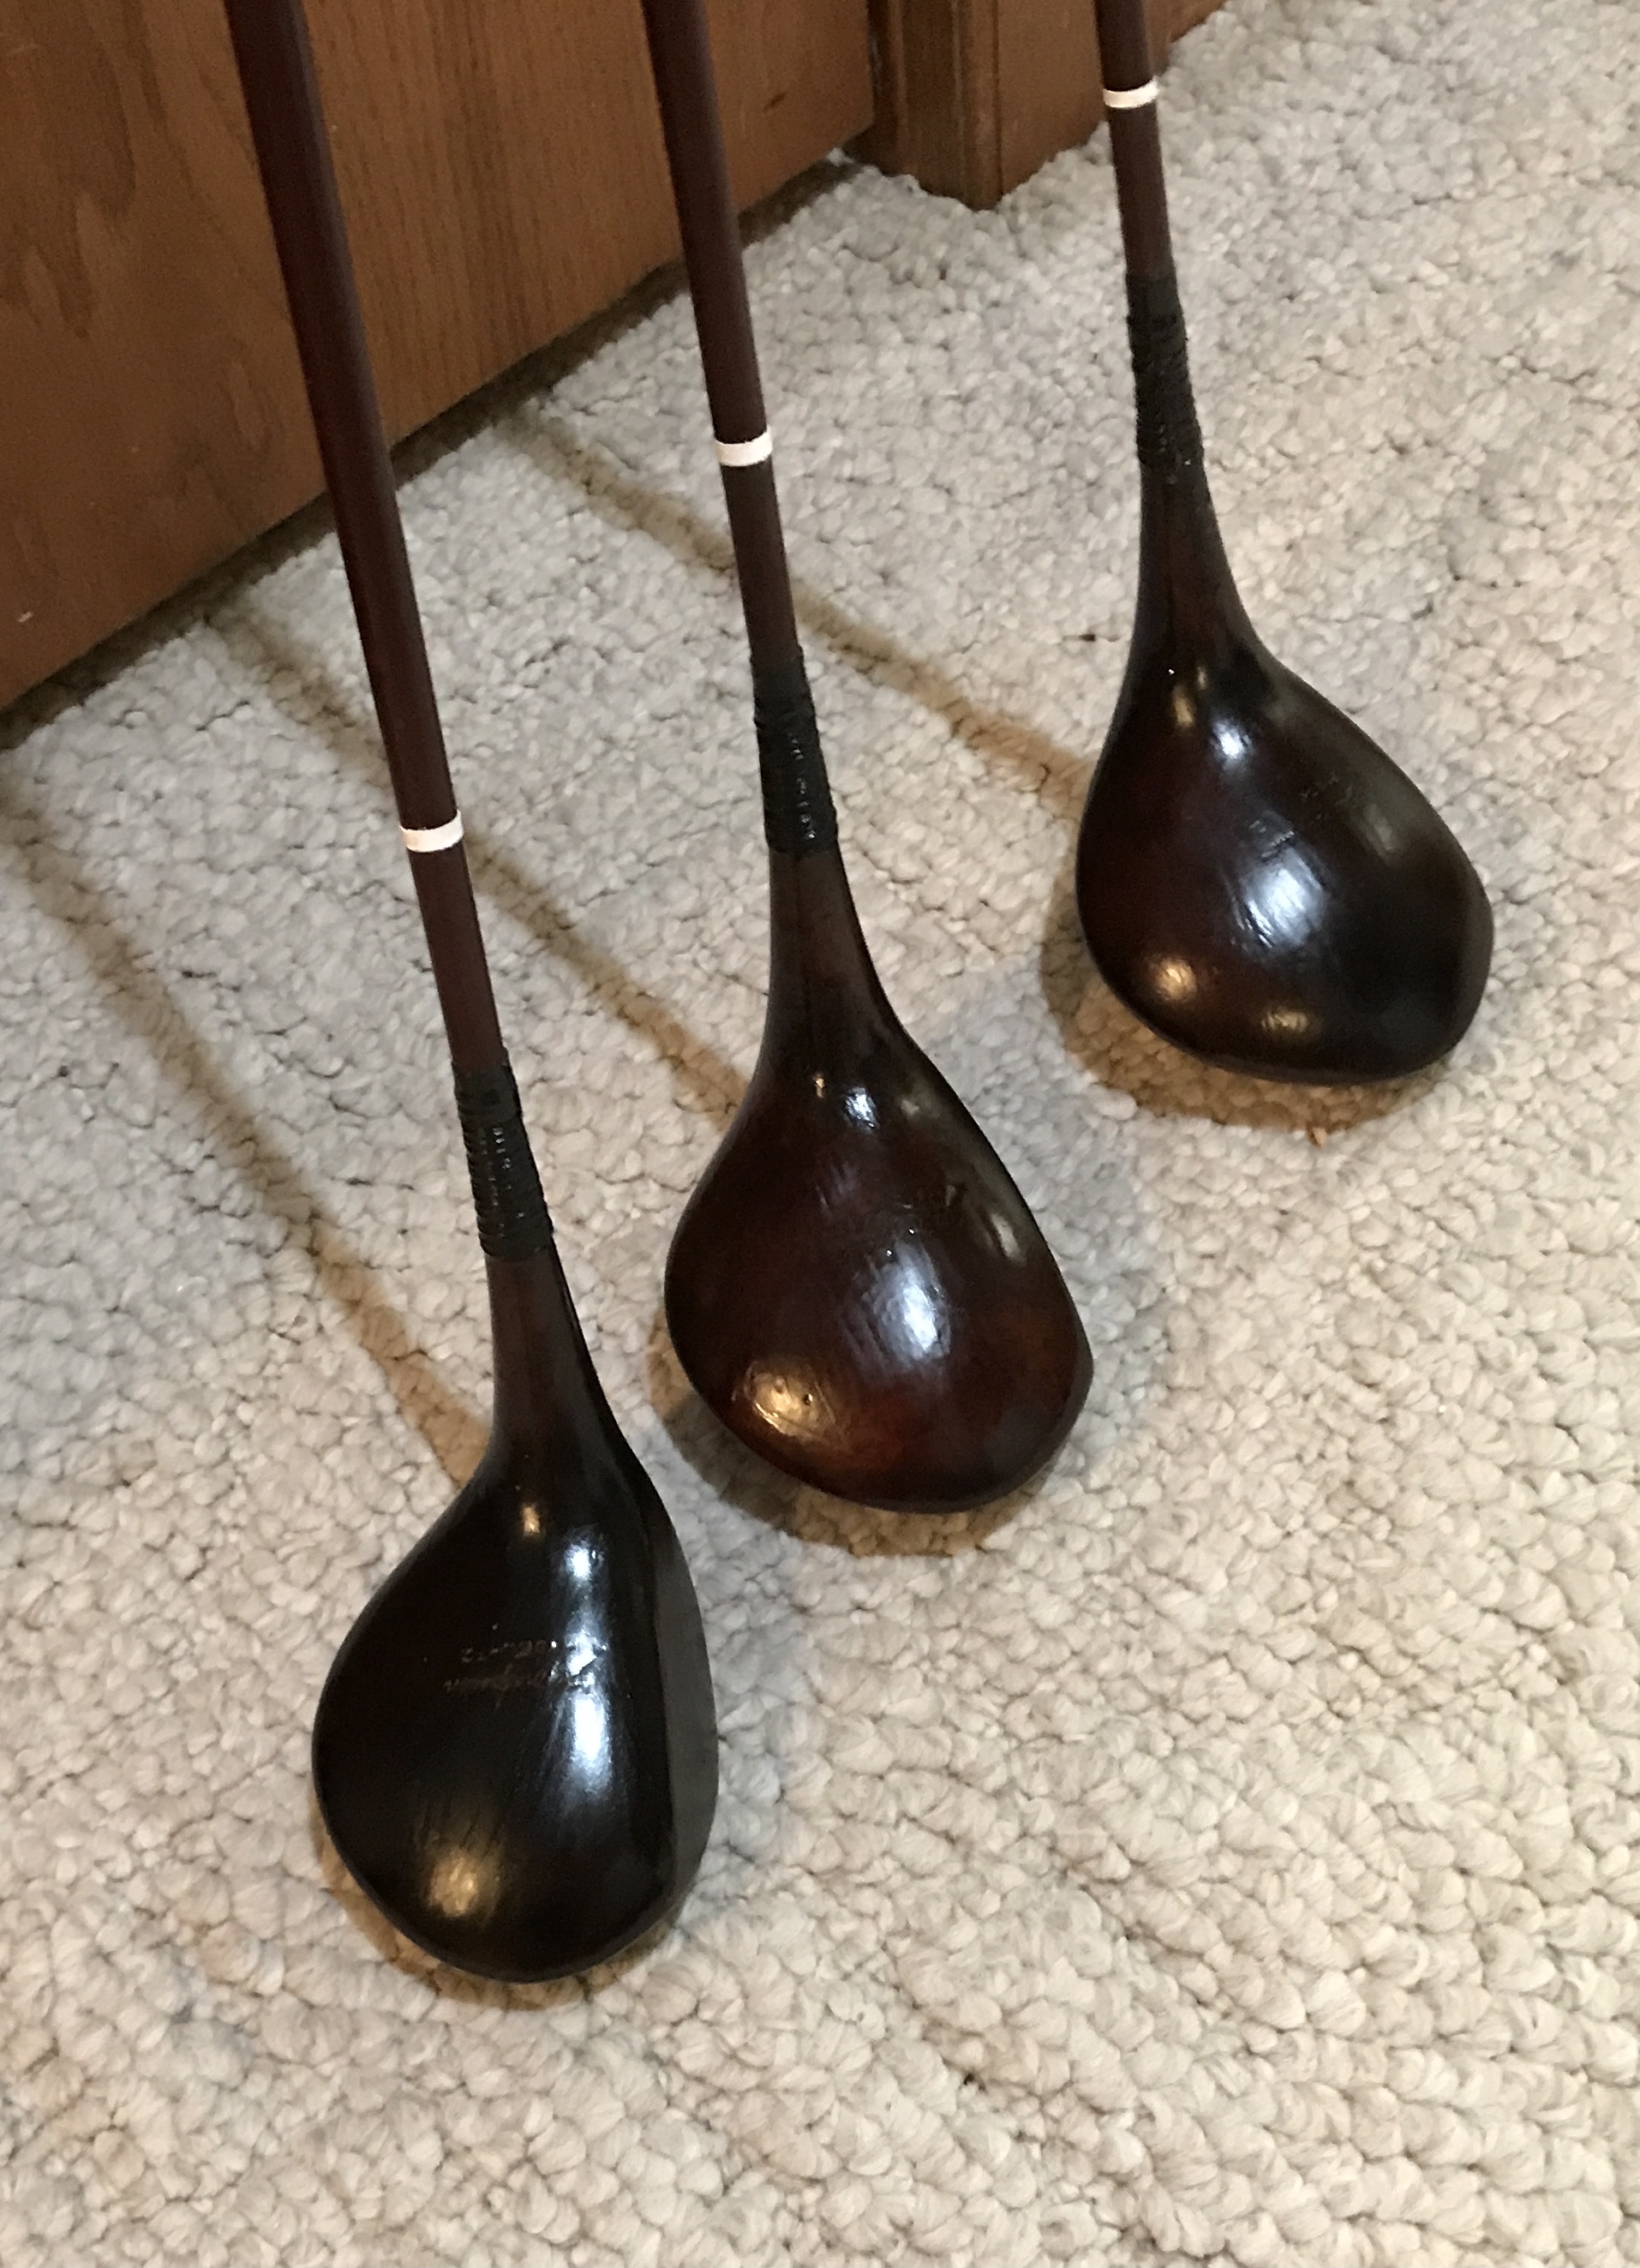
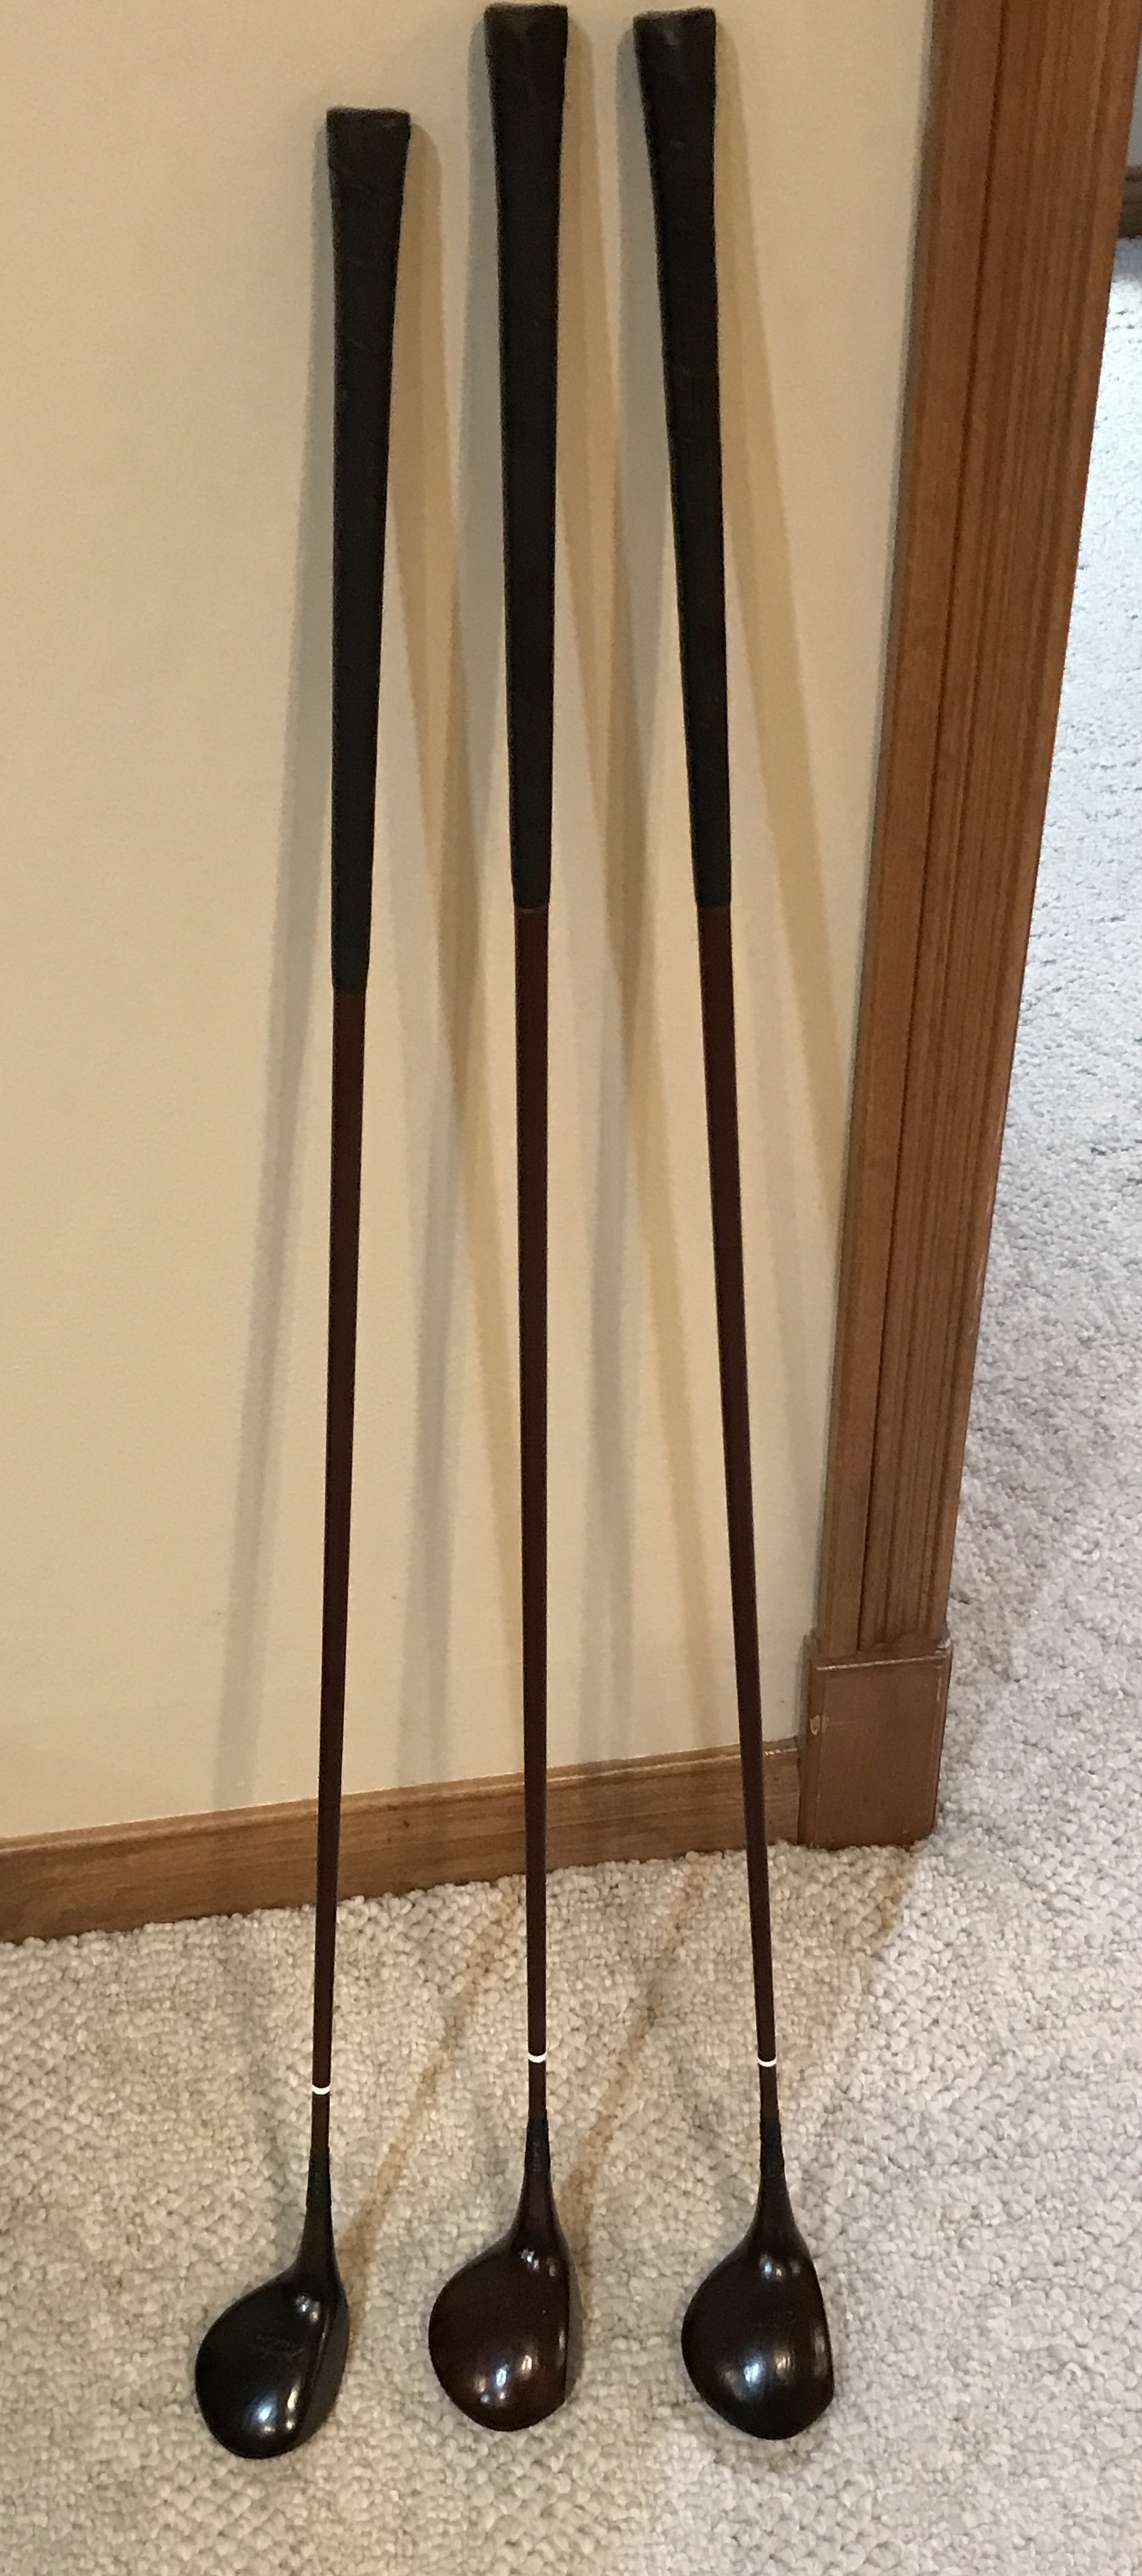
As a final treatment I found some plastic shiner(?), Brillianize. It was wiped on the shafts and the handle end caps. Below are a number of photos of the finished clubs.